
Introduction:
XAMPP is a cross-platform web server that is designed for testing your web applications based on Apache, MySQL, Perl, and PHP. This webserver was developed by Apache Friends and it has been in use since 2002. Today, we will learn the method of installing XAMPP on Linux Mint 20. However, the same series of steps can be performed on Debian 10 for installing XAMPP on it.
Method of Installing XAMPP on Linux:
For having XAMPP installed on your Linux system, you should perform all the steps listed below:
Step # 1: Verifying the Installation of “net-tools”:
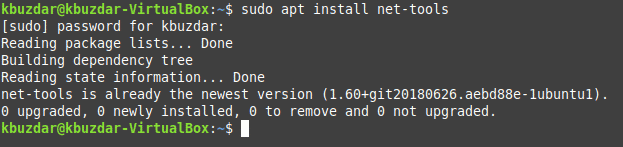
XAMPP requires the “net-tools” package to be installed on your system. This package can be installed by running the following command in the terminal:
$ sudo apt install net-tools
![]()
Since the net-tools package was already installed on our system that is why we got the message shown in the image below on our terminal:
Step # 2: Downloading XAMPP via the Internet:
Now you need to visit the following website for downloading XAMPP:
https://www.apachefriends.org/download.html
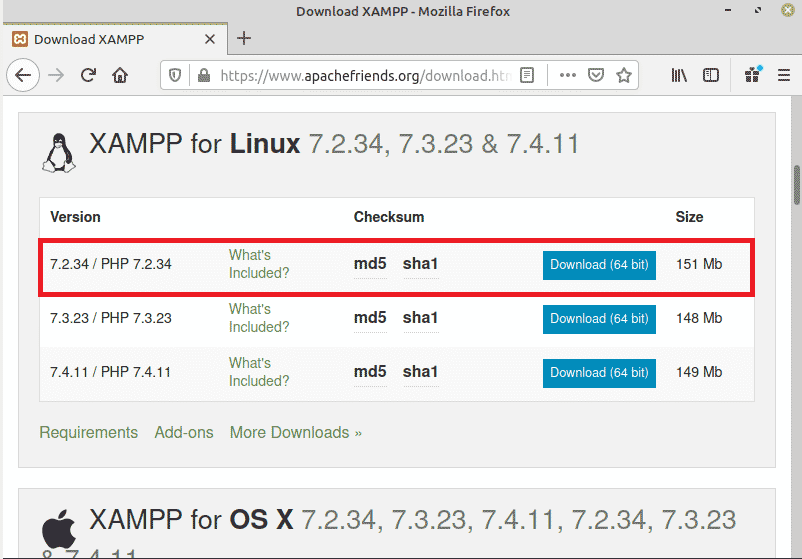
Once you will visit this website, you need to download the latest version of XAMPP for Linux as highlighted in the image shown below:
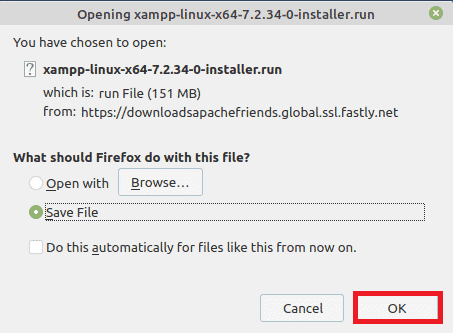
When you will click on the “Download” button, a dialogue box will appear on your screen from which you are supposed to select the “Save” option and then click on the “OK” button.
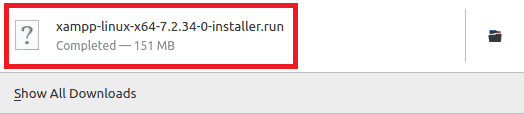
After doing this, XAMPP will start downloading and when it has been downloaded successfully, you will see the following message on your browser:
Step # 3: Making the Downloaded File Executable:
Once the XAMPP file has been downloaded on your system, you need to make it executable so that it can be installed successfully. For making this file executable, you need to navigate to your Downloads directory and then execute the command stated below:
sudo chmod 755 xampp-linux-x64-7.2.34-0-installer.run

Running this command will set the execute permissions for your downloaded XAMPP file.
Step # 4: Installing XAMPP on Linux:
When we have made this file executable, we can easily install it by running the following command in our terminal:
sudo ./xampp-linux-x64-7.2.34-0-installer.run
![]()
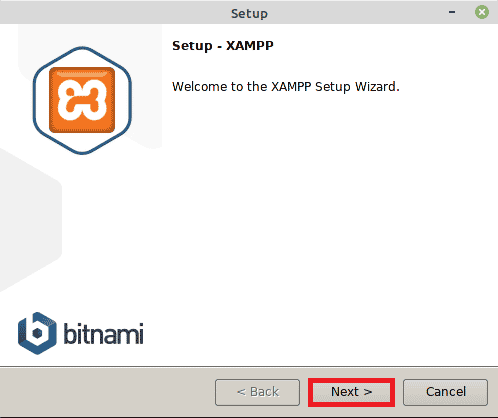
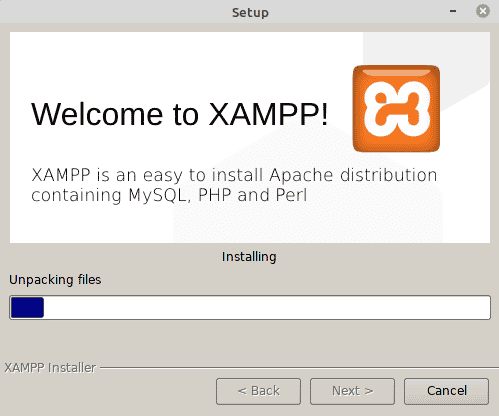
After doing that, the installation wizard will appear on your screen. You are required to go with all the options that are selected by default and just press the Next button at every screen that appears. However, we have still shown all the screens below for your convenience. The welcome screen of XAMPP is shown in the image below:
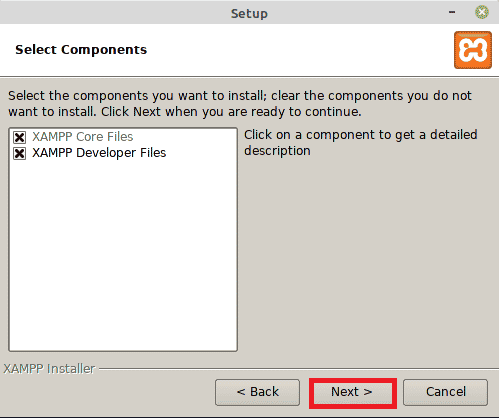
After clicking the Next button on the welcome screen, you will be asked to select the components for XAMPP. Just go with the default selected components and click on the Next button as highlighted in the following image:
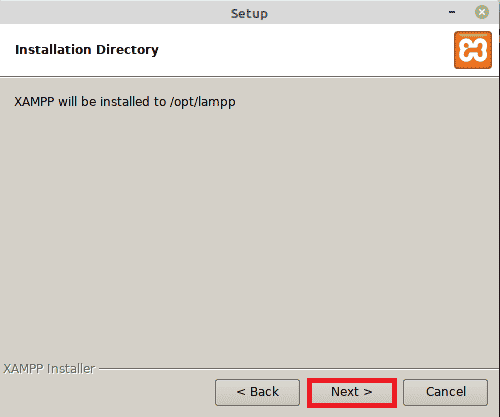
Now select an installation directory and click on the Next button.
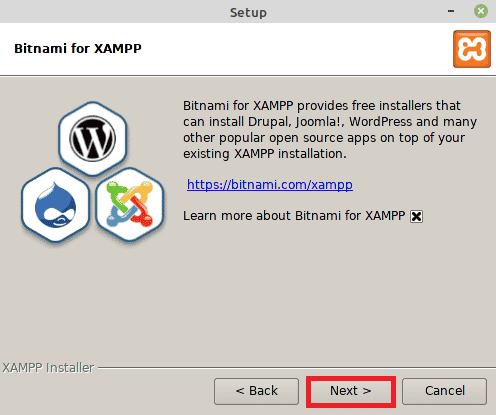
On the Bitnami for the XAMPP screen, you are again supposed to click on the Next button.
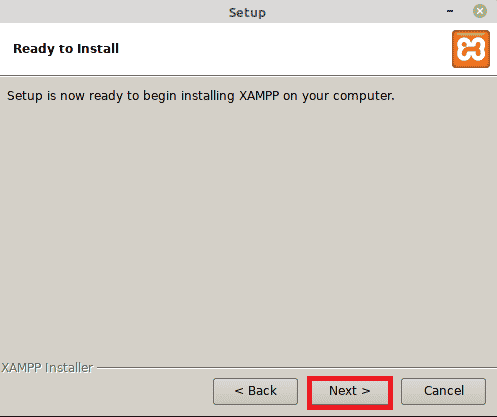
Then the installation wizard will tell you that the setup is ready to install as shown in the image below:
The installation progress bar is shown in the following image:
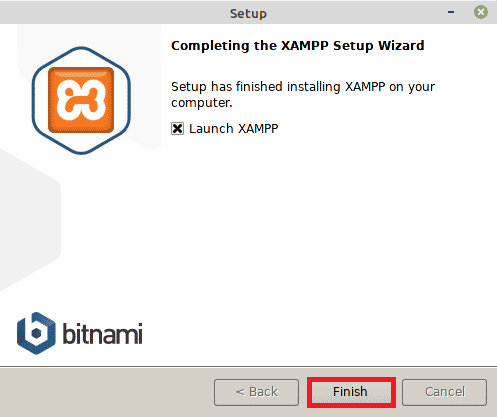
Finally, when the installation will complete, you will be supposed to click on the Finish button as highlighted in the image shown below:
Step # 5: Verifying the Installation of XAMPP on Linux:
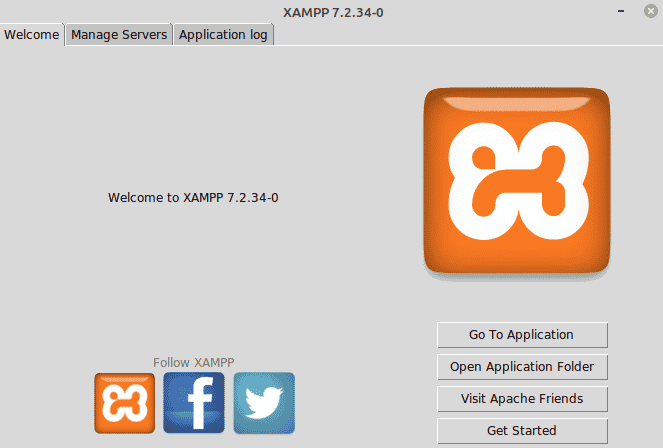
If XAMPP has been successfully installed on your Linux system, then after clicking on the Finish button, the following screen will appear on your system which will confirm the installation:
Method of Uninstalling XAMPP in Linux:
However, at any point, if you feel like you do not need XAMPP on your Linux system anymore, then you can always uninstall it. First, you will need to move to the directory where XAMPP has been installed by running the command stated below:
cd /opt/lampp
![]()
After navigating to this directory, uninstall XAMPP by running the following command:
sudo ./uninstall
![]()
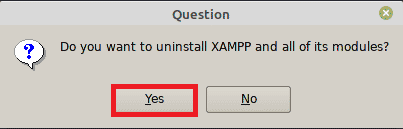
Your terminal will prompt you with a confirmation dialogue box from which you are supposed to click on the “Yes” button as highlighted in the image shown below:
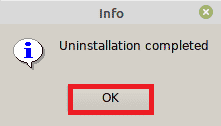
When the uninstallation process will complete, you need to click on the “OK” button.
Finally, you can also remove the directory in which XAMPP was installed by running the following command:
sudo rm –r /opt/lampp
![]()
Doing this will remove all the traces of XAMPP from your Linux system.
Conclusion:
In this article, we explained to you the method of installing XAMPP on Linux Mint 20. The steps described above were demonstrated on Linux Mint 20 but they can also be performed as it is on Debian 10. Moreover, we also shared with you the method of uninstalling this web server whenever you feel like it.
In my next post, I will continue hosting a small application on this webserver.

Ayesha Sajid has secured a Bachelors degree in Computer Sciences and currently, she is doing her Masters in Information Security. She is a technical content writer by profession who has experience in working with Windows and the different flavours of Linux operating system.


Hi,
Is it possible to launch Xampp with an icon on the desktop ?
Thanks
Try this one…
https://community.apachefriends.org/f/viewtopic.php?p=261664&sid=68bcb2566e13df5469ae9f9642ea7200#
Hello! As far as my knowledge is concerned, there is no dedicated way for Linux Mint 20 with which you can launch Xampp with a desktop icon. I did come across a method through which you can do this on Ubuntu 20.04, however, that method did not work for Linux Mint 20.