Visual Studio Code (VS Code) is one of the most sophisticated code editors that help developers write, debug, and manage their code. It is available for almost every operating system, including Linux, Windows, and macOS. This is the reason why having it installed on Linux Mint 22 can enhance your development workflow. Like other IDEs, Code offers a myriad of features such as syntax highlighting, code completion, debugging, Git integration, and an integrated terminal.
Because of its usefulness, this guide will discuss every possible way to install Visual Studio Code on Linux Mint 22.
Now, let us start the installation.
How to Install Visual Studio Code on Linux Mint 22?
VS Code caters to a wide array of programming languages, making it a versatile tool. To install Visual Studio Code on Linux Mint 22, please follow the specified methods below:
Method 1: Using APT
Method 2: Using the .deb Package
Method 3: Using Flatpak
Conclusion
Now, let us go into the details of the first method.
Method 1: Using APT
APT is among the tools Linux users have at their disposal. Code editors available on Linux include: Netbeans, Eclipse, Atom, Brackets, among others. For installation of Visual Studio Code (VS Code) through the official repositories, first import Microsoft’s repository and key, then install VS Code.
Step 1: Import the Microsoft GPG Key
Run the “wget” command to add the GPG key from the official site as follows:
wget -qO- https://packages.microsoft.com/keys/microsoft.asc | gpg --dearmor > packages.microsoft.gpg && sudo install -D -o root -g root -m 644 packages.microsoft.gpg /etc/apt/keyrings/packages.microsoft.gpg |
|---|

Note: GPG is a program that allows the encryption and signing of texts, emails, files, and directories. Install via the command below:
sudo apt install wget gpg |
|---|
Step 2: Enable VS Code Repository
After creation, VS Code will need to be installed locally. In that case, create a Visual Studio Code repository file, then enable it by typing the following script:
sudo sh -c 'echo "deb [arch=amd64,arm64,armhf signed-by=/etc/apt/keyrings/packages.microsoft.gpg] https://packages.microsoft.com/repos/code stable main" > /etc/apt/sources.list.d/vscode.list' |
|---|

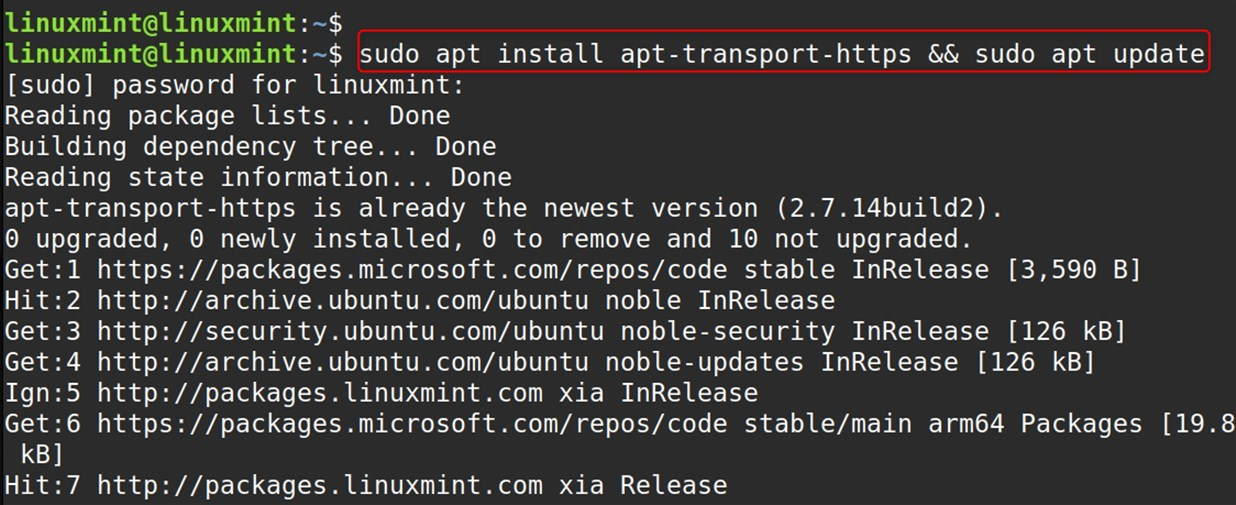
Step 3: Install dependencies
After importing the repository, users must update the package cache and refresh the APT package Index with the following commands:
sudo apt install apt-transport-https && sudo apt update |
|---|
Step 4: Install Visual Studio Code
On Linux Mint 22, in order to install VS Code, use the following apt command with the VS Code package named “code”:
sudo apt install code |
|---|

Step 5: Verify VS Code
Now the users can check if indeed it was successfully installed by running this command:
code --version |
|---|

Optional: Remove/Uninstall VS Code
As discussed above, in Linux Mint 22, it can also be removed by running the ‘apt’ command followed by the ‘autoremove’ utility:
sudo rm -f packages.microsoft.gpg sudo apt purge code sudo apt autoremove code |
|---|
Method 2: Using the .deb Package
This method can most easily be accomplished by downloading and installing the .deb package (64-bit) of VS Code. First, grab the .deb file for Linux Mint 22 and then proceed to install it. The step-by-step instructions below will help you through the procedure.
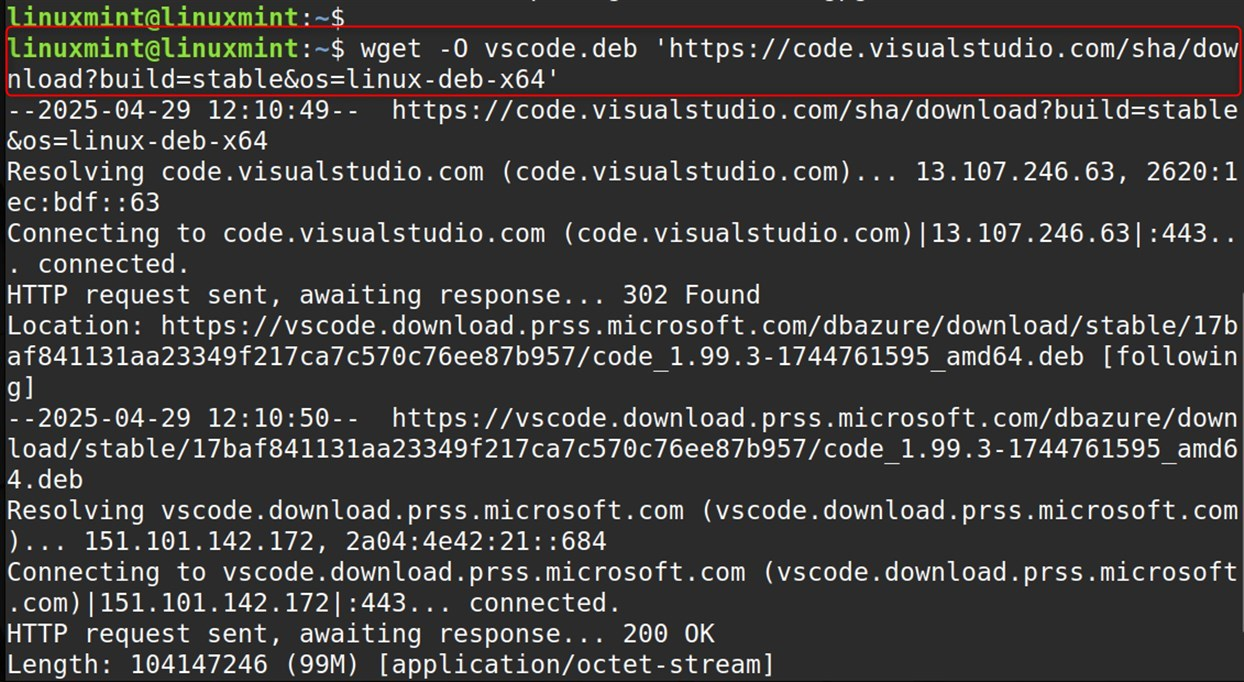
Step 1: Download the .deb Package
Grab the .deb file from the VSCode page as instructed. The wget command can also be executed from the command line:
wget -O vscode.deb 'https://code.visualstudio.com/sha/download?build=stable&os=linux-deb-x64' |
|---|
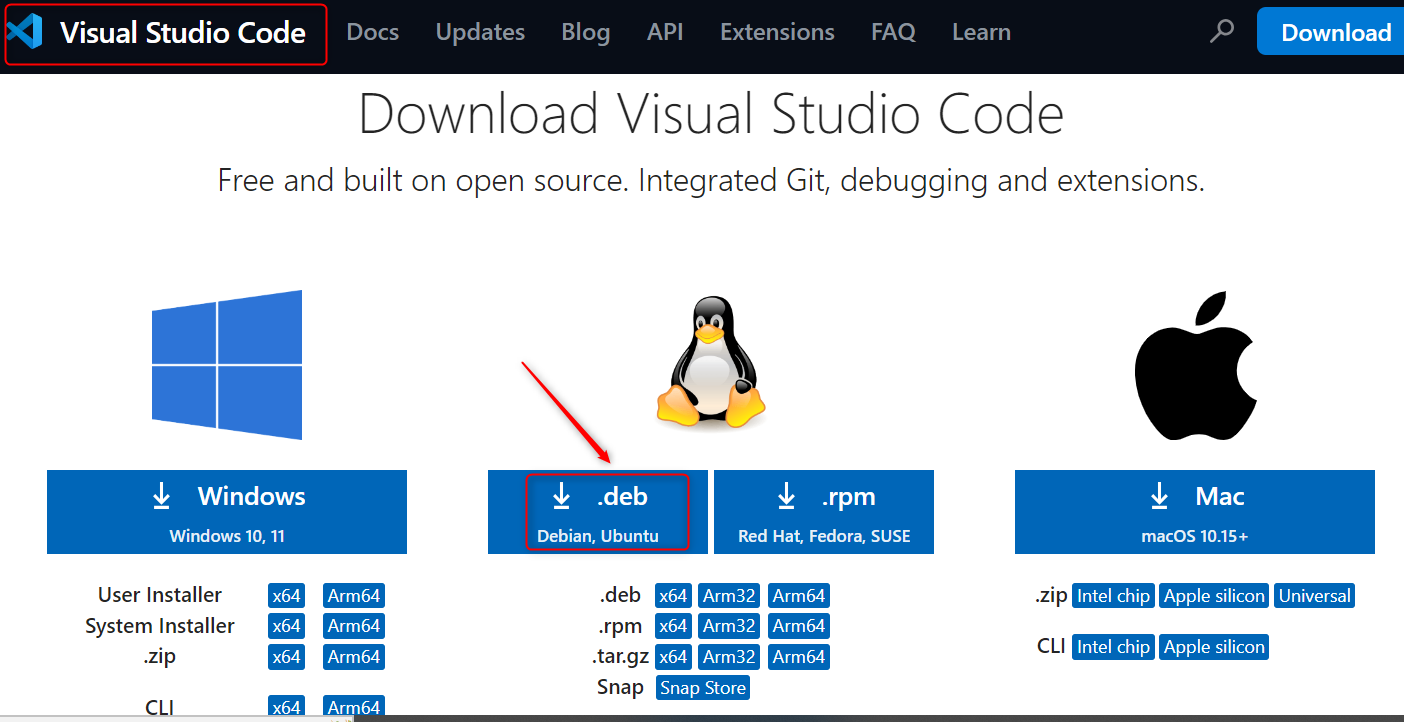
Also, download it through the GUI:
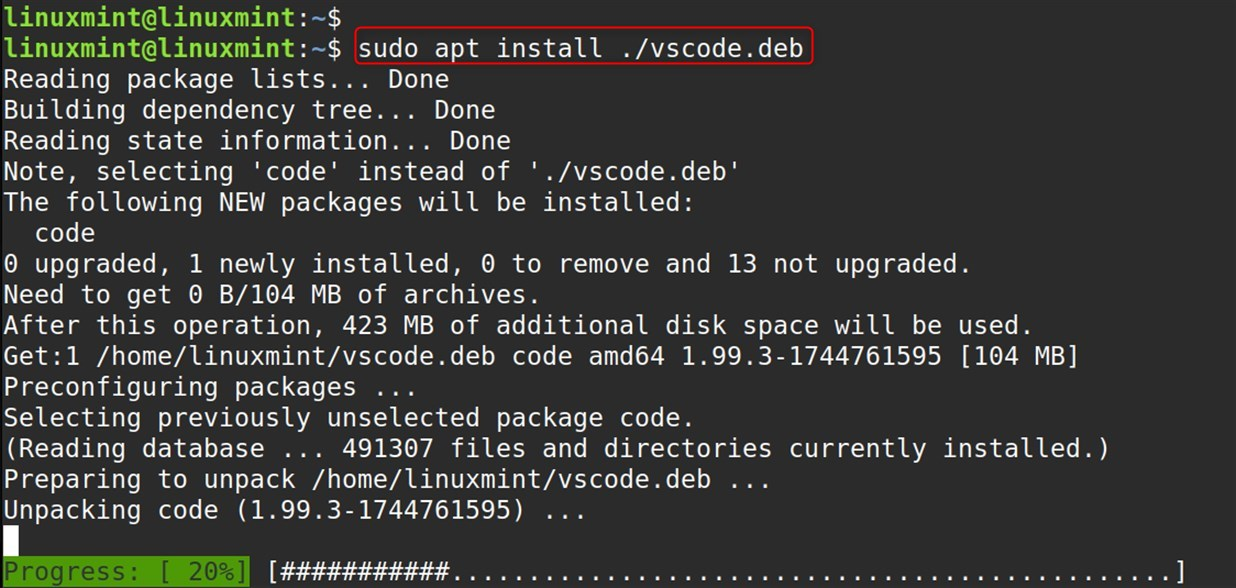
Step 2: Install the .deb Package
After downloading the file, go to the folder that contains the .deb file and install it.
sudo apt install ./vscode.deb |
|---|
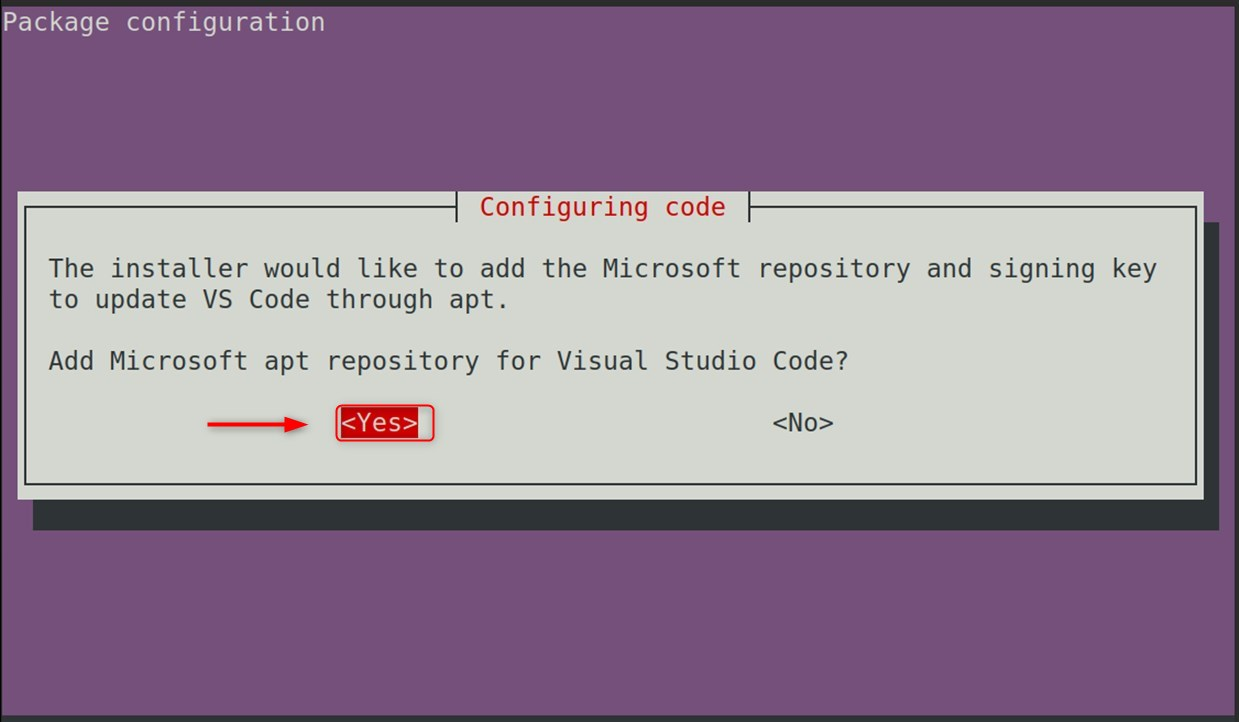
The program will automatically add the apt repository and signing key necessary for automated package management updates:
Step 3: Verify VS Code Installation
Users may verify the software version for VS Code by selecting the “version” option in the settings.
code --version |
|---|

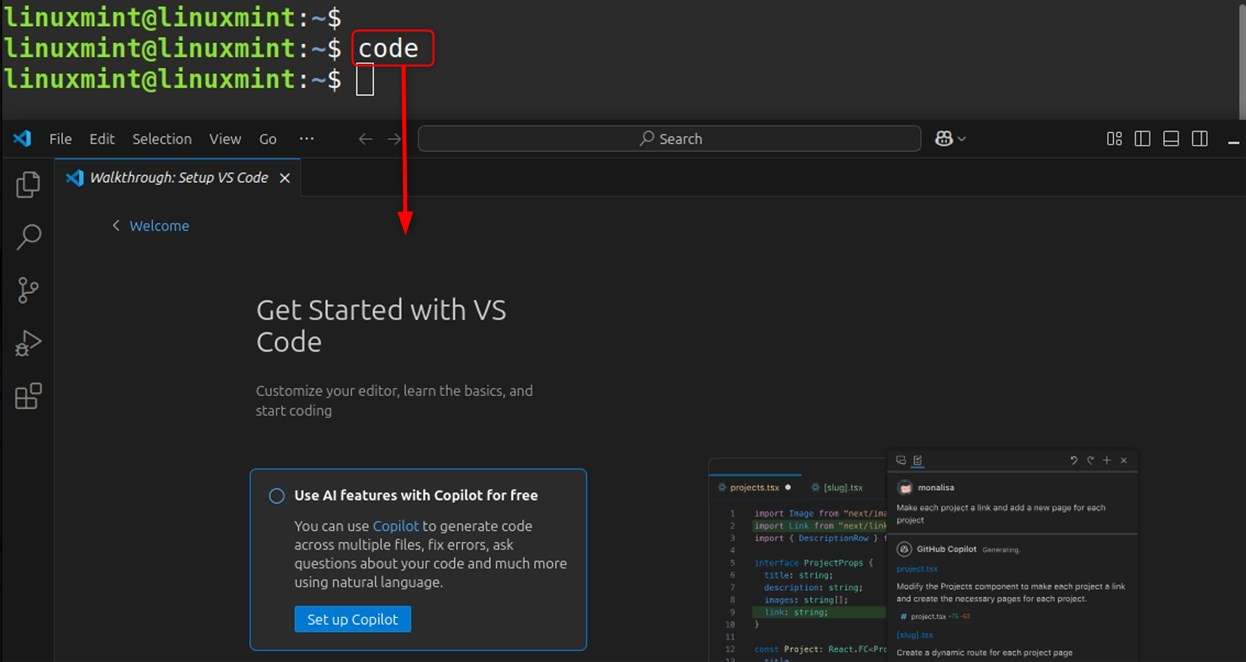
Step 4: Launch VS Code
Post installation, users can access VS Code from the application launcher by searching “VS Code” or via the terminal through the “code” command.
code |
|---|
This completes the instructions related to .deb package installation on Linux Mint 22.
Method 3: Using Flatpak
The Flatpak background service will take care of updating VS Code seamlessly in the background. The procedure to be followed to install Visual Studio Code using Flatpak on Linux Mint 22 is given below:
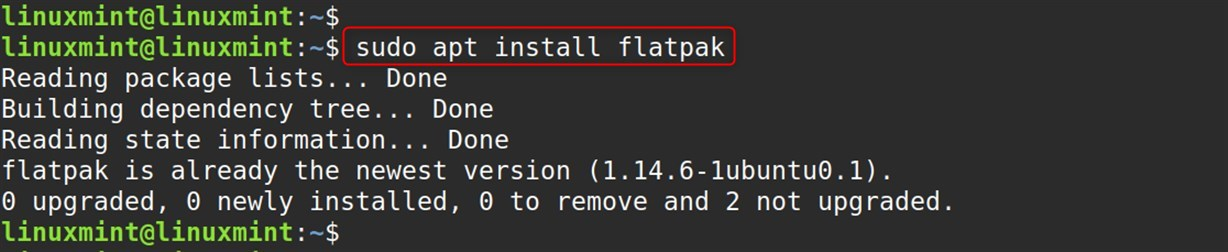
Step 1: Install flatpak
Users must first get Flatpak enabled before any subsequent package is added:
sudo apt install flatpak |
|---|
Step 2: Add the Flathub repository
If any issues were encountered, consider the following commands for enabling the flathub repo:
flatpak remote-add --if-not-exists flathub https://flathub.org/repo/flathub.flatpakrepo |
|---|

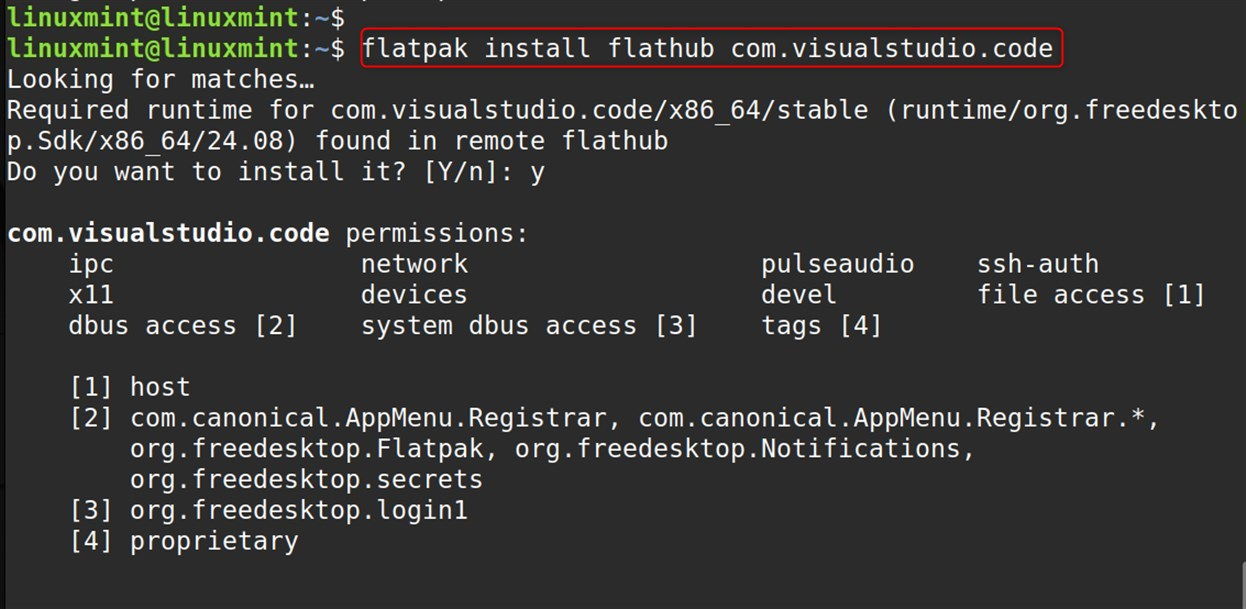
Step 3: Install VS Code
To install VS Code with Flatpak on Linux Mint 22, run the following command:
flatpak install flathub com.visualstudio.code |
|---|
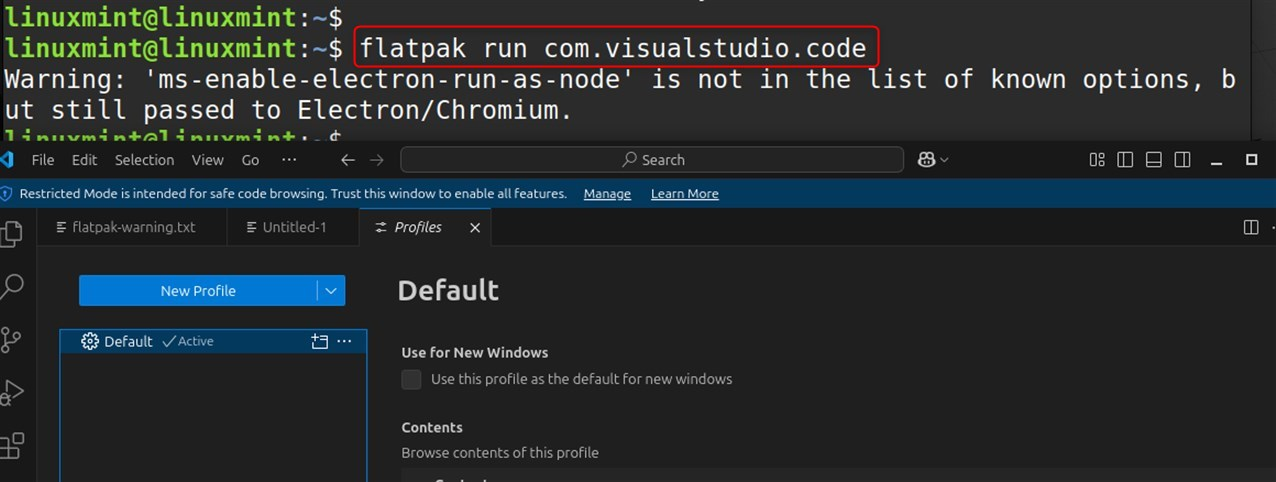
Step 4: Verify VS Code Installation
Users can authenticate the installation through the command:
flatpak run com.visualstudio.code |
|---|
This completes the information about the installation of VS Code.
Conclusion
For installing Visual Studio Code (VS Code) on Linux Mint 22, the methods include using .deb packages, the APT repository, and flatpak. The preferred method of installing VS Code on Ubuntu is to download and manually install the .deb package (64-bit), as it automatically configures the apt repository. Furthermore, users can install VS Code using flatpak with the command “flatpak install flathub com.visualstudio.code.”

Karim Buzdar holds a degree in telecommunication engineering and holds several sysadmin certifications including CCNA RS, SCP, and ACE. As an IT engineer and technical author, he writes for various websites.