Redis is an in-memory data structure store. It is an open-source application that can be used as a Memcached alternative to store key-value pairs, means sets of two linked items, as a database NoSQL, message broker, and supports different data structures such as Hashes, Lists, Sets, Strings, and more.
We will provide you in this article the complete installation and configuration details of Redis on the CentOS 8 Linux system.
Prerequisites
Log in as administrator or with root privileges on CentOS 8 to install Redis.
Installation of Redis on CentOS 8
Redis can install on CentOS 8 system into the following steps:
Step 1: Install Redis using CentOS 8 repository
First, login into the system and open the command line application ‘Terminal’ from the left sidebar of your CentOS 8 desktop. Now, update the system packages and CentOS 8 repositories by executing the below-mentioned command:
$ sudo dnf update
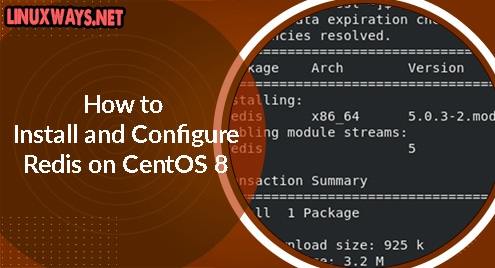
$ sudo dnf install redis

Step 2: Verify Redis installation
Once the installation of Redis is finished, check Redis installation details by using the below-mentioned terminal command:
$ rpm -qi redis

Step 3: Enable Redis service
In this step, enable and then start the Redis service on CentOS 8 by using the following commands:
$ sudo systemctl enable redis

$ sudo systemctl start redis
Verify the running status of Redis service by executing the below-mentioned command:
$ sudo systemctl status redis

By default, port 6379 is used by Redis. Using the netstat command, you can easily confirm the port as follows:
$ sudo netstat -pnltu | grep redis

Step 4: Redis Configuration for remote access
By default, Redis only allows the Redis server to localhost (127.0.0.1) connection means on which the Redis is running. Redis does not allow remote connections. If a user uses a single server where the client’s database is also running on the same host then, in this case, the user cannot access the remote connection.
However, using the Redis configuration file, users can access the remote connection. Open the configuration file of Redis by running the below-given command:
$ sudo nano /etc/redis.conf
Now, find the bind parameter in the configuration file and add your private server IP address with 127.0.0.1 as follows:

Save the above configuration and close this file.
Restart Redis by executing the following command:
$ sudo systemctl restart redis
By using the ‘ss’ command, you can easily check if Redis is either listening on port 6379 or not.
$ ss -an | grep 6379

To check the Redis is working correctly, send the ping Redis with the following command:
$ redis-cli

Step 5: Allow Firewall Access
Configure the firewall on your CentOS 8 system to allow access to the remote connections. First, add the new Redis zone by running the below-mentioned command:
$ sudo firewall-cmd --permanent --new-zone=redis

Add the port number ‘6379’ by using the following command:
$ sudo firewall-cmd --permanent --zone=redis --add-port=6379/tcp

Enable firewall access to the private IP by running the below-mentioned command:
$ sudo firewall-cmd --permanent --zone=redis --add-source=private-IP-address

Finally, at the end reload the firewall by executing the below-mentioned command:
$ sudo firewall-cmd --reload

Remove or uninstall Redis from CentOS 8
After using Redis, you can easily uninstall it to make some free space in your system. Use the following command to remove Redis from CentOS 8:
$ sudo dnf remove redis

Conclusion
We have provided in this tutorial the complete installation description of Redis on the CentOS 8 system. Furthermore, we have also described how to configure Redis for remote connections. In the end, we have explained in this article how a user can remove Redis from CentOS 8 using just a single command. Feel free to share thoughts via comments.

Karim Buzdar holds a degree in telecommunication engineering and holds several sysadmin certifications including CCNA RS, SCP, and ACE. As an IT engineer and technical author, he writes for various websites.


