In their day-to-day operations, system administrators can execute countless commands on the servers to accomplish their goals. They could be running hundreds of commands in each session, and each session could differ from the last. This makes it very hard to remember all of the commands you’ve executed in the past. But fret not, unknown to many people, whenever they are typing away at their terminal, Linux is recording all of the executed commands in a file.
In this guide, I will walk you through the commands needed to look up our command history and reuse commands from there. While you get used to these commands, ascertain that you don’t unintentionally execute a command that could cause issues for you. That said, take your time with these commands and practice them in a sandbox or virtual machine, if possible before you execute them in a live environment.
Though these commands will work with most Linux distributions, for the purposes of this guide, I will show you these commands using Ubuntu 20.04.
Scrolling through recent commands
The simplest way to lookup your commands is to use the up and the down arrow keys in the terminal. You can cycle through recent commands like this.
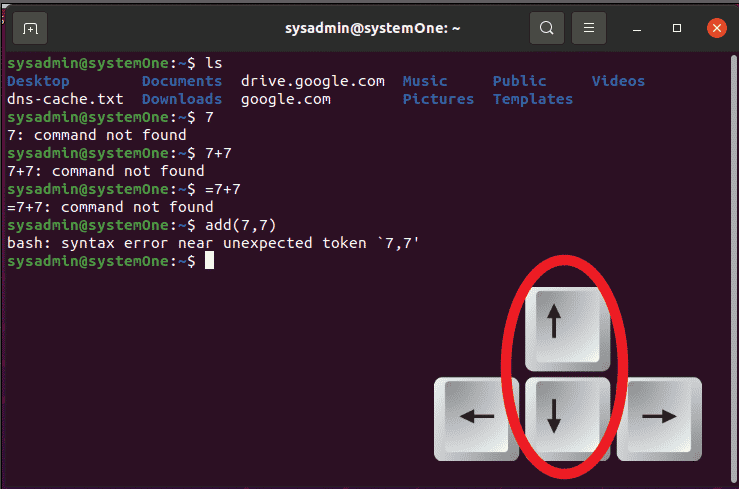
When you find your desired command, all you have to do is press “Enter”.
“History” command
Running the “history” command in your terminal simply lists the last thousand commands executed in the terminal. You get each command prefixed with a number.
$history

Running the history command with the “x” number after it will list the last “x” commands executed. Like if we run the following, we get the last 2 commands executed.
$history 2

You can change the number to any number you desire, e.g., 20, 30, 40 or anything.
Executing a previous command
Now that we know about the “history” command, you can simply re-execute a command using the number before it, as such. Let’s run history.
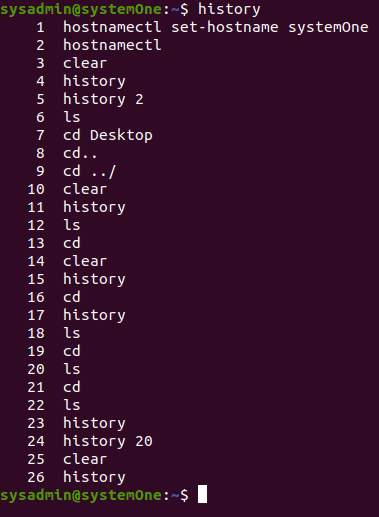
Now out of all these commands, say I want to run the second command. All I need to do is get the number and run it like this:
$!2
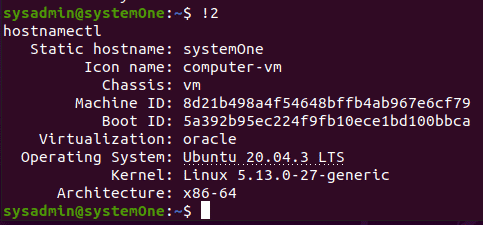
Please remember that there is no space between the exclamation mark and the number.
Enhanced search using grep
Up till now, we have been using simple commands as an example. Let’s say you are working with lengthy commands and you only partially remember them. In order to find out all of the commands using a specific keyword, you can use the grep command in conjunction with history to pull up all relevant commands.
Let’s try pulling up commands where our command contains “.com” in it somewhere:
$history | grep .com
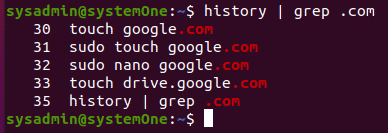
Here you will see your keyword highlighted in red.
Using the built-in reverse search
Another way you can search for previously used commands is through the reverse search built into the terminal. To get to it, all you need to do is just press “Ctrl + r”.
Doing so, you will see your terminal get updated to:
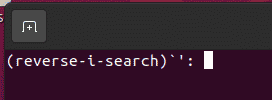
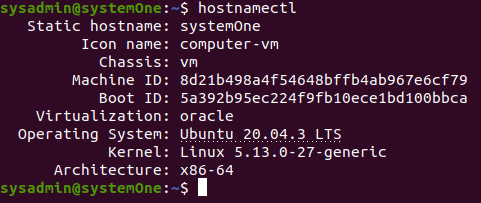
Now you can start typing your desired keyword and you will see the terminal returning with relevant matches. So, let’s try to go back to the start and pull up hostname related commands.

By pressing “Ctrl + r” again you will cycle through all the results.

Now in order to run any of these commands, you can press the “Enter” key to execute the command of your choice.
Quickly executing the previous command
With practice comes enough confidence to remember the last command you’ve executed. If you do remember the last command and know that it won’t create any issues for you, you can quickly run it again with:
$!!

As you can see here I ran a simple “ls”. Running “!!” tells you which command was run last and then executes it again. Now at times, it might be a command which requires elevated privileges, you can run that command as:
$sudo !!

Excluding commands from history
Now if you want to keep your commands from being included in the terminal history, you can add a space before it and the terminal will not save it.
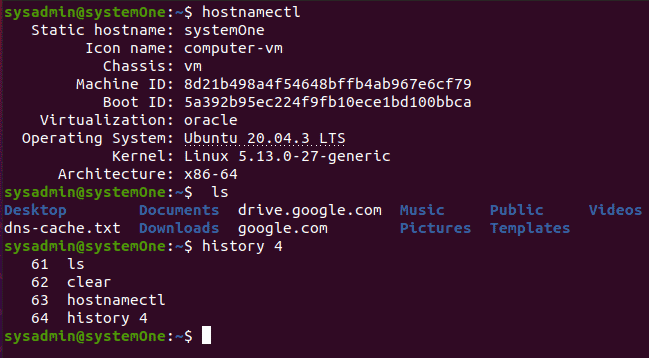
As you can see, I executed “ls” after “hostnamectl”, but when I pulled up the history, the “ls” command at the second last place is not included in the history.
Conclusion
With some practice, these commands become instinctive to use in your daily operations and can make your time with the terminal more effective and efficient. Through these commands, you get the ability to identify and re-execute a rarely used command, or a command that was difficult to arrange/remember in the first place.
As always, if you run into any issues with these commands or want to know more about them, feel free to drop us a comment below and we’ll walk you through any issue or error.


