System administrators who have used Windows users might be well aware of the Putty application. Putty is a free, open-source, and most popular SSH client used to connect remote systems running SSH server. It supports various protocols including SSH, telnet, SCP, rlogin, etc. Putty is also available for Linux OS. Although Linux systems have built-in SSH command which is used to connect to a remote server; still they can use the Putty for this purpose. This is helpful if you have worked long in Windows and are more comfortable with this tool.
In this post, we will be showing you how to install putty in Ubuntu. The installation commands have been run on Ubuntu Terminal. Also, note that you will require sudo privileges to install Putty on your Linux distribution.
Note: We have demonstrated the installation procedure on Ubuntu 20.04 LTS. You can follow the same method for the installation of Putty on Debian and Mint OS.
Installing Putty on Ubuntu
To install Putty on Ubuntu, you will have to enable the universe repository. Then you can install Putty via the apt command. Here are the steps to install Putty on Ubuntu:
1. Add the universe repository to your system’s local repositories. Execute the below command to do so:
$ sudo add-apt-repository universe
Enter sudo password.
2. Update the repository index. You can update it as follows:
$ sudo apt update
3. Now, install putty using the apt command as follows:
$ sudo apt install putty
When prompted with the y/n option, press y to start the installation.
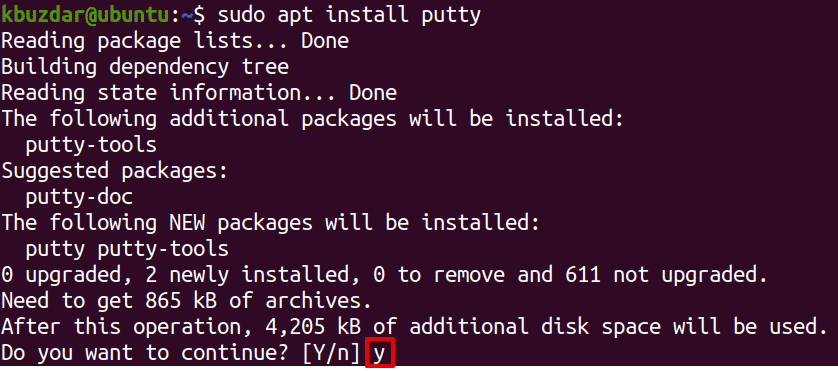
Once the installation is done, you can start using the Putty utility on your system. You can launch Putty either through the Terminal using the command below:
$ putty
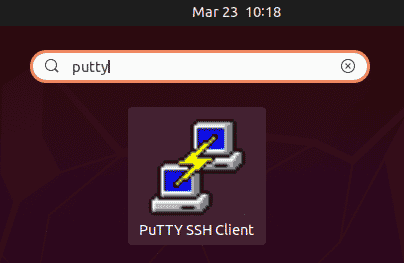
Or hit the super key and type putty in the search area. From the search result, click the Putty icon to open it.
This is the view of the Putty interface.
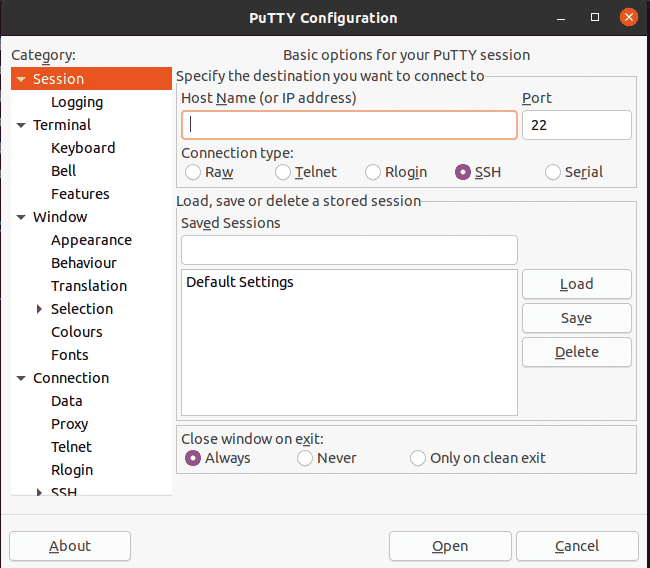
To connect to a remote system, type its IP address or hostname in the relevant field. Then type 22 in the port number field and choose SSH as the connection type. Then click Open to initiate the connection to the remote system.
The first time when you try connecting to a system, you’ll get a security warning. This indicates that you have not connected to this system before. Click Accept to proceed.
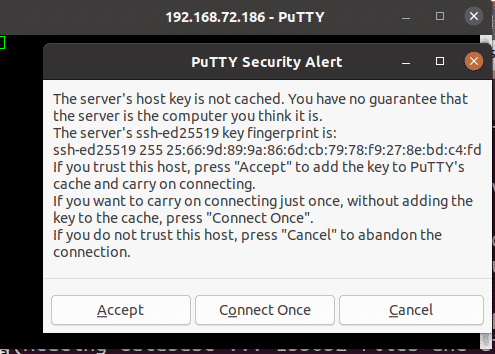
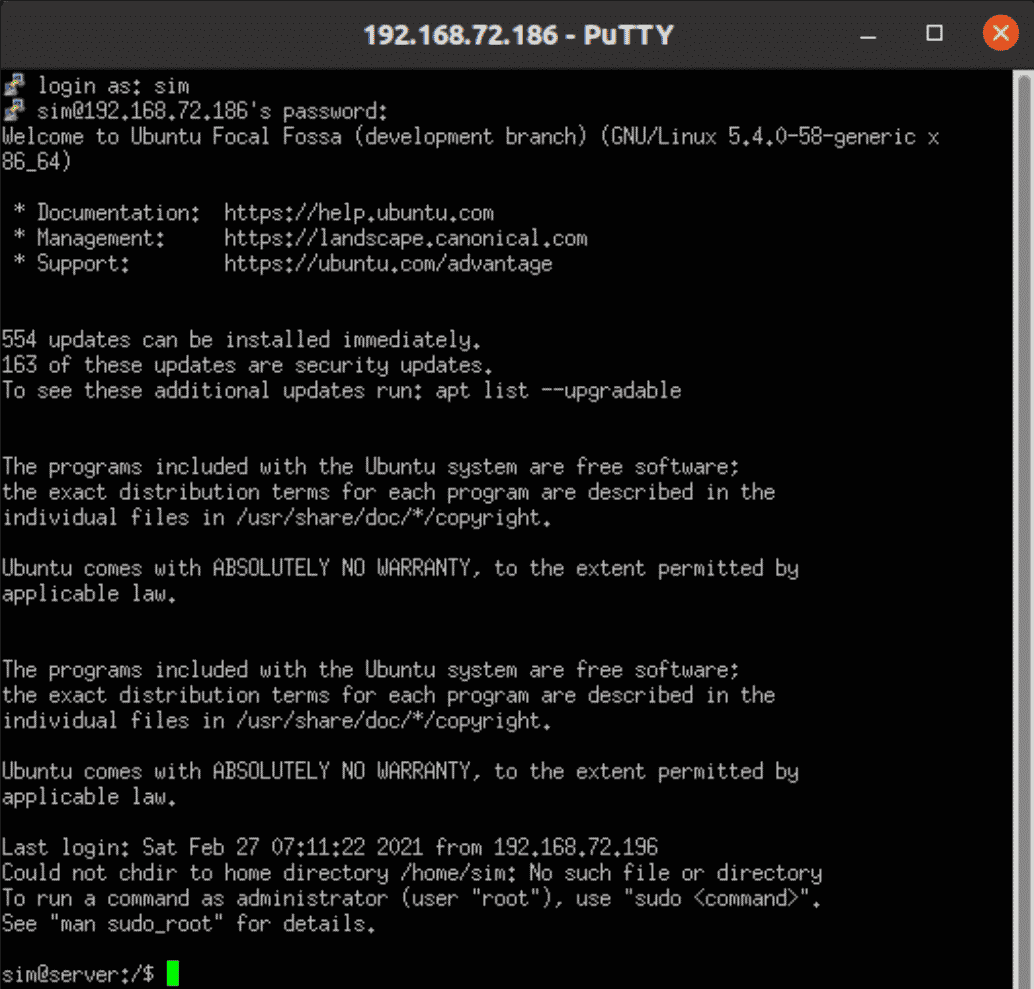
Then you will be asked to enter the remote system’s username and password. Provide the credentials and you will be connected to the remote system.
Remove Putty
You can easily remove Putty from your system if you want to do so. Here is the command you need to execute in Terminal to remove Putty from Ubuntu:
$ sudo apt remove putty
This is how you can install Putty on your Ubuntu OS. Now you can use your Putty SSH client on Linux to connect to remote systems. For more help regarding Putty, visit its user manual.


