Memcached is an open-source, high-performance, freely available, and in-memory key-value caching server. It provides various features such as helps to speed up the applications by caching the various objects from the user authentication tokens and database API calls, and. Moreover, Memcached caching server helps in sharing a large amount of data across multiple application instances.
We will explain the installation procedure and configuration of Memcached on CentOS 8 system in this article.
Prerequisites
To install and configure the Memcached server, root credentials or sudo privileges are required.
Installation of Memcached on CentOS 8
To install and configure Memcached on CentOS 8 follow the following steps:
Step 1: Install Memcached caching server
Before starting the installation of the Memcached service, it is recommended that update all system packages to refresh the repository. So, update the apt packages list by typing the below-given command:
$ sudo apt update
The Memcached packages are already present in the default CentOS 8 repository. Therefore, the installation of these packages is quite easy. Just type the following command with root privileges to install the Memcached on CentOS 8 system:
$ sudo dnf install memcached libmemcached

The ‘libmemcached’ package comes with various other command-line tools for managing the Memcached services.
During the installation of Memcached, the list of necessary Memcached dependencies along with total size displays on the terminal. To continue the installation of these dependencies press ‘y’ and then hit the ‘Enter’ key from your keyboard.
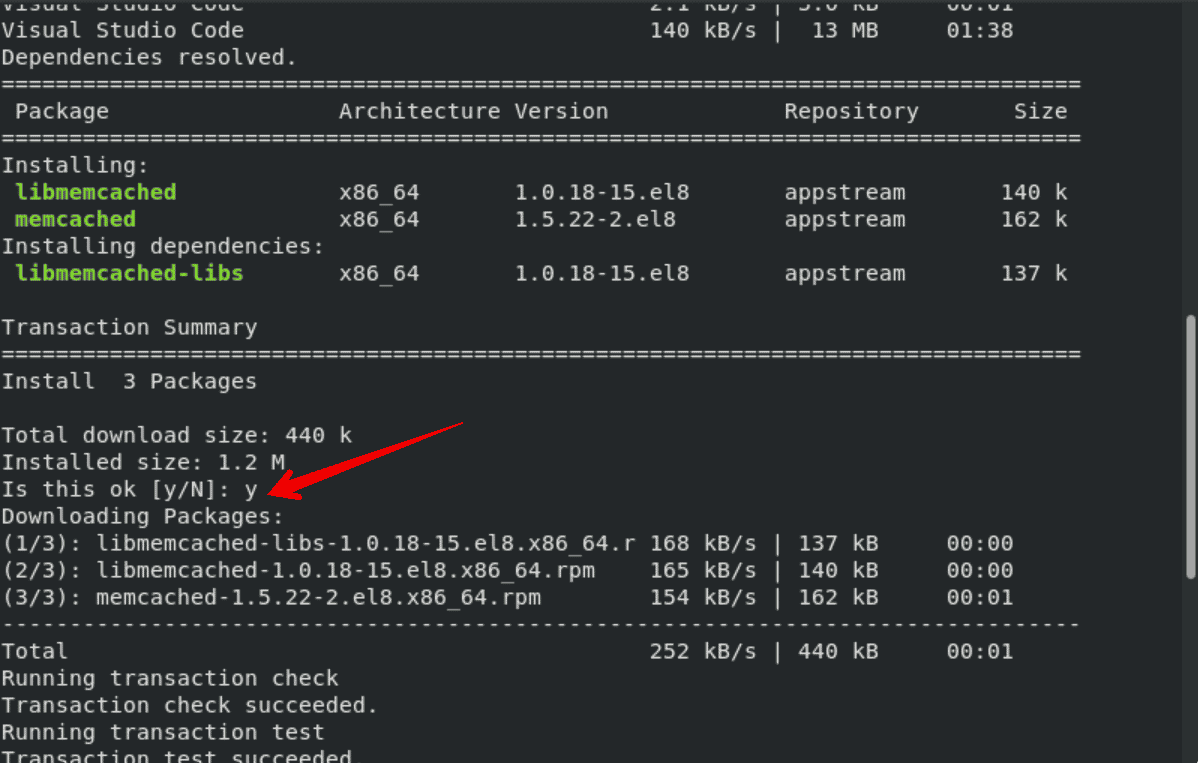 After that, all dependencies and a list of packages will be downloaded and installed on your system as follows:
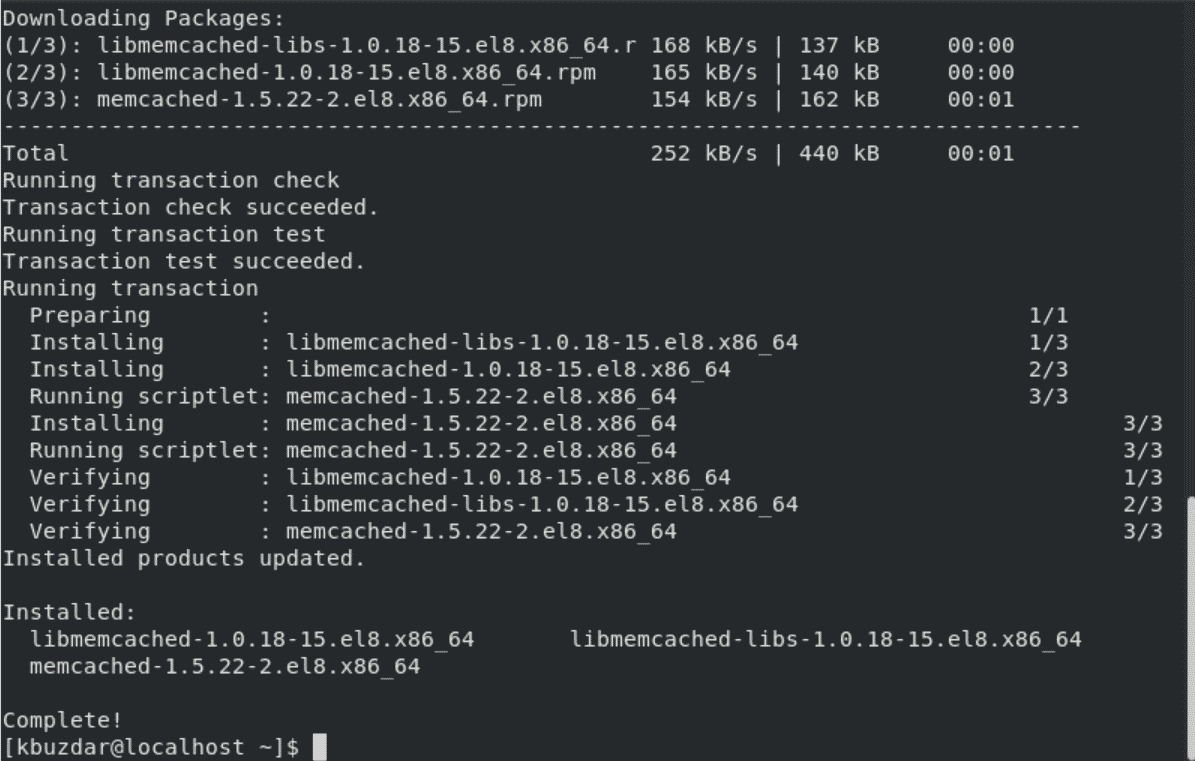
When the ‘complete’ status shows on the terminal window that means the installation of all Memcached packages has been completed on this system.
Step 2: Verify the Memcached installation
Once the installation of the Memcached server is completed, you can ensure the Memcached installation on your system by running the following command:
$ rpm -q memcached

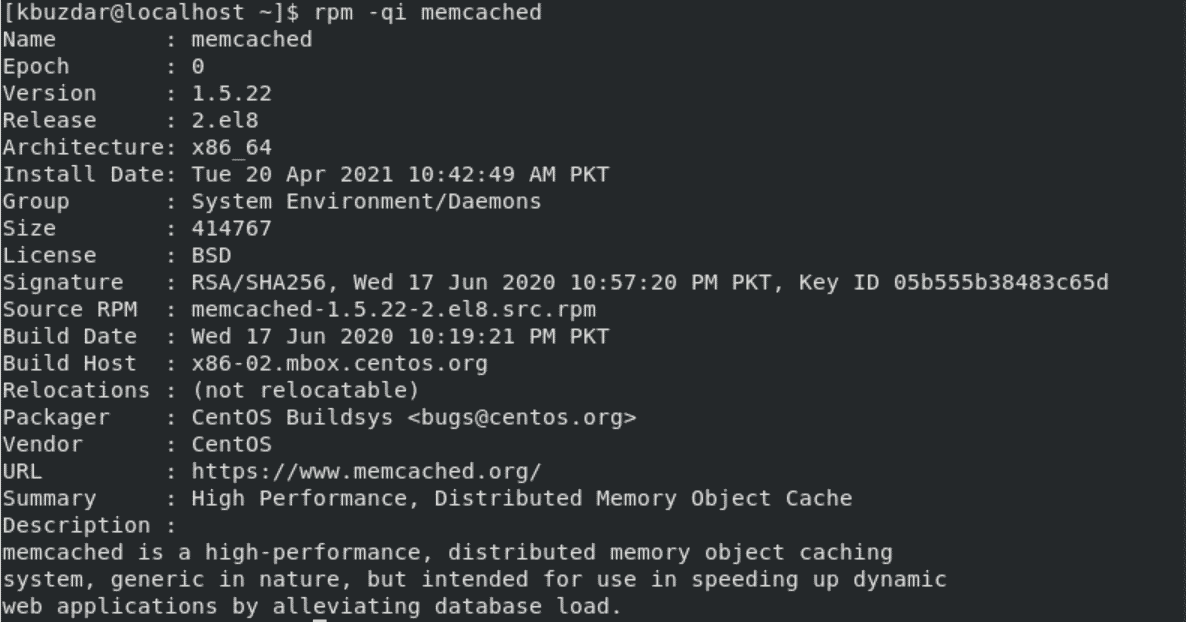
The above command will verify that either Memcached is installed on your system or not. To get more information about the installed Memcached server such as version, architecture, and more. Use the about command with the ‘qi’ parameter, that displays all information about the installed Memcached caching server:
$ rpm -qi memcached
Step 3: Enable Memcached Service on CentOS 8
Now, enable the Memcached services on your CentOS 8 system by typing the following command:
$ sudo systemctl enable memcached --now

To check the Memcached caching server running status on your system, use the following command:
$ sudo systemctl status memcached
The following Memcached service ‘running’ status should display on the terminal.

To exit from the above-displayed output press ‘Ctrl+C’.
Now, the installation of Memcached is completed. We will discuss the Memcached configurations details in the rest of the article section.
Memcached Configuration on CentOS 8
Memcached configuration file you can find at this ‘/etc/sysconfig/memcached’ location. By default, the Memcached services run on the local host and listen on port ‘11211’. If the client with which you want to connect is also running on the same server that you don’t need to make any changes to the configuration file. Open the Memcached configuration file by executing the following command:
$ sudo nano /etc/sysconfig/memcached
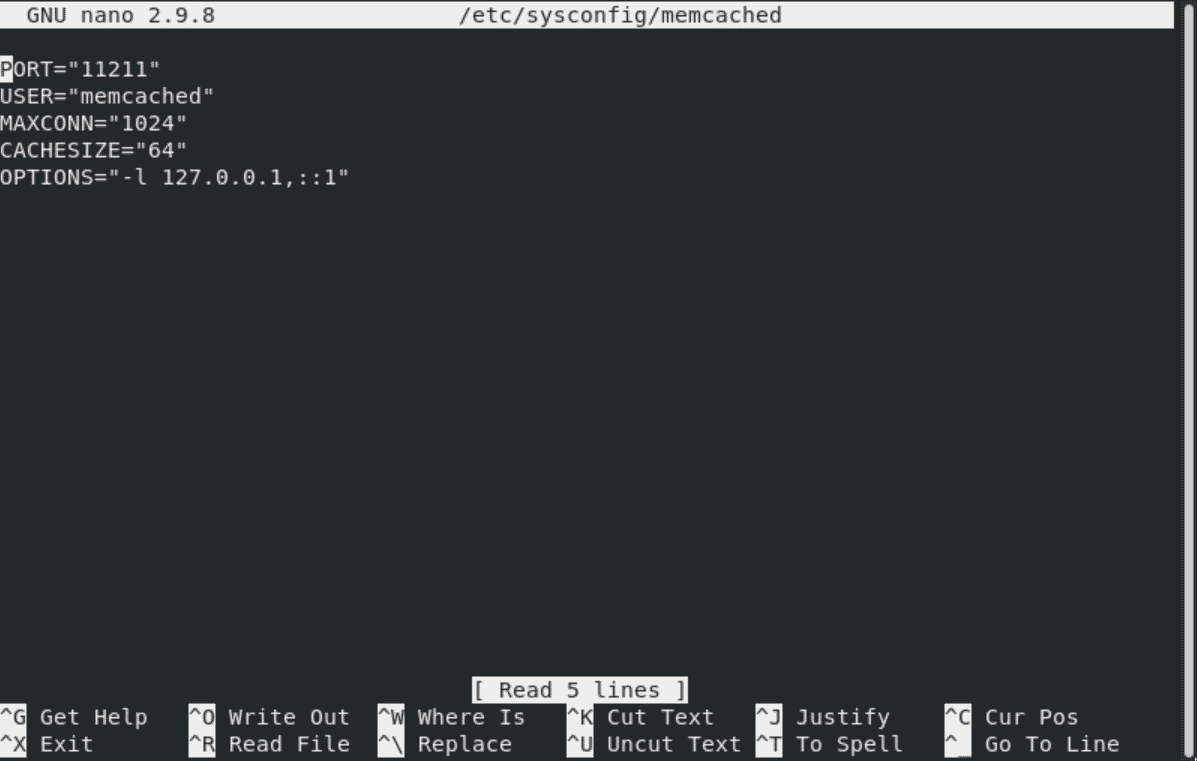
If the applicant connecting to the server is running on the remote host then, you need to make some changes to the Memcached configuration file.
Let’s suppose, in the private network, the IP of the Memcached server is ‘192.168.100.16’ and the client’s IP is ‘192.168.100.26’. So, allows access to the server’s listening port and changes the following line in the configuration file:
OPTIONS="-l 192.168.100.16"
Save the above configuration and restart the Memcached services by using the below-mentioned command:
$ sudo systemctl restart memcached
Allow Firewall access
The following commands will create a new zone named Memcached and allow access to the required port and client’s IP.
$ sudo firewall-cmd --new-zone=memcached --permanent
$ sudo firewall-cmd --zone=memcached --add-port=11211/udp --permanent
$ sudo firewall-cmd --zone=memcached --add-port=11211/tcp --permanent
$ sudo firewall-cmd --zone=memcached --add-source=192.168.100.16/24 --permanent
$ sudo firewall-cmd --reload
Now, enable and restart again the Memcached services.
Connect to Memcached
To connect with the Memcached server, you will always need to use the language-specific client.
Memcached for Python
There are many python libraries available to connect with Memcached. You can easily install these python packages through the pip tool.
$ pip install pymemcache
$ pip install python-memcached
Memcached with PHP
To use the Memcached caching database with PHP application, you need to install the relevant extension on your CentOS 8 system as follows:
$ sudo dnf install php-pecl-memcache
Uninstall Memcached
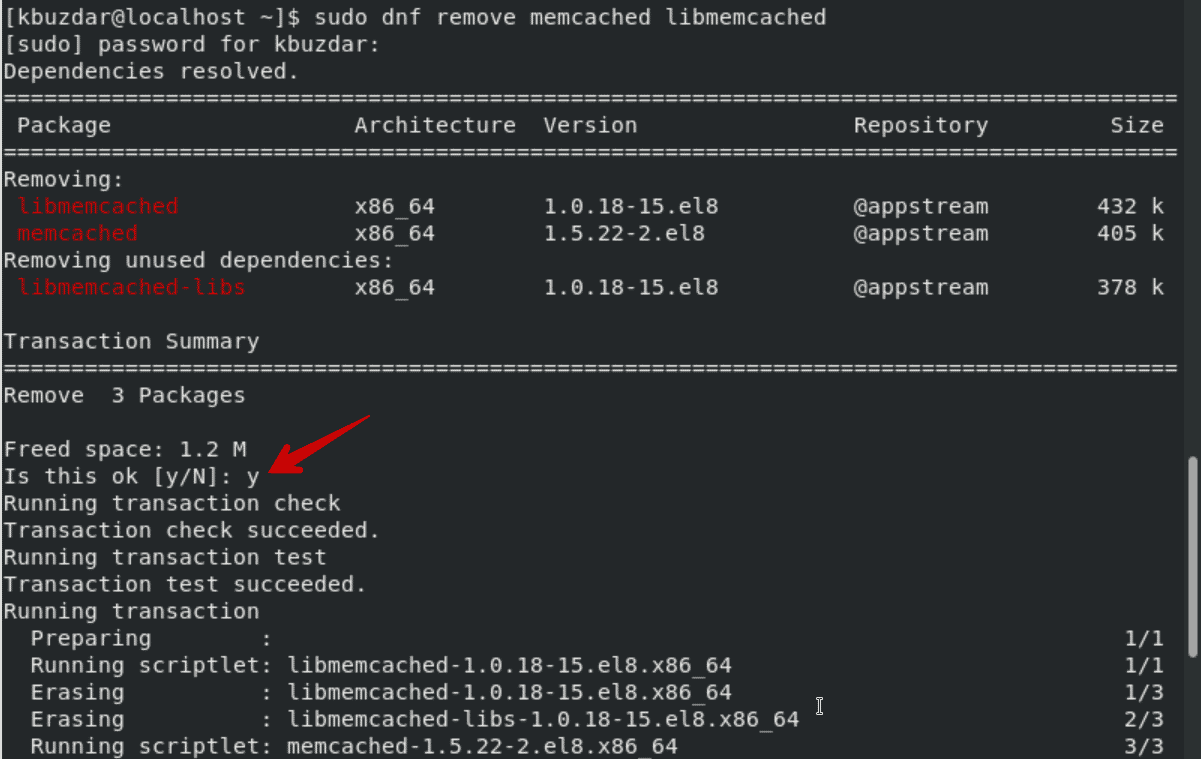
If you don’t find it useful more on your system then, by executing the following command you can uninstall the Memcached caching server from CentOS 8 along with dependencies:
$ sudo dnf remove memcached libmemcached
Conclusion
We have explained in this article, how to install and configure the Memcached caching server on CentOS 8 system through the command-line tool. We have elaborated on each step in detail. Now, you can easily install and configure the Memcached server on your CentOS 8 system easily. To read more details about the Memcached server, you can get more help through the internet resources. Please inform us about your queries.
