Rapidly upgrading technology increases the need for a better operating system that provides regular updates and better optimization. The latest and updated built-in tools and widgets come with a new operating system, which is better than their older versions in almost all aspects.
If you’re looking to upgrade your CentOS 7 to CentOS 8, this article will guide you through upgrading CentOS 7 to CentOS 8.
How To Upgrade from CentOS 7 to CentOS 8
Step 1: Open the Terminal and Execute the Following Command

After you hit enter, you will most likely be asked to be a root. So, enter the “su” command, and then you will be asked to enter the password. Enter the password, hit enter, and re-run the command again.
Note: You may not see your password being typed on the screen. However, it is okay once you enter the correct password. Then, hit enter, and you are now root.
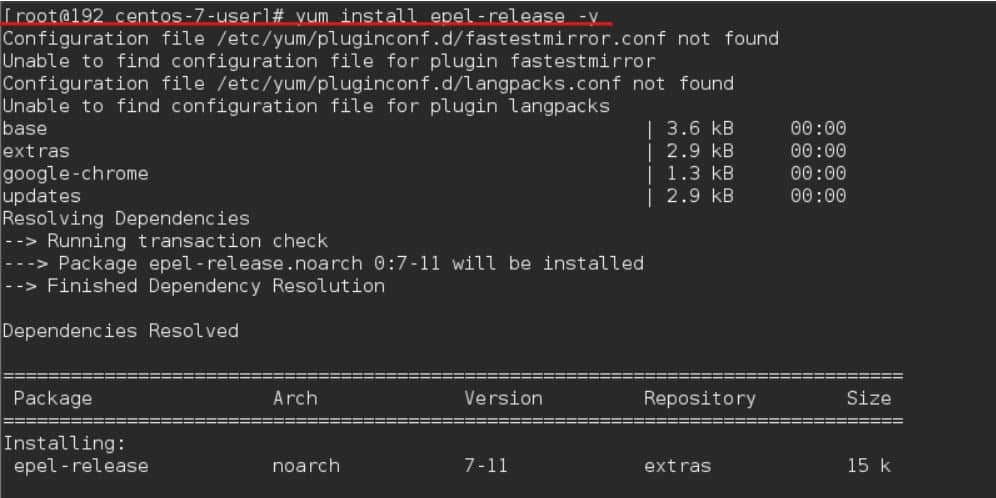
Step 2: Installing the yum-util Tools by Executing the Following Command

It will automatically download and install all the required packages.
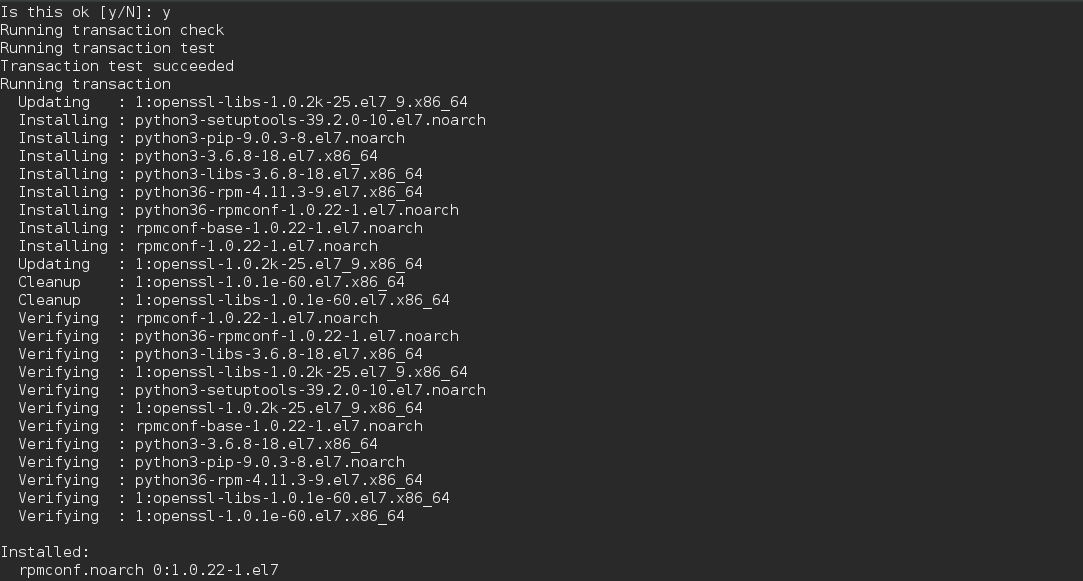
Step 3: Enter the Following Commands To Resolve RPM Packages
![]()
Now, the terminal will ask, “Is this ok [y/N]:”. You will type “y”. Then, hit enter, and it will install and update everything required.

In CentOS, the DNF package is the default package manager, and we will install it using the following command:

Now, we will remove the yum package manager, as it is no longer being used, using the following command:
![]()
It will remove it.
Step 4: Upgrade the System Using DNF Package Manager by Entering the Following Command
![]()
Once it is done, we can move forward and execute the following command:

Or, copy-paste this:
$ dnf install http://mirror.centos.org/centos/8/BaseOS/x86_64/os/Packages/{centos-linux-repos-8-2.el8.noarch.rpm,centos-linux-release-8.4-1.2105.el8.noarch.rpm,centos-gpg-keys-8-2.el8.noarch.rpm}
Step 5: Upgrade the EPEL Repository
![]()
Or, copy-paste this:
$ dnf -y upgrade https://dl.fedoraproject.org/pub/epel/epel-release-latest-8.noarch.rpm
Then, execute this command:
![]()
Step 6: Remove the Old Kernel and Conflicting Packages
![]()
And
![]()
Step 7: Run Upgrade
![]()
Or, copy-paste this:
$ dnf -y --releasever=8 --allowerasing --setopt=deltarpm=false distro-sync
Now, run the following command to install the new kernel:
![]()
After that is done, use this command to install CentOS minimal package:
![]()
Step 8: Check the Current Version Using the Following Command
![]()
This will show you the current version as shown below:
![]()
Now, we have successfully upgraded from CentOS 7 to CentOS 8.
Conclusion
If you’re looking for a better and optimized operating system, you have to upgrade. The same goes with CentOS 7. In this article, we went through all the steps required to upgrade to CentOS 8 from CentOS 7, and we hope that this article helped you in your attempt to upgrade. You have successfully upgraded your operating system, and now you will see the difference. Don’t forget to visit our website for more articles like this.


