Introduction:
Whenever it comes to relational databases, MariaDB is considered as one of the most popular out of these. It has been developed by the makers of MySQL database management system and is designed to be compatible with all the three major operating systems i.e. Linux, macOS, and Windows. Since Debian 10 is one of the lightest distributions of Linux, that is why most of the users prefer using it for performing their day to day tasks. Therefore, today’s article will be shedding light on the method of installing MariaDB on Debian 10.
Method of Installing MariaDB on Debian 10:
For installing MariaDB on a Debian 10 system, we will quickly walk you through the below mentioned six simple steps:
Step # 1: Update the Cache of your Debian 10 System:
As with the installation of any new package, you have to update your system’s cache first. Similarly, we will update our Debian 10 system’s cache by running the following command:
sudo apt update
![]()
Once all the packages and dependencies have been successfully updated, your system will show an output similar to the one shown in the image below:

Step # 2: Install MariaDB Server on Debian 10:
Now you have to start installing the MariaDB server on Debian 10 with the help of the following command:
sudo apt install mariadb-server
![]()
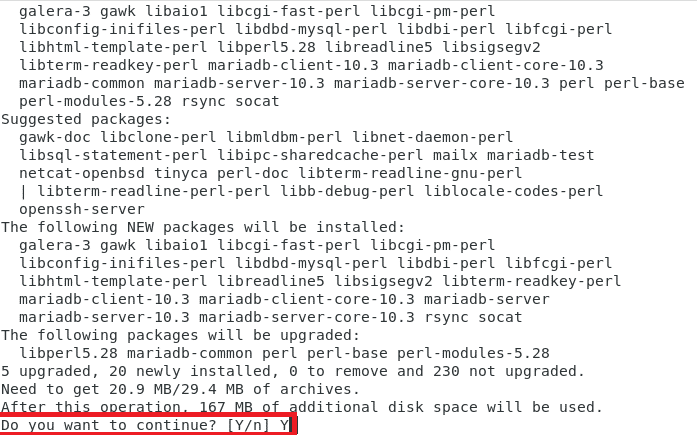
After passing this command, your Debian 10 system will immediately begin the installation of the MariaDB server on it, however, during the installation, it will ask you once for your consent as highlighted in the image shown below:
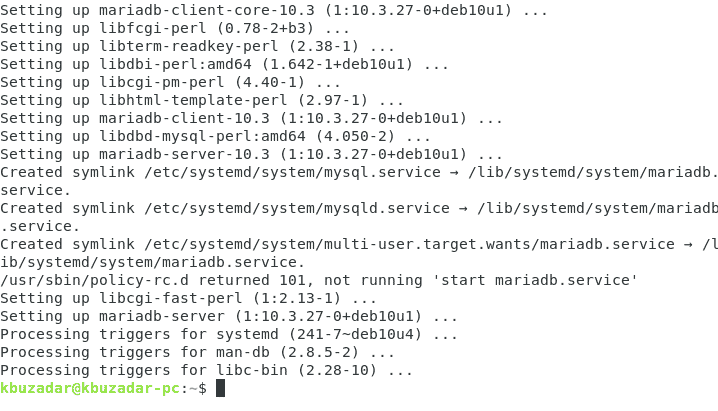
Once you have provided this consent, now the control of the terminal will only be handed back to you once the installation is complete as shown in the following image:
Step # 3: Start the MariaDB Service on Debian 10:
On some flavors of Linux, the MariaDB service starts automatically after installation whereas, in others, you have to start it manually. However, it is always good to be on the safe side so you can always start the MariaDB service manually by running the command stated below:
sudo systemctl start mariadb
![]()
If the MariaDB service is started successfully, you will not be getting any messages on the terminal.
Step # 4: Check the Status of MariaDB Service to Verify its Installation: (Optional)
Therefore, to verify if the MariaDB service is installed and started successfully, you have to check the status of this service by running the following command:
sudo systemctl status mariadb
![]()
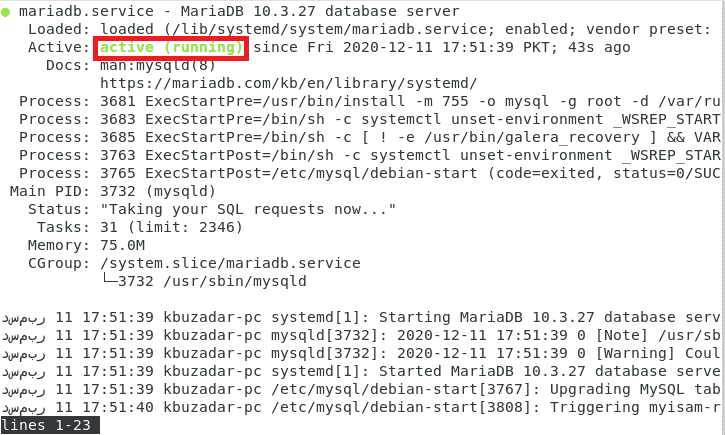
Since the status of the MariaDB service is “active (running)” in our case, therefore, it implies that it has been successfully installed and started on our Debian 10 system.
Step # 5: Check the Version of MariaDB Server: (Optional)
You can even check the version of the installed MariaDB server by running the command shown below:
mariadb --version
![]()
The version of the MariaDB server installed on our Debian 10 system is shown in the following image:

Step # 6: Secure your MariaDB Server: (Optional)
Additionally, you can even secure your MariaDB server by running the command stated below:
sudo mysql_secure_installation
![]()
You will be asked to enter your root password after running this command as shown in the following image:

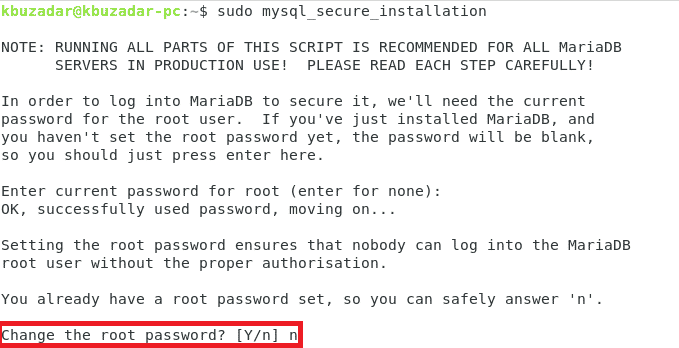
After entering the root password, you will be asked if you want to change it or not. In our case, since we did not want to change it, that is why we pressed the “n” key. You can do otherwise if you wish to change your root password.
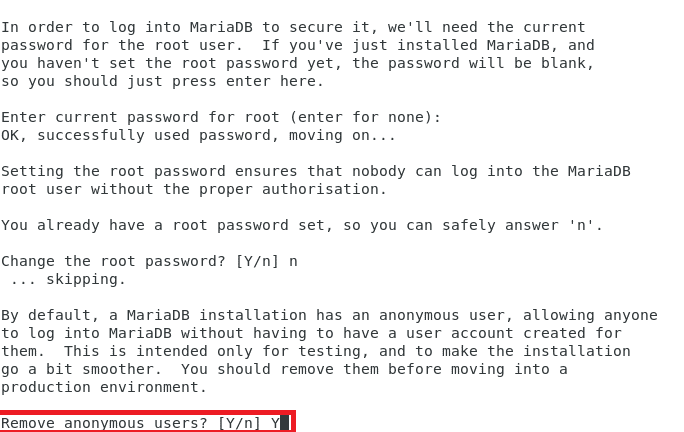
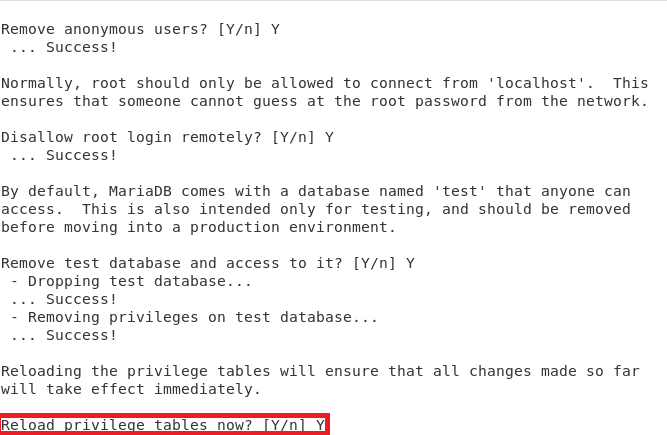
MariaDB creates an anonymous user by default for testing purposes. However, when it comes to securing your MariaDB server, it is always good to remove that user. So here, you have to enter “Y” as highlighted in the image shown below:
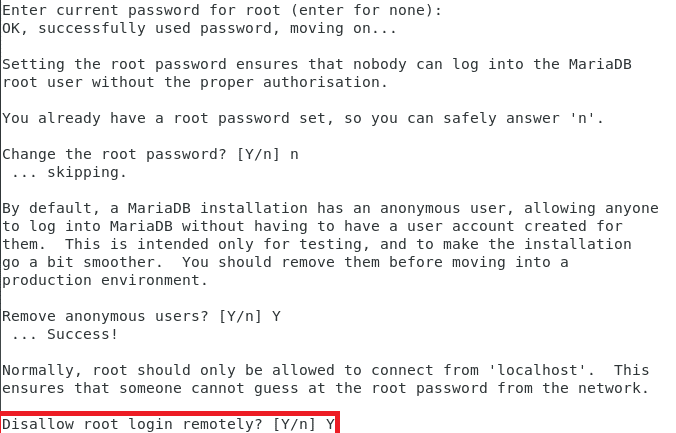
Then it is strongly recommended that you always disallow remote root logins for an added layer of security. Therefore, you need to enter a “Y” over here as well.
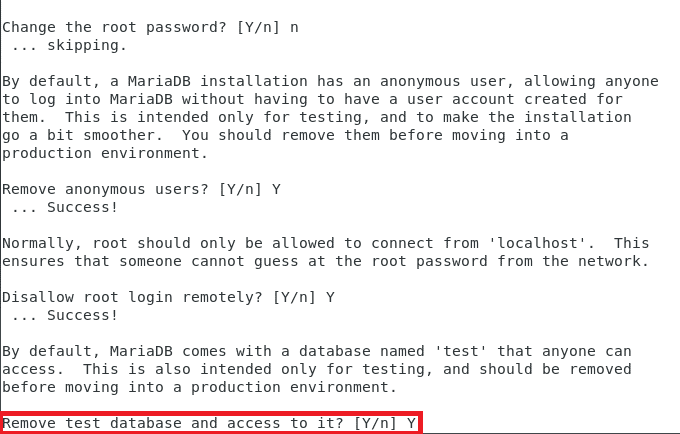
MariaDB even creates a test database by default at the time of installation. You should also remove this database and access to it. So, you should enter a “Y” over here as highlighted in the following image:
Finally, you will be asked to reload the privileges table so that it can easily read all the changes that you have just made. Therefore, you need to press “Y” over here yet again.
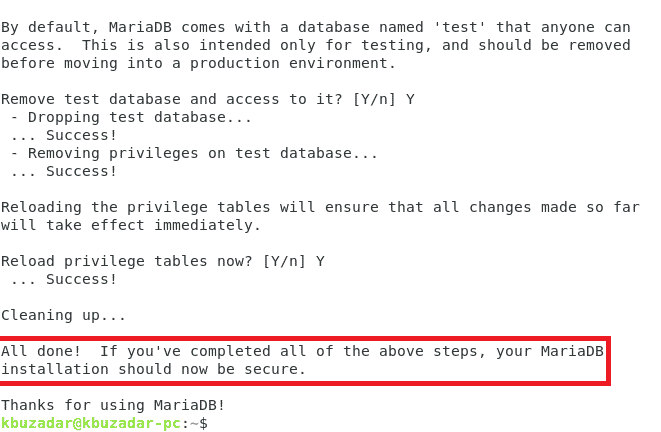
Once you have configured all these settings, you will be presented with the message highlighted in the image shown below on your terminal which will indicate that your MariaDB server has been secured successfully.
Method of Removing MariaDB from Debian 10:
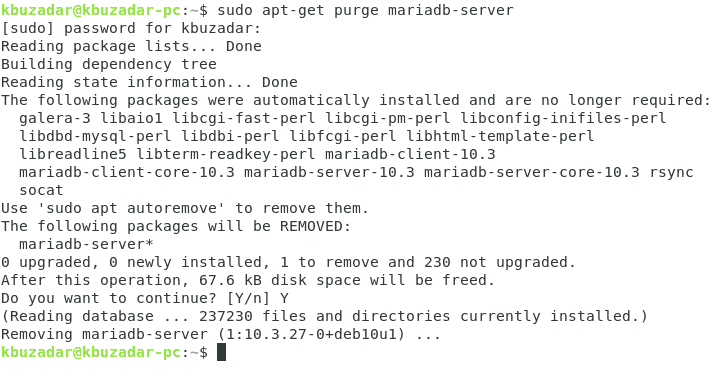
For removing MariaDB from your Debian 10 system along with its configuration files, you have to run the following command:
sudo apt-get purge mariadb-server
![]()
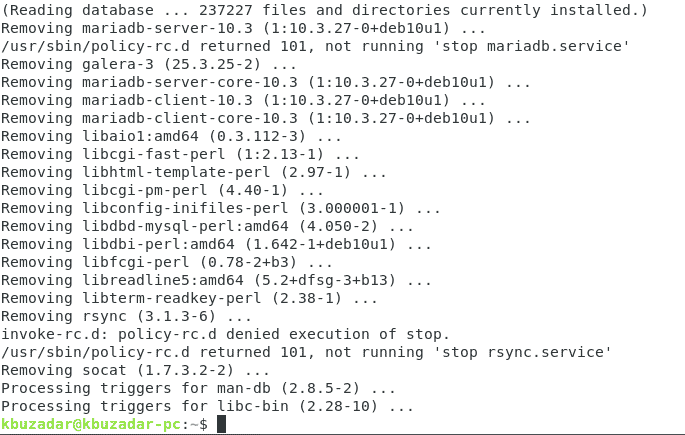
Once this command removes MariaDB along with all of its configuration files from your Debian 10 system, it will cause the messages shown in the image below to be displayed on your Debian 10 terminal:
Now you might also want to get rid of all those packages that got installed along with MariaDB. This can be done by issuing the following command:
sudo apt-get autoremove
![]()
After executing this command, you will not be able to find any traces of MariaDB on your Debian 10 system.
Conclusion:
By following step # 1 to 3 of this article, you can conveniently install and start the MariaDB service on a Debian 10 system. Step # 4 to 6 are optional, however, it will be really nice if you follow the whole article as it is since these extra steps are presented solely for the sake of your benefits. Moreover, we have even explained to you how you can remove MariaDB from your Debian 10 system in the last section of this article.
