Introduction:
Adobe Flash Player is a software that we can use to enjoy all the content that is created while using the Adobe Flash platform. You might have noticed while visiting certain websites that their content is not presented to you unless you enable the Adobe Flash Player. It implies that the content of such websites is developed on the Adobe Flash platform. So, our today’s article will be explaining to you the method of installing the Adobe Flash Player on Ubuntu 20.04.
Method of Installing Adobe Flash Player on Ubuntu 20.04:
For installing the Adobe Flash Player on your Ubuntu 20.04 system, you have to follow all the steps that we have listed over here:
Step # 1: Check whether Adobe Flash Player is Currently Installed on your Ubuntu 20.04 System or not:
There is a dedicated website to check whether the Adobe Flash Player is installed on a system or not. You need to visit that website to check if you currently have the Adobe Flash Player installed or not. Just type isflashinstalled.com in any browser of your choice as highlighted in the following image:
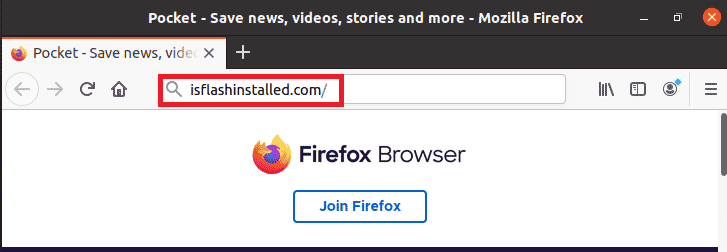
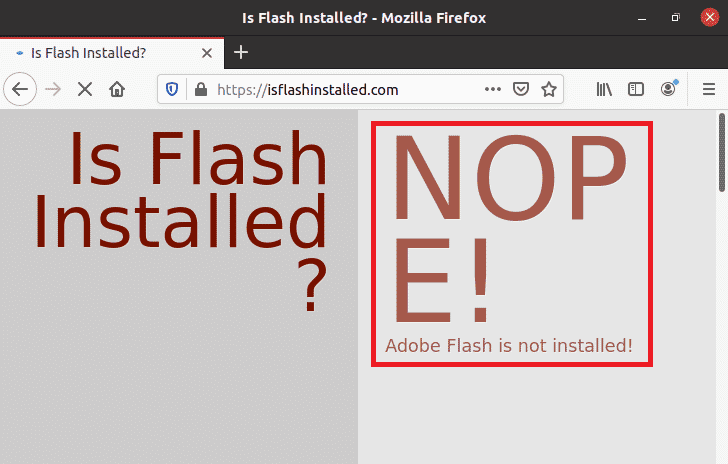
This address will take you to the respective website from where you can clearly see that the Adobe Flash Player is currently not installed on our Ubuntu 20.04 system.
Step # 2: Update Ubuntu 20.04 System’s Cache:
Now you should launch the terminal and execute the below-mentioned command in it to update it:
sudo apt update
![]()
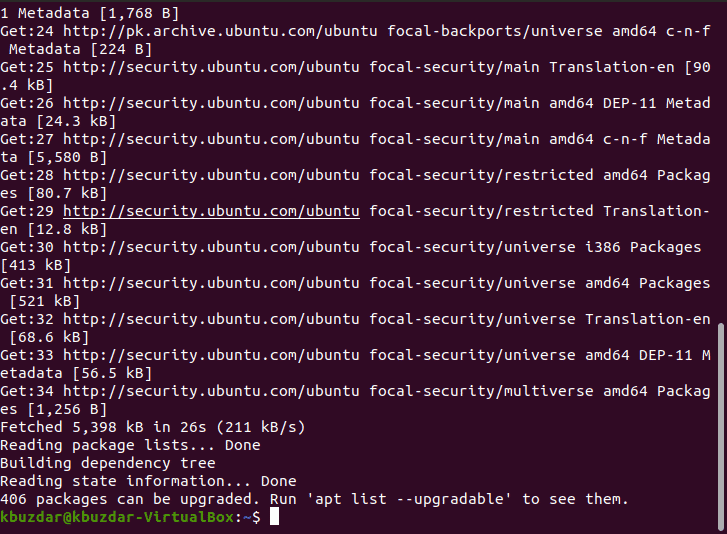
We have performed this update before installing the Adobe Flash Player just to ensure that there are no broken links or dependencies. You will also see the output shown in the following image once your Ubuntu 20.04 system is updated successfully.
Step # 3: Install the Adobe Flash Player on your Ubuntu 20.04 System:
Now we can easily install the Adobe Flash Player on our Ubuntu 20.04 system by running the command stated below:
sudo apt-get install flashplugin-installer
![]()
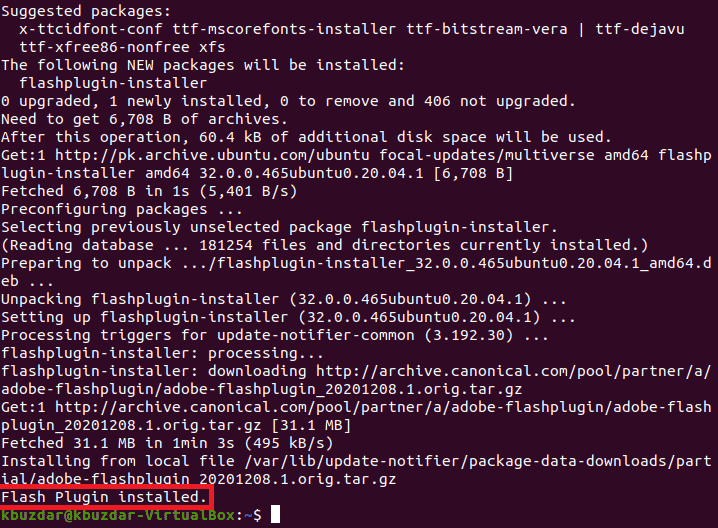
Once the execution of this command will begin, the Adobe Flash Player will automatically start installing on your Ubuntu 20.04 system. As soon as the installation will complete, you will see the message highlighted in the following image on your Ubuntu 20.04 terminal:
Step # 4: Verify the Successful Installation of Adobe Flash Player on your Ubuntu 20.04 System:
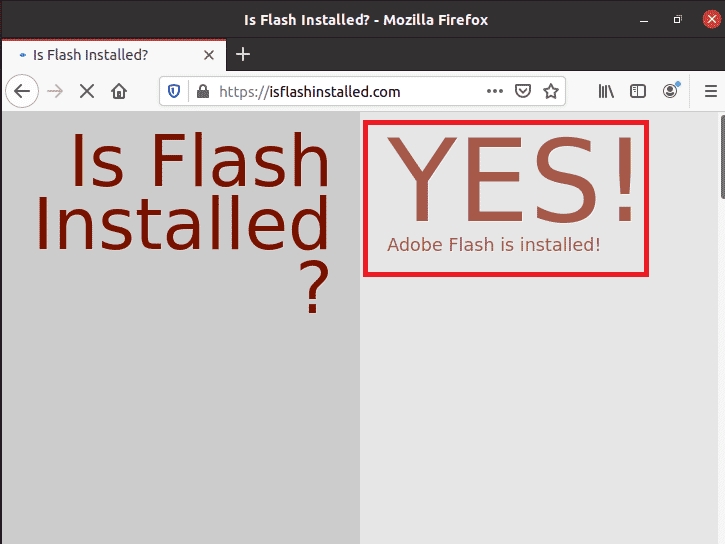
Although, we have clearly seen that the Adobe Flash Player has been successfully installed on our Ubuntu 20.04 system as a result of the steps that we have just performed. However, we can still confirm it by visiting the isflashinstalled.com website again. This time, we will be able to see that the Adobe Flash Player is now installed on our Ubuntu 20.04 system as highlighted in the image shown below:
Method of Removing the Adobe Flash Player from Ubuntu 20.04:
You can even remove the Adobe Flash Player from your Ubuntu 20.04 system whenever you want to by running the following command:
sudo apt-get purge flashplugin-installer
![]()
Running this command will remove the Adobe Flash Player and its configuration files from your Ubuntu 20.04 system. Now if you also want to remove all the packages that got installed with the Adobe Flash Player, then you have to execute the command shown below:
sudo apt-get autoremove
![]()
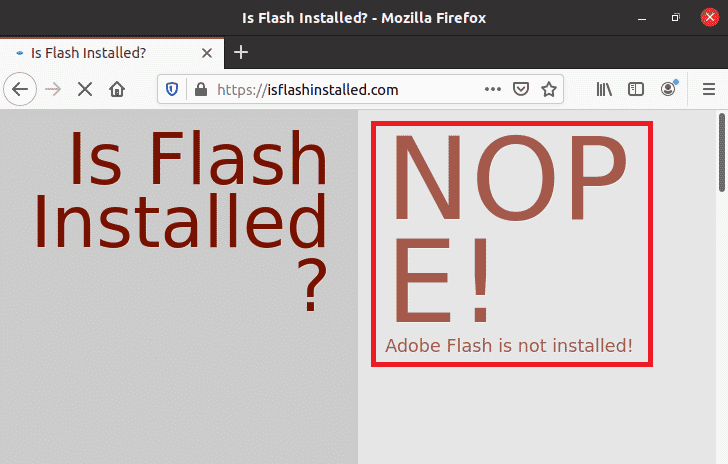
After removing the Adobe Flash Player from your Ubuntu 20.04 system, when you will visit the isflashinstalled.com website, you will be able to see the message highlighted in the following image:
Conclusion:
By following the steps that we have described in this article, you can conveniently install the Adobe Flash Player on Ubuntu 20.04. Once the Adobe Flash Player has been successfully installed on your Ubuntu 20.04 system, it will never render any error while displaying the contents of those websites that are based on the Adobe Flash platform. Moreover, whenever you feel like removing the Adobe Flash Player from your Ubuntu 20.04 system, then you can even do that by following the method described in the last section of this article.


