Introduction
AIDE is an acronym for Advanced Intrusion Detection Environment. It is a system that detects changes to files on the local system.
AIDE sets up the database based on regular expression rules in the configuration file. It can be used to check for legitimate changes of files after the database is created. It uses several message algorithms such as md5, sha1, rmd160, tiger, haval, … to check file integrity.
Below is the section that guides you on how to Install AIDE on Ubuntu 20.04 as you go through below.
Installing AIDE
Step 1: Run the apt command to update packages
$ sudo apt update
Output:

Step 2: Run the apt command to install AIDE
$ sudo apt install aide
Output:
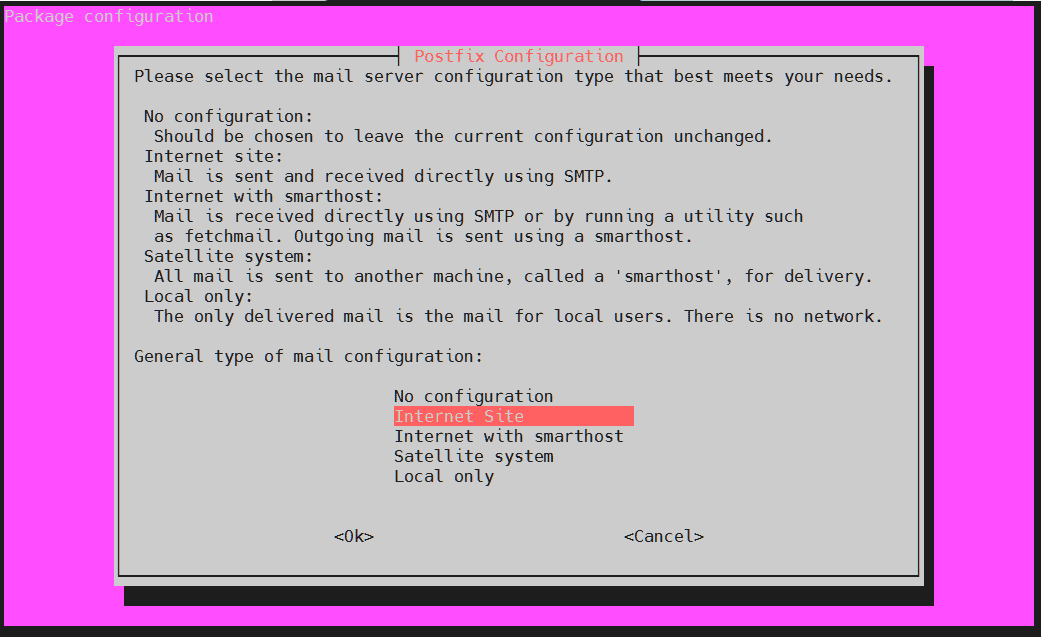
Press Enter, then it will show the following table: 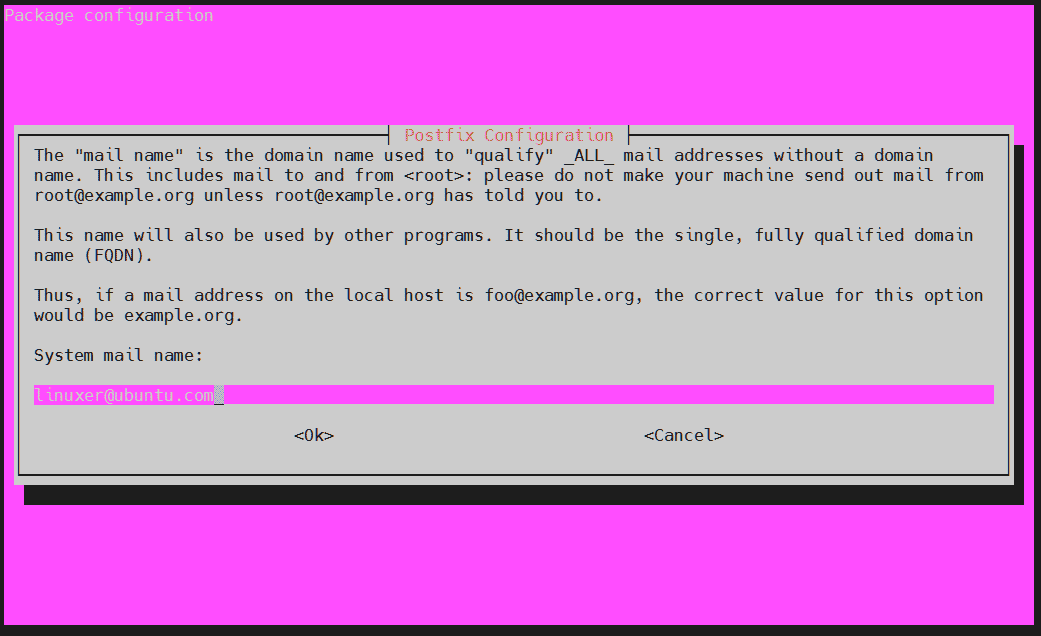
Let’s provide your mail name then press Enter
Output:

Configuring AIDE
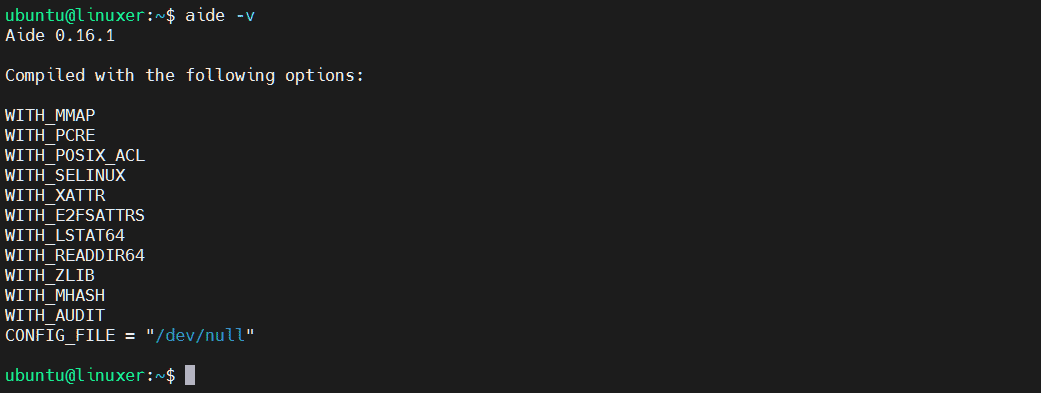
1. You need to check your AIDE version:
$ aide -v
Output:
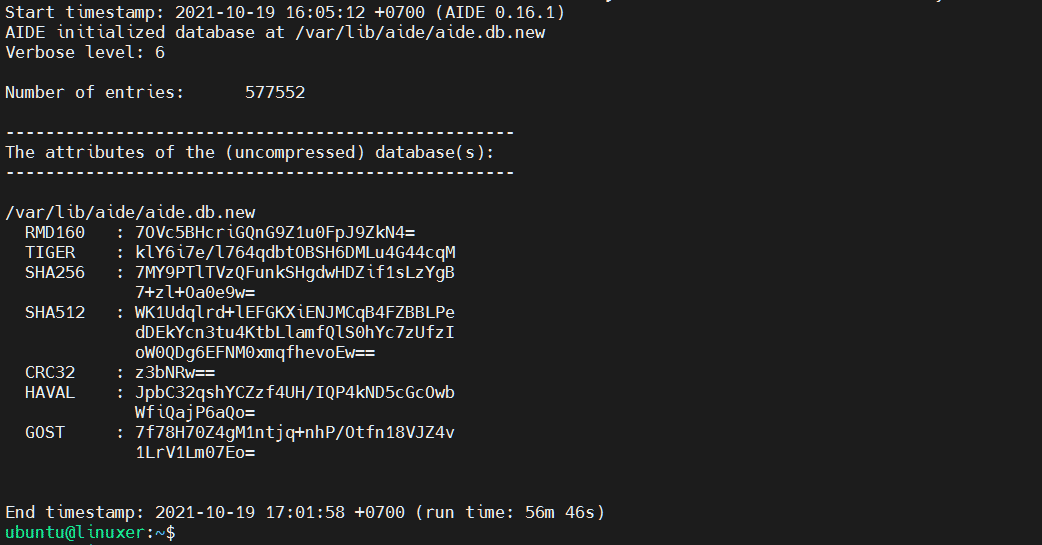
2. Create a new AIDE database by using the aideinit script:
$ sudo aideinit
Output:
3. To install new AIDE database, you must copy it to place:
$ sudo cp /var/lib/aide/aide.db.new /var/lib/aide/aide.db
4. Update the AIDE configuration:
$ sudo update-aide.conf
5. Copy the AIDE configuration file to another directory
$ sudo cp /var/lib/aide/aide.conf.autogenerated /etc/aide/aide.conf
Test the AIDE
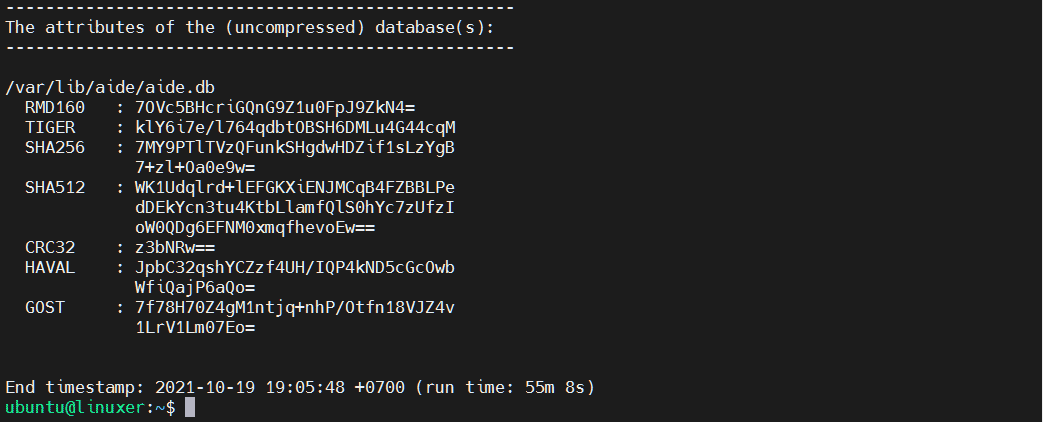
1. Manual database check based on the new configuration
$ aide -c /etc/aide/aide.conf -C
Output:
2. Update the database
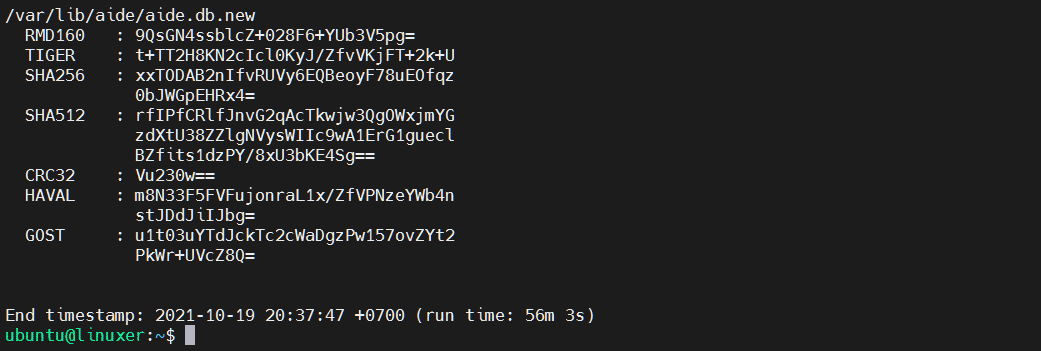
$ sudo aide -c /etc/aide/aide.conf --update
Output:
3. Check database entries for match /etc
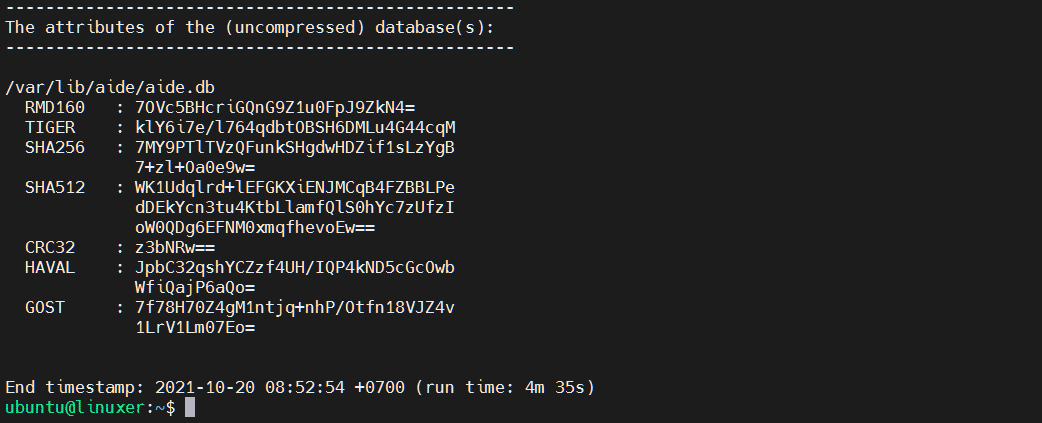
$ aide -c /etc/aide/aide.conf --limit /etc --check
Output:
Conclusion
We just showed you how to install AIDE on Ubuntu 20.04.
Thanks for reading!


