Eclipse is an open-source IDE used for java application development. It also supports some other programming languages like PHP, Perl, Android, C/C++. Eclipse can run on Linux, Windows, and MacOS.
Today’s post is about how to install Eclipse IDE on Ubuntu OS. On Ubuntu, Eclipse IDE can be installed through different methods. Here, we will cover:
- Installation of Eclipse IDE via Direct Download
- Installation of Eclipse IDE via Snap
Note: The installation procedures described here have been tested on Ubuntu 20.04 LTS.
Installation via Direct Download
In this method, we will install the Eclipse IDE using the tar.gz package available at eclipse.org official website. This method helps you to install the latest version of Eclipse 2021-06 available at eclipse.org website. Follow the below steps to install Eclipse IDE on Linux Ubuntu.
1. In order to run Eclipse, you will first require JRE to be installed on your system. Use the command below to install JRE on your Ubuntu system:
$ sudo apt install default-jre
Enter your sudo password, and if a y/n prompt appears during installation, type y and press Enter.
2. Download the Eclipse tar.gz package from the Eclipse website Downloads page or use the command below:
$ wget https://mirrors.ustc.edu.cn/eclipse/oomph/epp/2021-06/R/eclipse-inst-jre-linux64.tar.gz
The downloaded file will be in archive format.
3. Extract the tar.gz archive using the command below:
$ sudo tar -xf eclipse-inst-jre-linux64.tar.gz

The archive will be extracted to a directory named eclipse-inst-jre-linux64
4. Now to install Eclipse, first move inside the extracted directory using this command:
$ cd eclipse-installer/
Then use the command below to run the installer script:
$ ./eclipse-inst

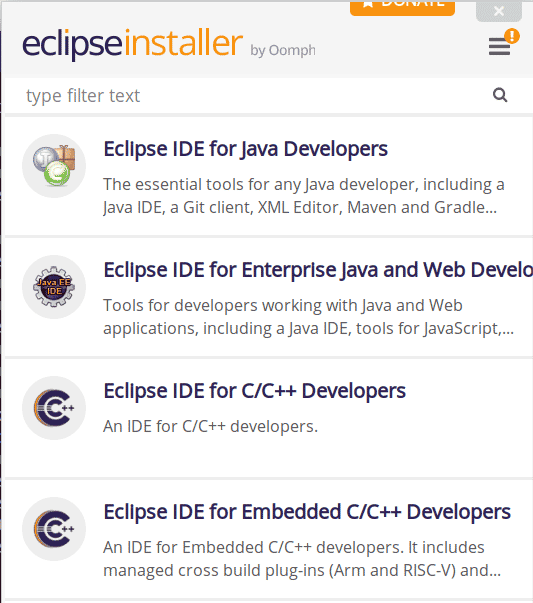
After running the installer script, the following window will appear for you to choose the IDE package to install. Click the desired package to select it.
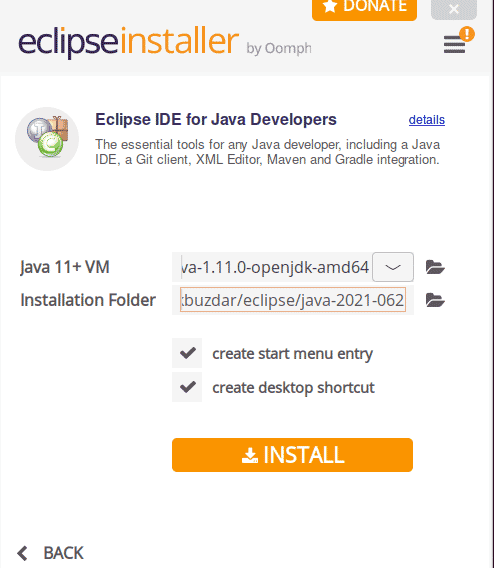
Now you can either specify an installation folder or leave the default folder selected. Then click the INSTALL button.
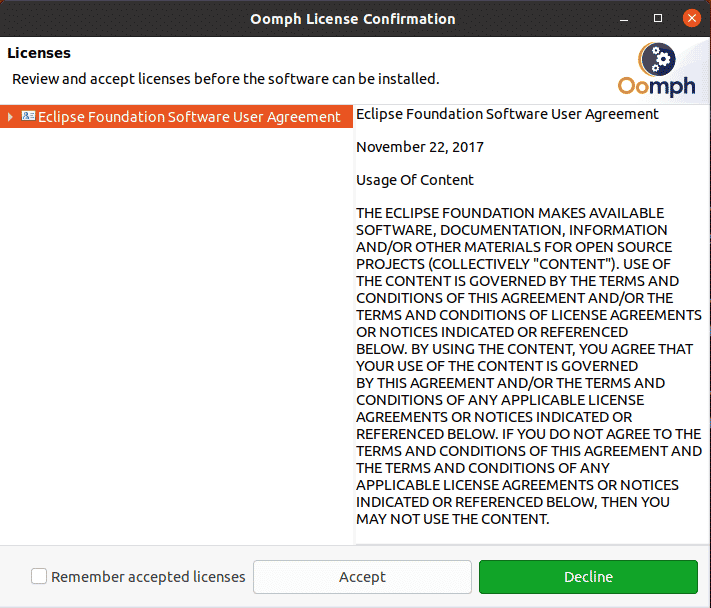
Then click Accept Now to agree with the license terms.
After the installation is completed, click Launch.
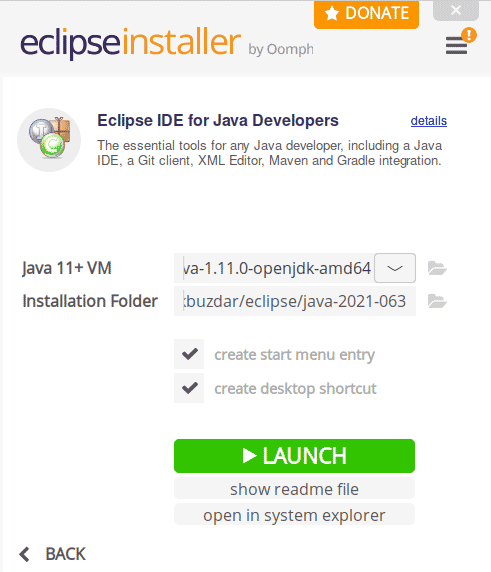
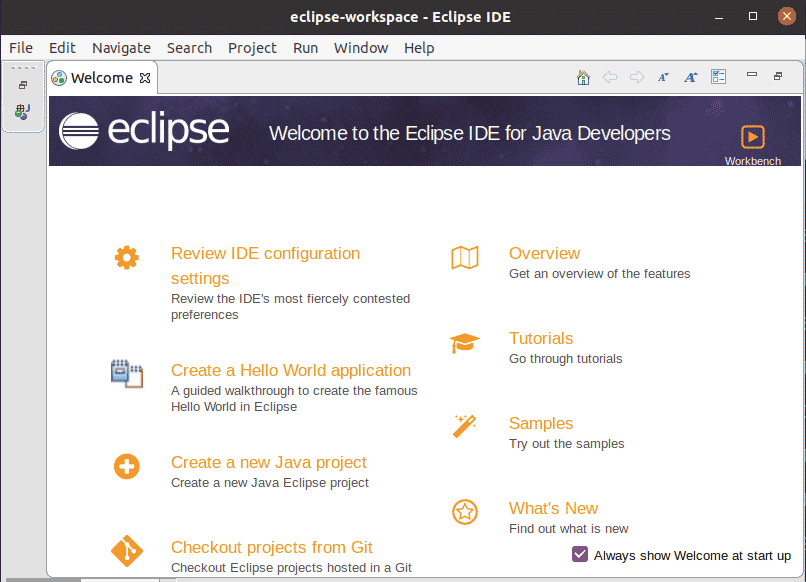
This will launch the Eclipse IDE application on your system.
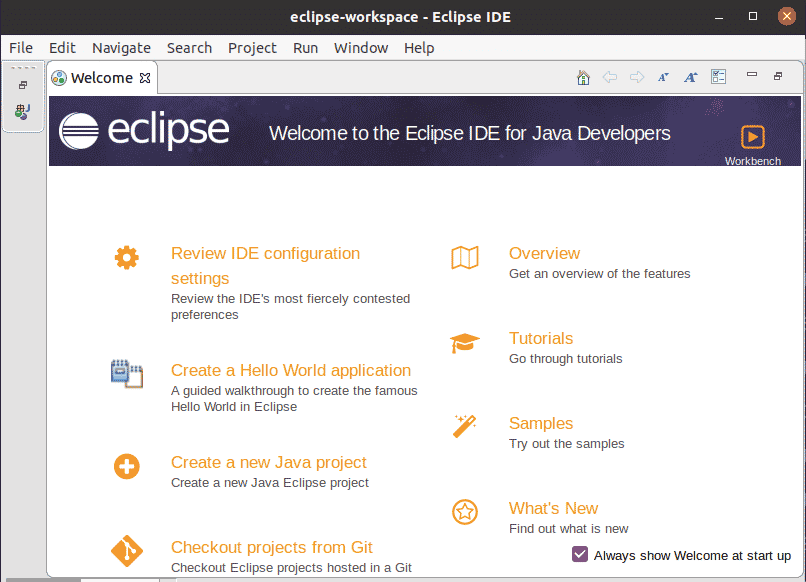
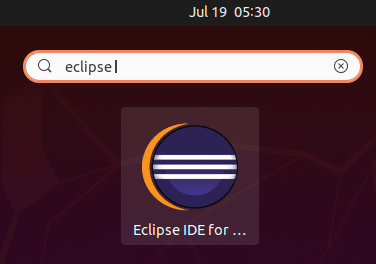
After installation, you can launch Eclipse IDE from the Applications menu. Hit the super key and then search for the Eclipse using the search bar at the top.
Installation via Snap
You can also install Eclipse IDE using the snap package. As of July 2021, the latest version of the Eclipse snap package is 2019-12. Follow the below steps to install Eclipse IDE on Linux Ubuntu:
1. First install snapd on your Ubuntu system using the command below:
$ sudo apt install snapd
Enter your sudo password, and if a y/n prompt appears during installation, type y and press Enter.
2. Now install Eclipse using the command:
$ sudo snap install eclipse --classic
Once Eclipse is installed, you will see the below output.

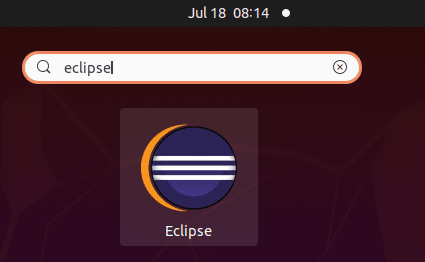
After installation, you can launch Eclipse IDE from the Applications menu. Hit the super key and then search for the Eclipse using the search bar at the top.
This will launch the IDE application on your system.
Remove Eclipse IDE
If you need to uninstall Eclipse IDE for any reason, you can do it as follows:
If you have installed Eclipse IDE via the direct download method, you can remove it using the commands below:
$ sudo rm -r ~/.eclipse
$ sudo rm –r ~/ eclipse-workspace
If you have installed Eclipse IDE via snap, you can remove it using the command below:
$ sudo snap remove eclipse --classic
Using either the direct download or the snap method, you can easily install Eclipse IDE on your Ubuntu system. The method to remove Eclipse IDE is also discussed here in case you want to uninstall it.


