GNU Octave is an open-source, high-level complete programming language. It is compatible with MATLAB and is mostly used for numerical calculations. It has a lot of graphical capabilities for data plotting and visualization. It also aids in the numerical solution of linear and nonlinear problems.
GNU Octave is supported on Linux, BSD, Windows, and macOS. In today’s post, we will be installing GNU Octave on Ubuntu. For the Linux Mint OS, visit the installation of Octave on Linux Mint.
Note: The installation procedures have been demonstrated on Ubuntu 20.04 LTS.
Installing GNU Octave on Ubuntu
We will cover the following ways you can use to install GNU Octave on Ubuntu:
- Installation through Apt
- Installation through Snap
Method #1 Installation through Apt
GNU Octave is available in the default repositories of Ubuntu OS. It can be installed through the Apt package manager. Follow the below steps for installing GNU Octave on Ubuntu:
1. First, run the command below to update your sources list.
$ sudo apt update
2. Now install GNU Octave by running this command:
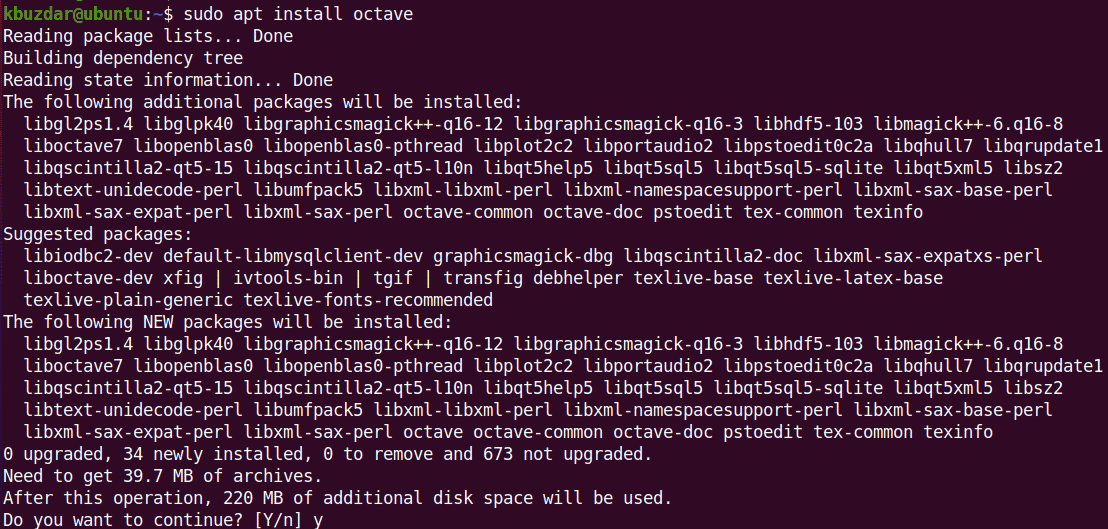
$ sudo apt install octave
After running the installation command, it will ask if you want to continue by providing you with the y/n option. Press y and then press Enter to install GNU Octave.

To verify GNU Octave’s installation, run the command below:
$ octave -v
The output below verifies that GNU Octave’s version 5.2.0 has been successfully installed on our machine.

Method #2 Installation through Snap
You can also install the GNU Octave on your Ubuntu machine through the snap package manager. Follow the below steps for installing GNU Octave on Ubuntu:
1. First, run the command below to update your sources list.
$ sudo apt update
2. Now to install snapd, run this command:
$ sudo apt install snapd
It will then ask if you want to continue by providing you with the y/n option. Press y and then press Enter to install snapd.
3. Then to install GNU Octave, run the command below:
$ sudo snap install octave
This should install GNU Octave on your system.
To verify GNU Octave’s installation, run the command below:
$ octave -v
The output below verifies that GNU Octave’s version 6.4.0 has been successfully installed on our machine.

Launch GNU Octave
To launch GNU Octave from command line, type the below command, and press Enter.
$ octave --gui
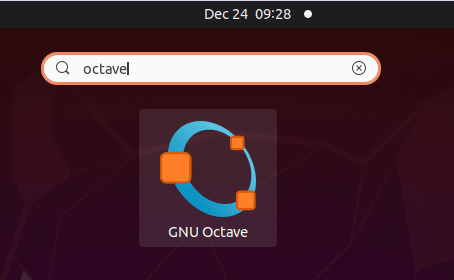
You can also launch GNU Octave from the Activities menu. To do so, hit the super key which will open a search bar. Type octave in the search bar. The icon of the GNU Octave application will then appear on your screen. Click it to launch the application.

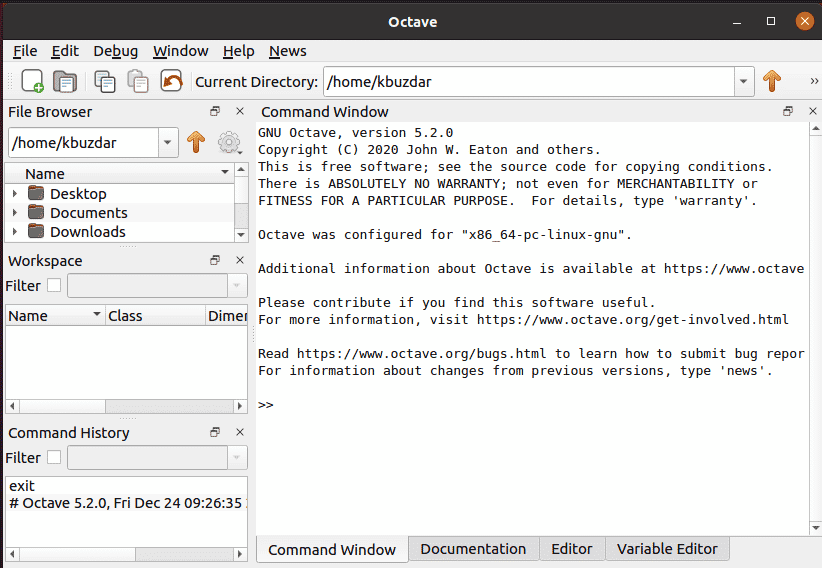
It will then launch the GNU Octave application on your system.

Uninstall GNU Octave
If for any reason you want to remove GNU Octave, use the method described below:
If you have installed GNU Octave through Apt, run the below command to remove it:
$ sudo apt remove octave
If you are prompted with the y/n option, type the letter y and press Enter. The yum command will then remove Octave from your system.
If you have installed GNU Octave through snap, run the below command to remove it:
$ sudo snap remove octave
In today’s post, we covered the installation of GNU Octave on the Ubuntu machine through two different methods. We have also covered how to uninstall GNU Octave in case you want to remove it from your machine. To know more about Octave, visit GNU Octave official manual.


