If you’re using Ubuntu Linux, chances are you will be using some if not many, python-based applications.
Python is a simple to use, easy learning programming language and ranks as one of the top most popular programming languages.
Python is a programming language known for its easy syntax. It is one of the best and most commonly used languages for machine learning and AI software.
In this article, you will learn how to install Python 3.9 on Ubuntu 20.04 from a PPA repository, compile it from source code and alternatively compile and install it using Linuxbrew tool.
The same steps apply for all Ubuntu-based distribution, like Linux Mint and Elementary OS, and also including other Ubuntu flavors like Kubuntu and previous Ubuntu releases.
Installing Python 3.9 on Ubuntu using APT
By default, Ubuntu 20.04 comes with Python 3.8 installed.
You can check that out by typing:
$ python3 --version
Python 3.8.5
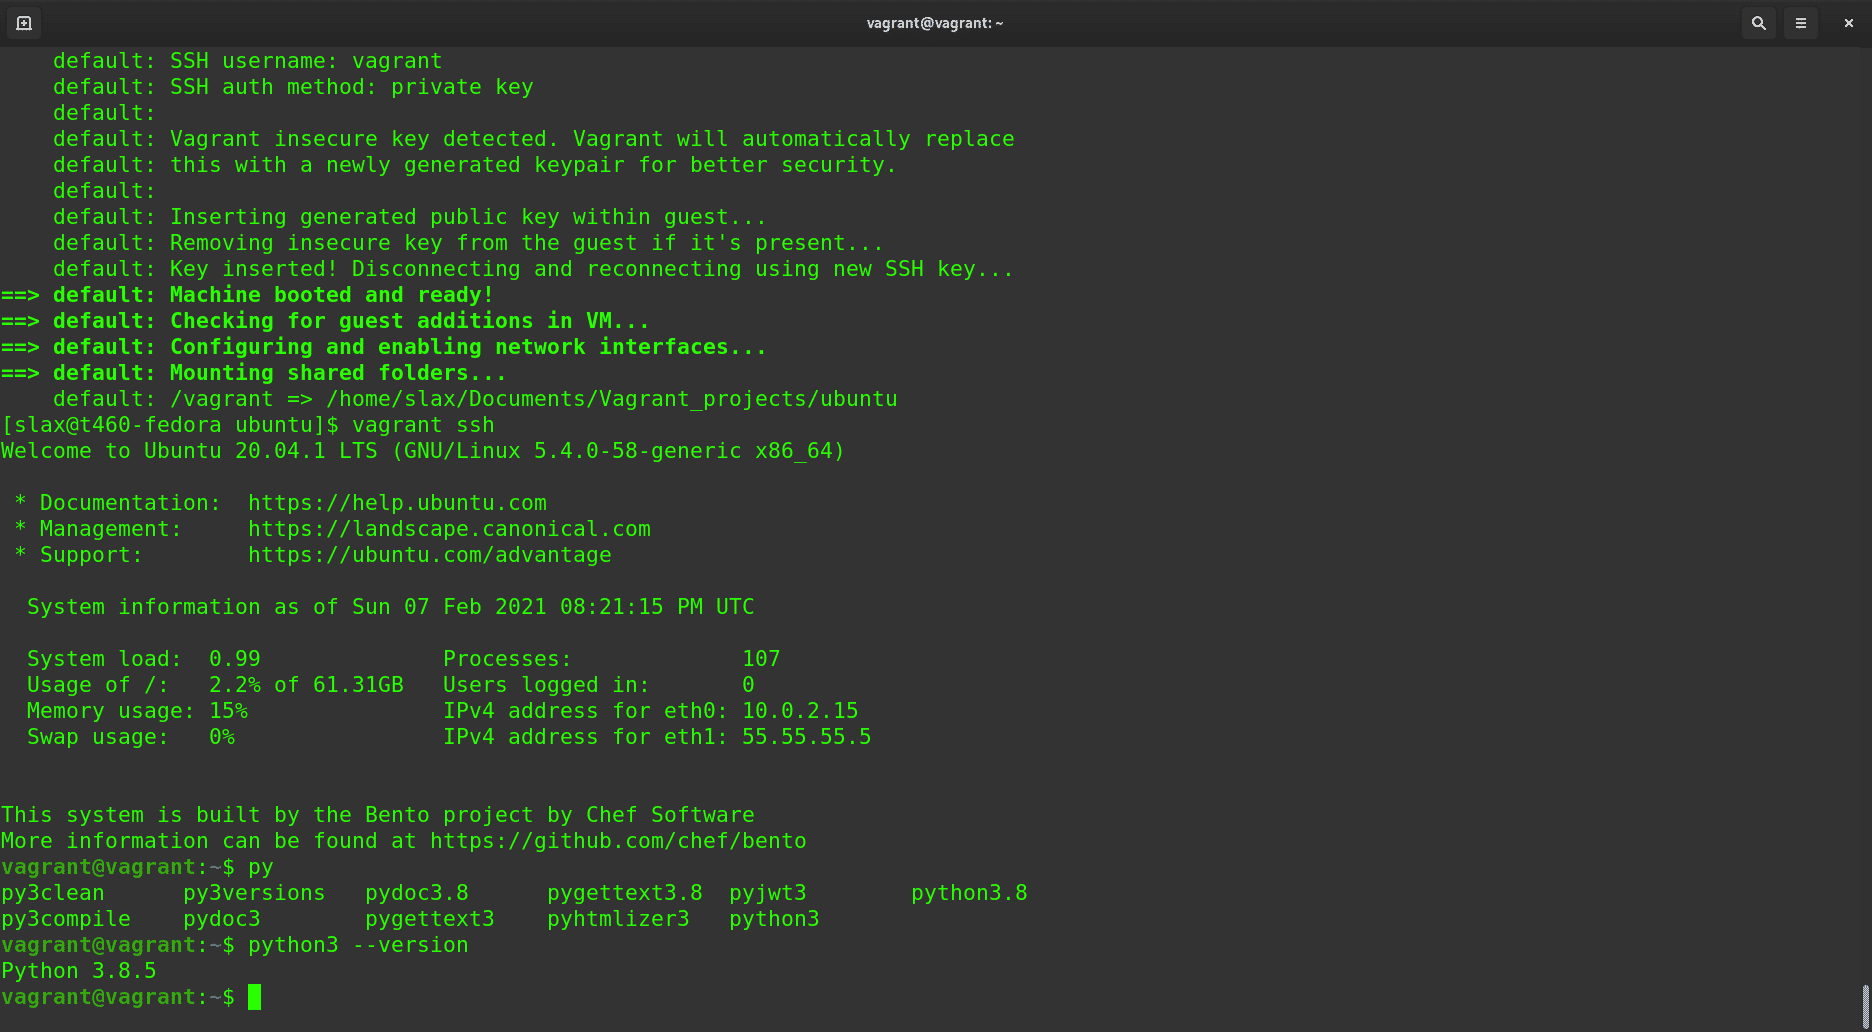
Now, we will see how to install Python 3.9 from the PPA repository. It is a pretty easy and straightforward process to complete.
First, we will update the system:
$ sudo apt update && sudo apt upgrade
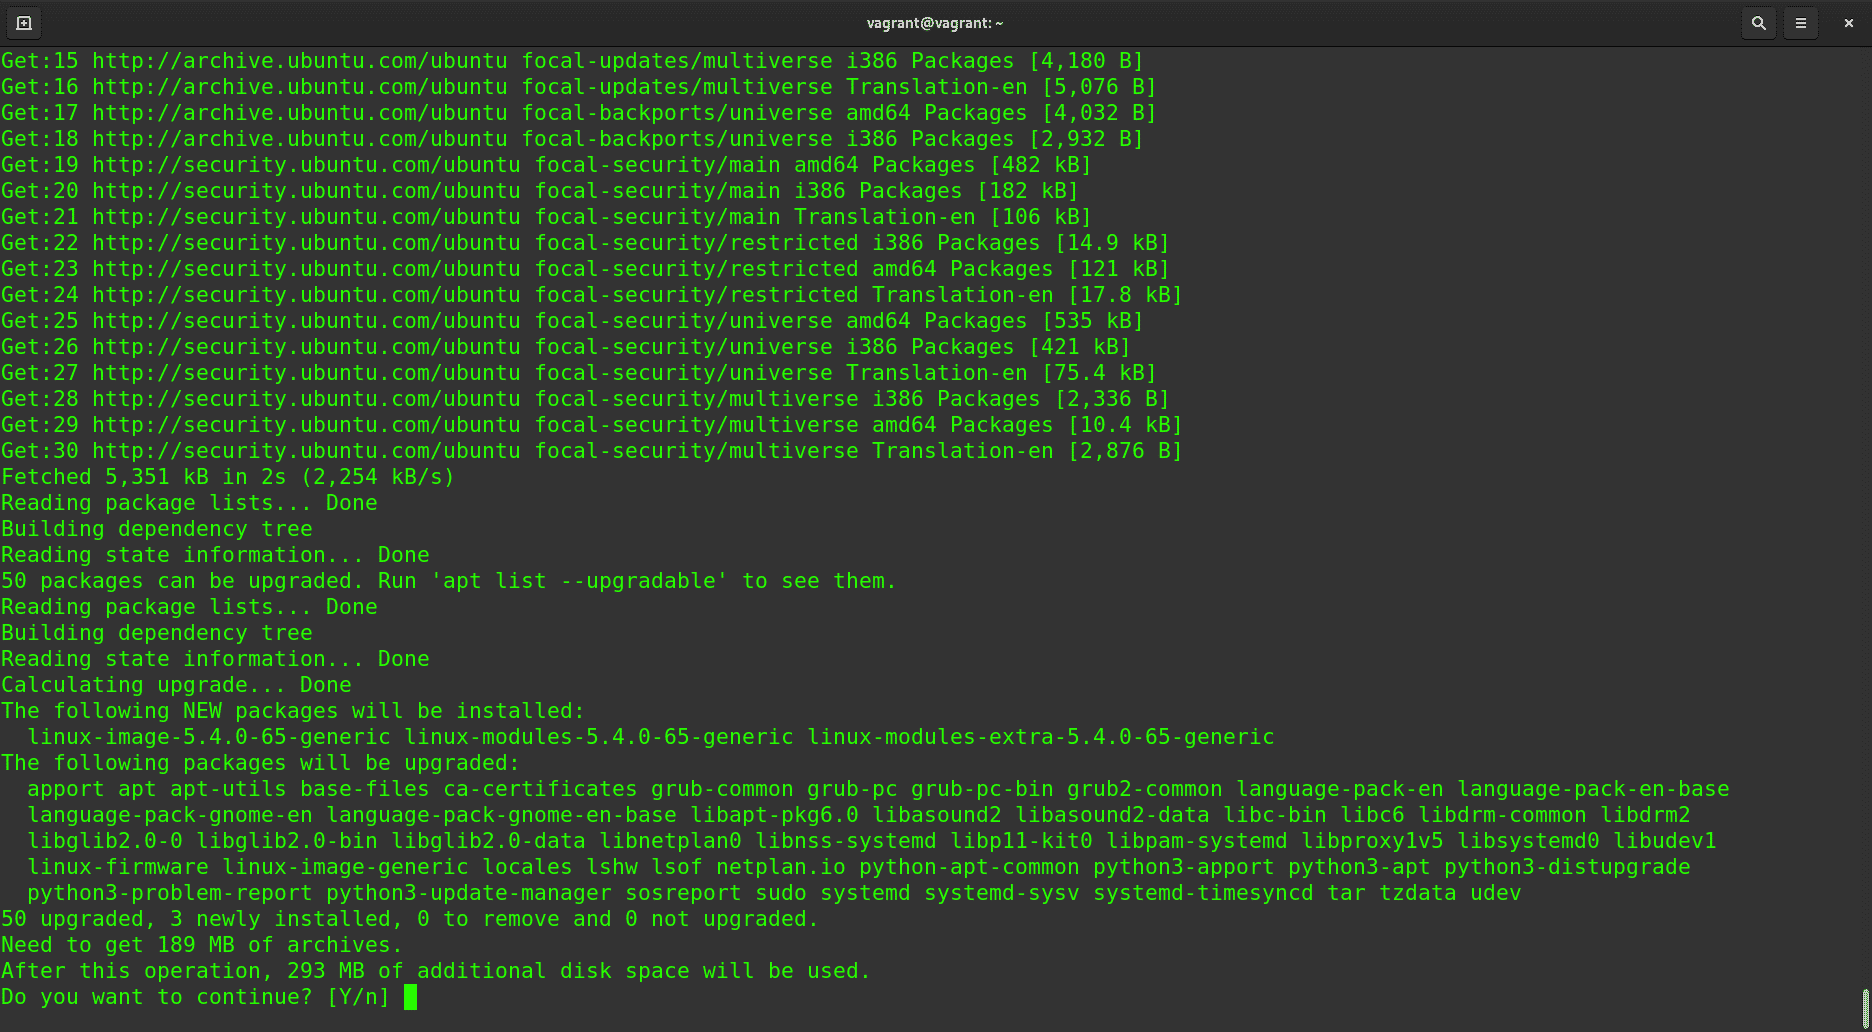
Before adding the Python Ubuntu repository, we need to install the software-properties-common package to manage independent software vendor software sources.
$ sudo apt install software-properties-common
Now add the repository to the system’s repository list:
$ sudo add-apt-repository ppa:deadsnakes/ppa

You’ll see the text info about PPA repository and prompt to continue. Now press the enter to continue, and add the new repository. You should see the newly added repo deadsnakes in the output at the end:
Get:1 http://ppa.launchpad.net/deadsnakes/ppa/ubuntu focal InRelease [18.1 kB]
Once the repository is added, you can install Python 3.9 simply by executing:
$ sudo apt install python3.9
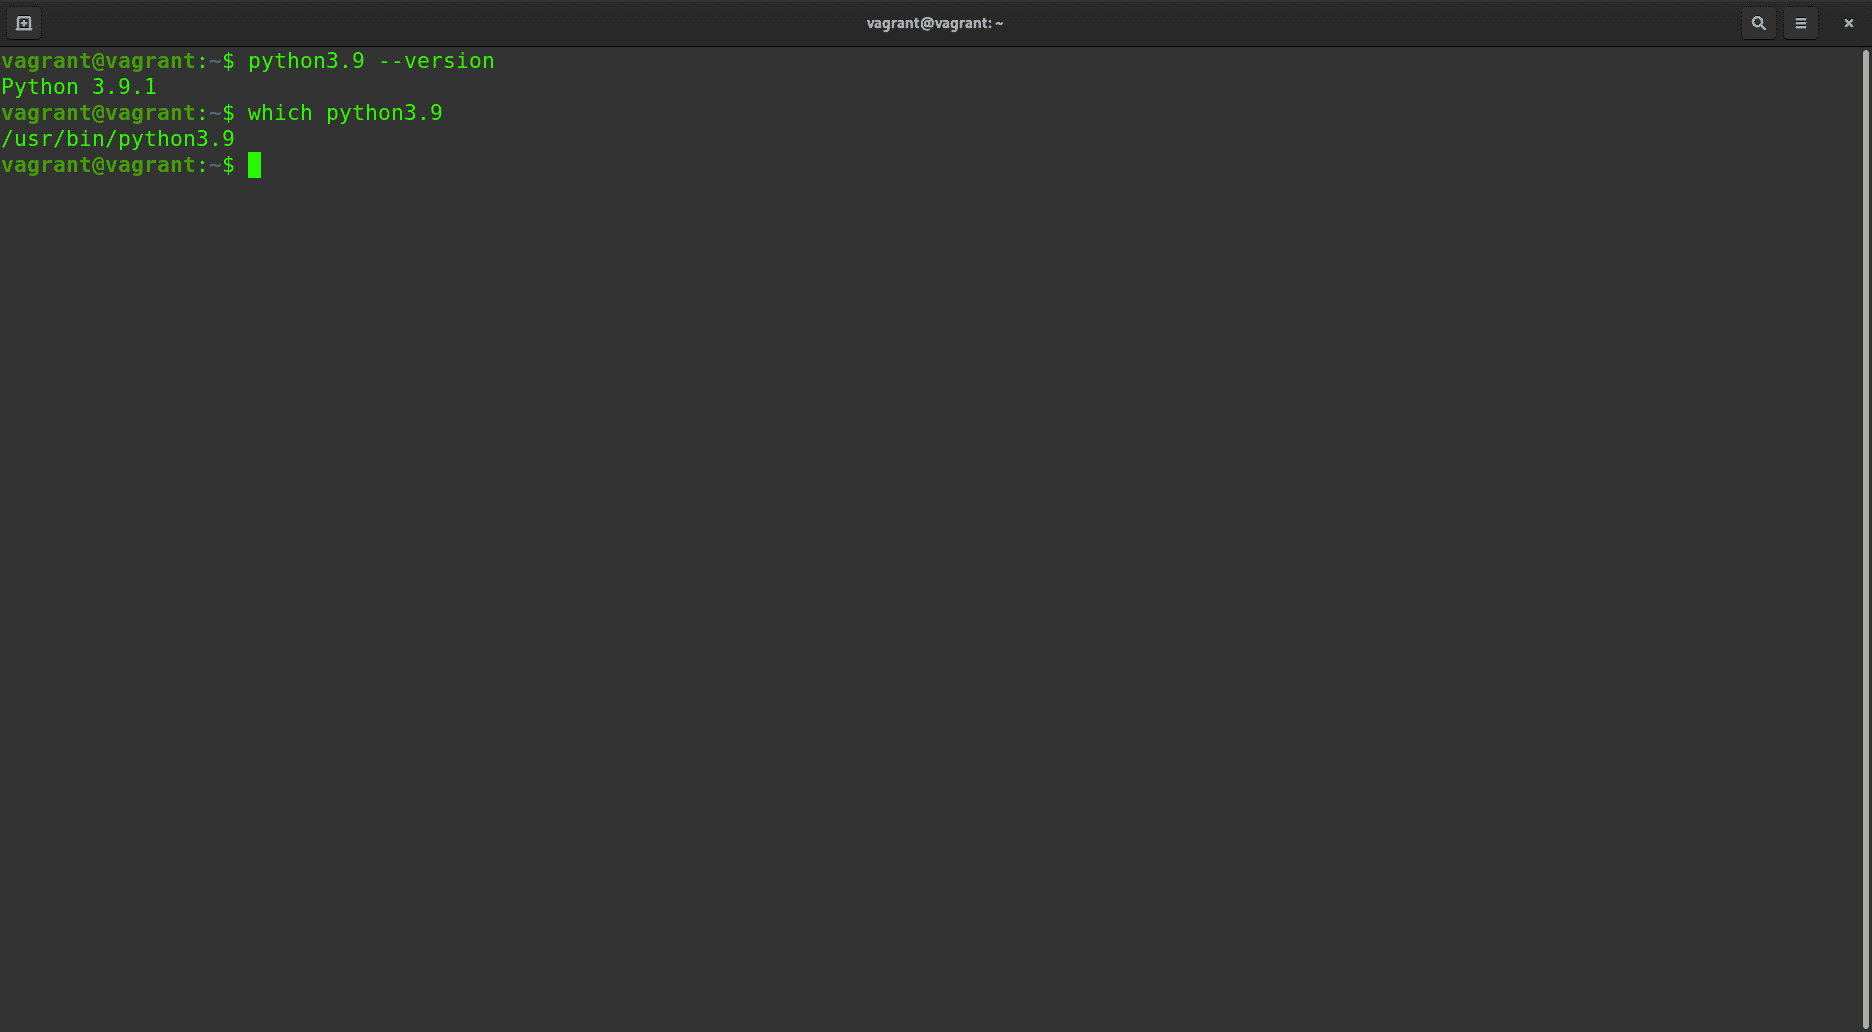
We can verify that the operation was successful by running:
$ python3.9 --version
Python 3.9.1
The following command can help you identify the install location of Python executable binary:
$ which python3.9
Install Python 3.9.1 on Ubuntu 20.04 from Source Code
Now we will see how to compile Python from the source code. When you compile Python from the source code, you can install the latest version of the application and customize the build options.
First, we must install the required build dependencies by installing the following APT packages:
$ sudo apt install build-essential zlib1g-dev libncurses5-dev libgdbm-dev libnss3-dev libssl-dev libreadline-dev libffi-dev libsqlite3-dev wget libbz2-dev
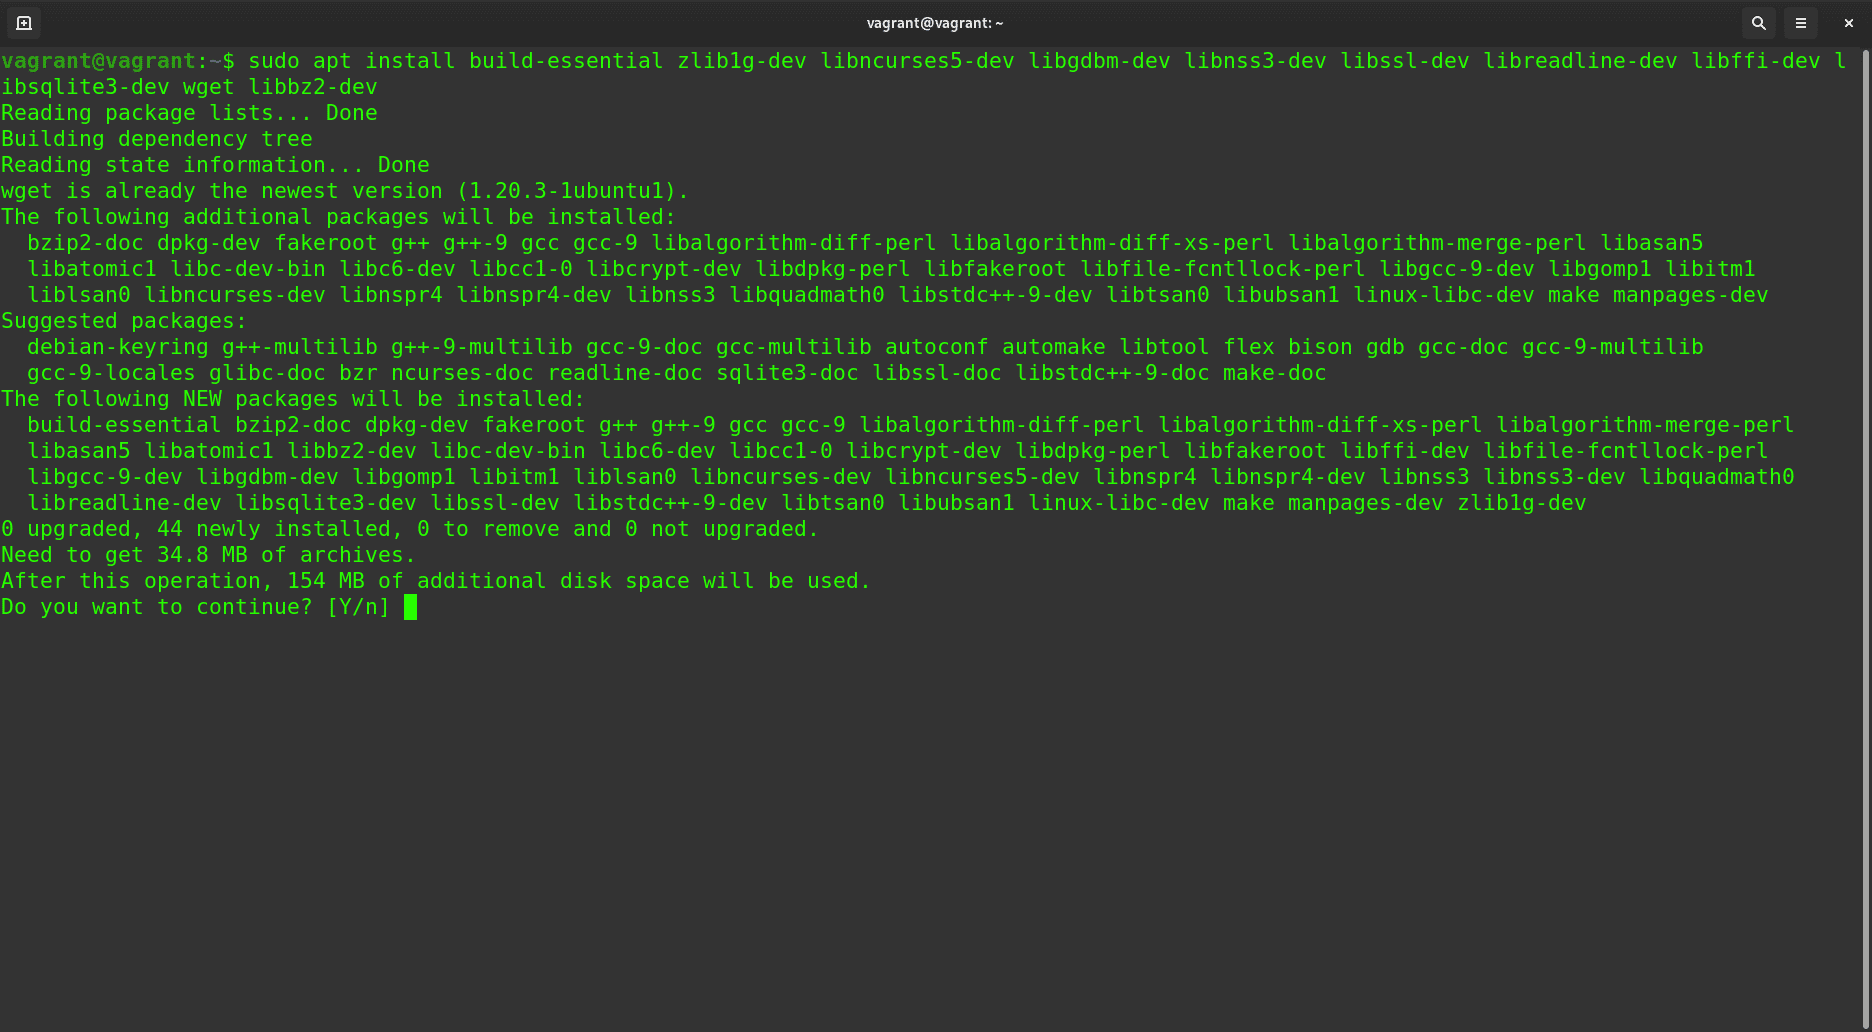
Next, download the latest source code archive using wget tool:
$ wget https://www.python.org/ftp/python/3.9.1/Python-3.9.1.tgz
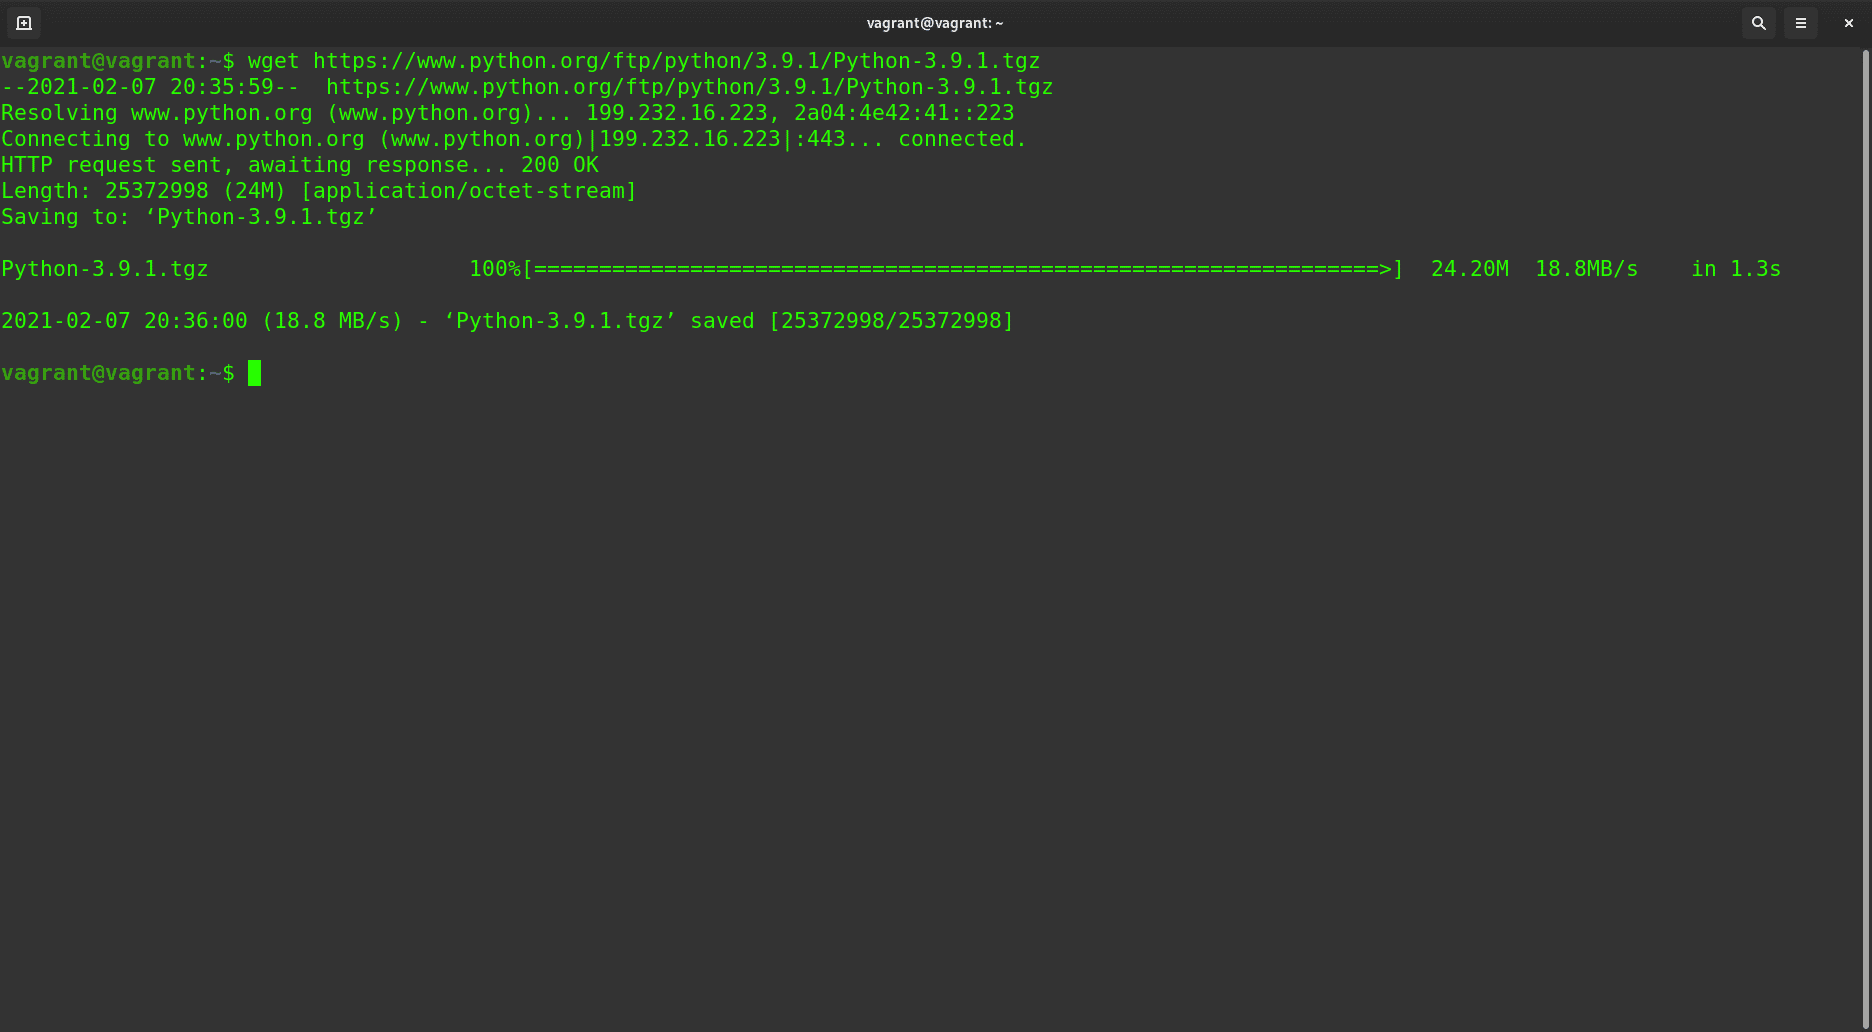
Now, extract the downloaded archive:
$ tar -xf Python-3.9.1.tgz
Enter the Python-3.9.1 directory and run the configuration script as follows.
$ cd Python-3.9.1
$ ./configure –enable-optimizations
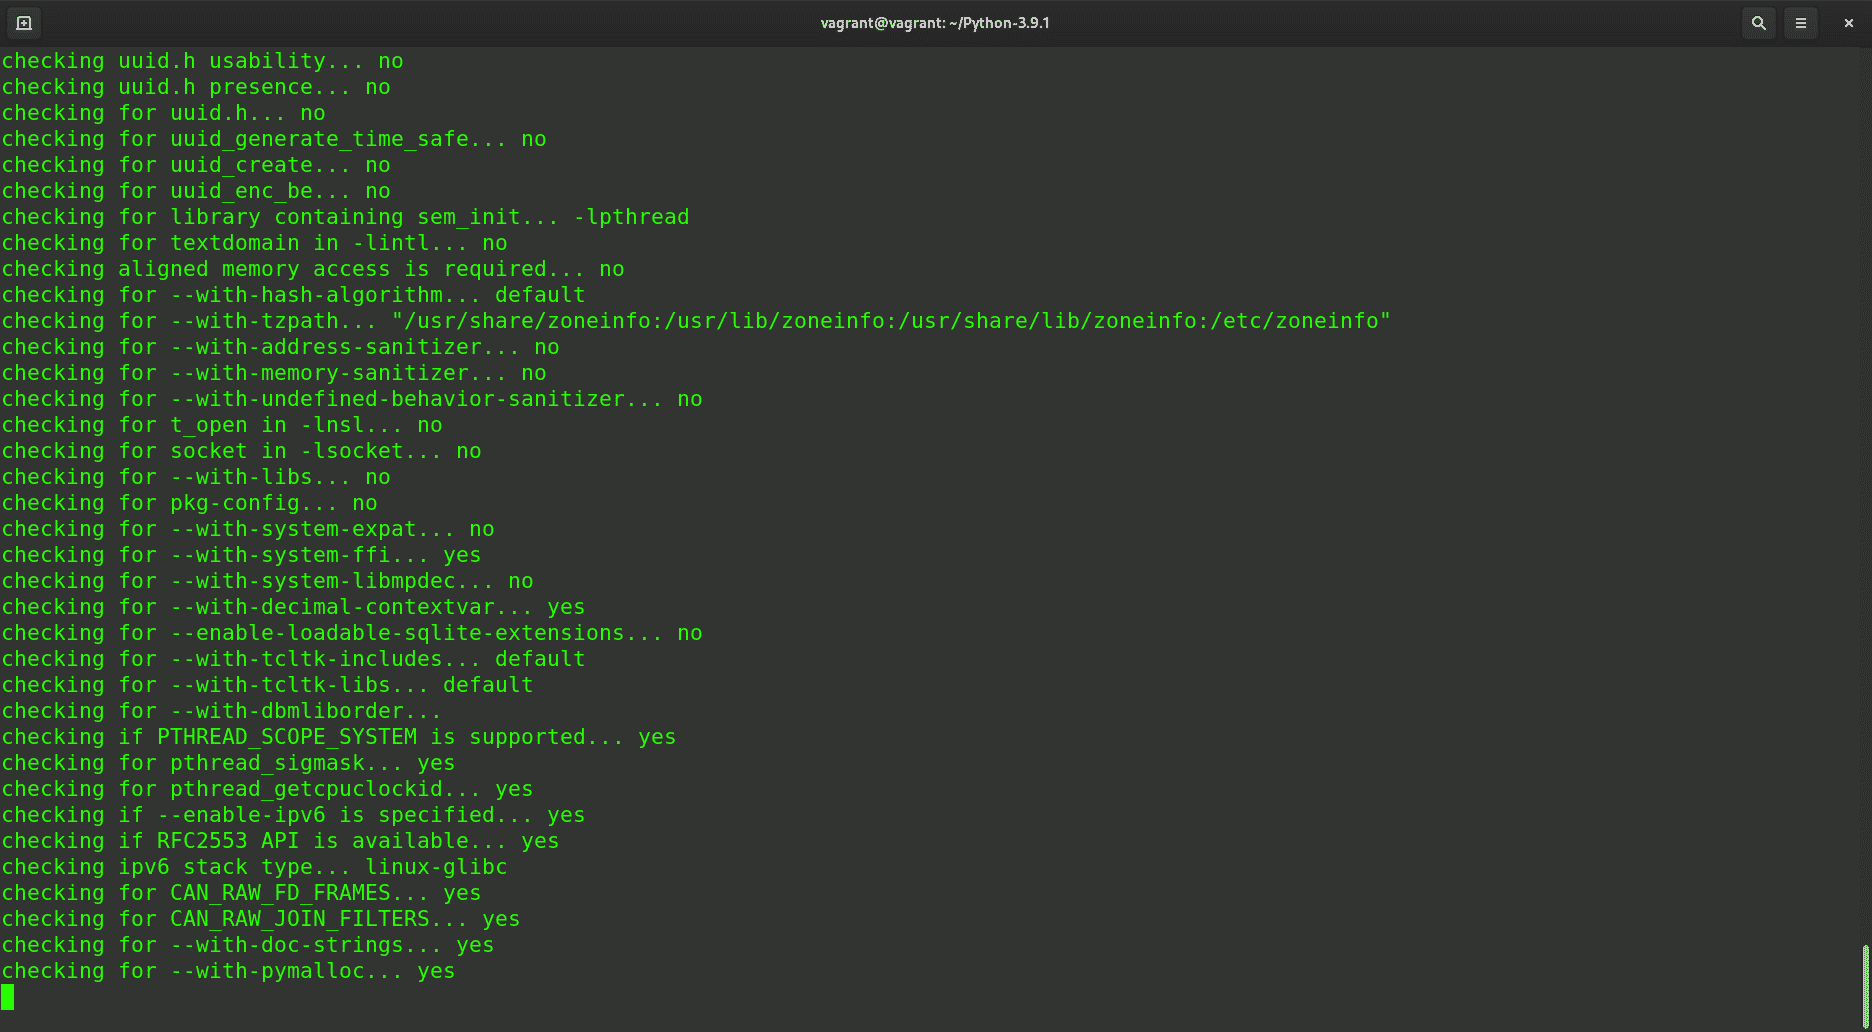
When the script is finished, run the make command to compile the binary executable:
$ make -j 8
If you have more than 8 cores on your computer, you can adjust the above command (-j parameter) to reflect the number of your CPU cores for faster build time. You can use nproc command to see how many processor cores you have on your machine.
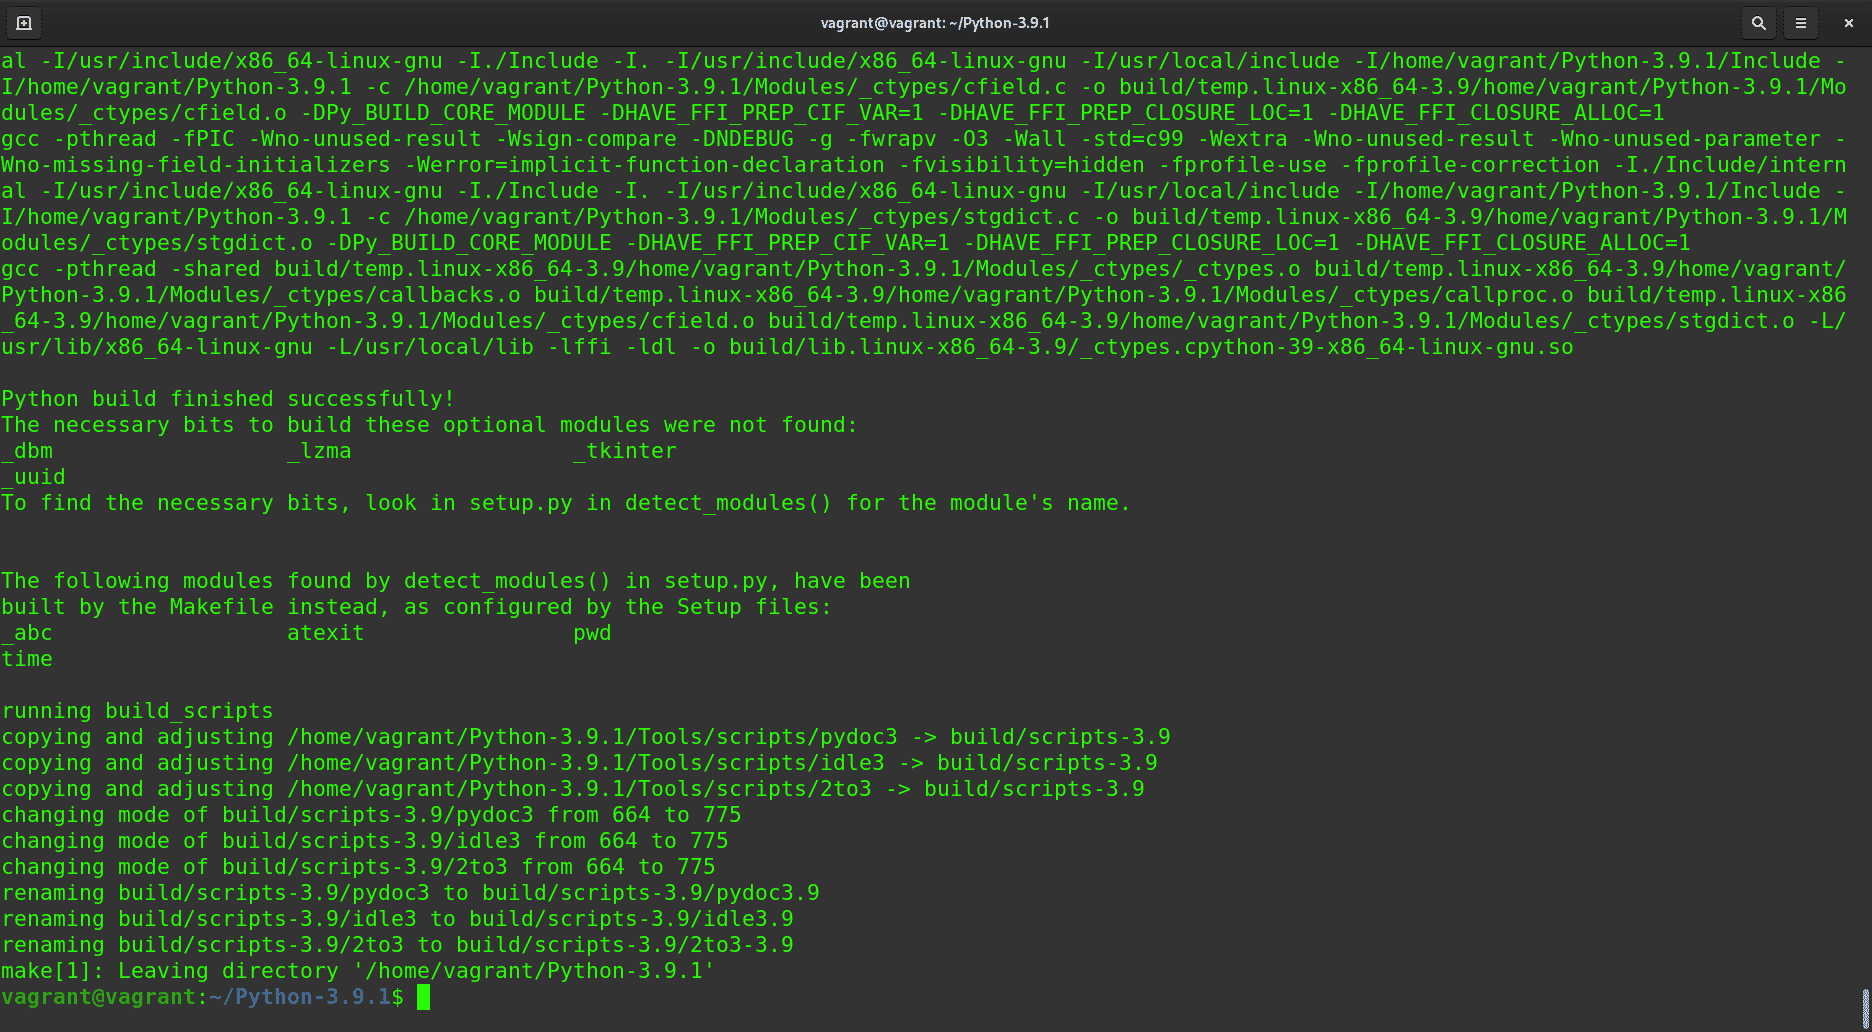
When the compilation is completed, install the binary file using:
$ sudo make altinstall
We use altinstall in this case because if the install parameter is used, the installation process will overwrite the default Python3 system binary.
When the installation operation is finished, you can check the location of the binary file with:
$ which python3.9
/usr/local/bin/python3.9
We can see that Python 3.9 has been installed on your Linux system.
Install Python 3.9.1 on Ubuntu 20.04 with Linuxbrew (HomeBrew)
To install Linuxbrew, type the following in the terminal:
$ /bin/bash -c "$(curl -fsSL https://raw.githubusercontent.com/Homebrew/install/HEAD/install.sh)"
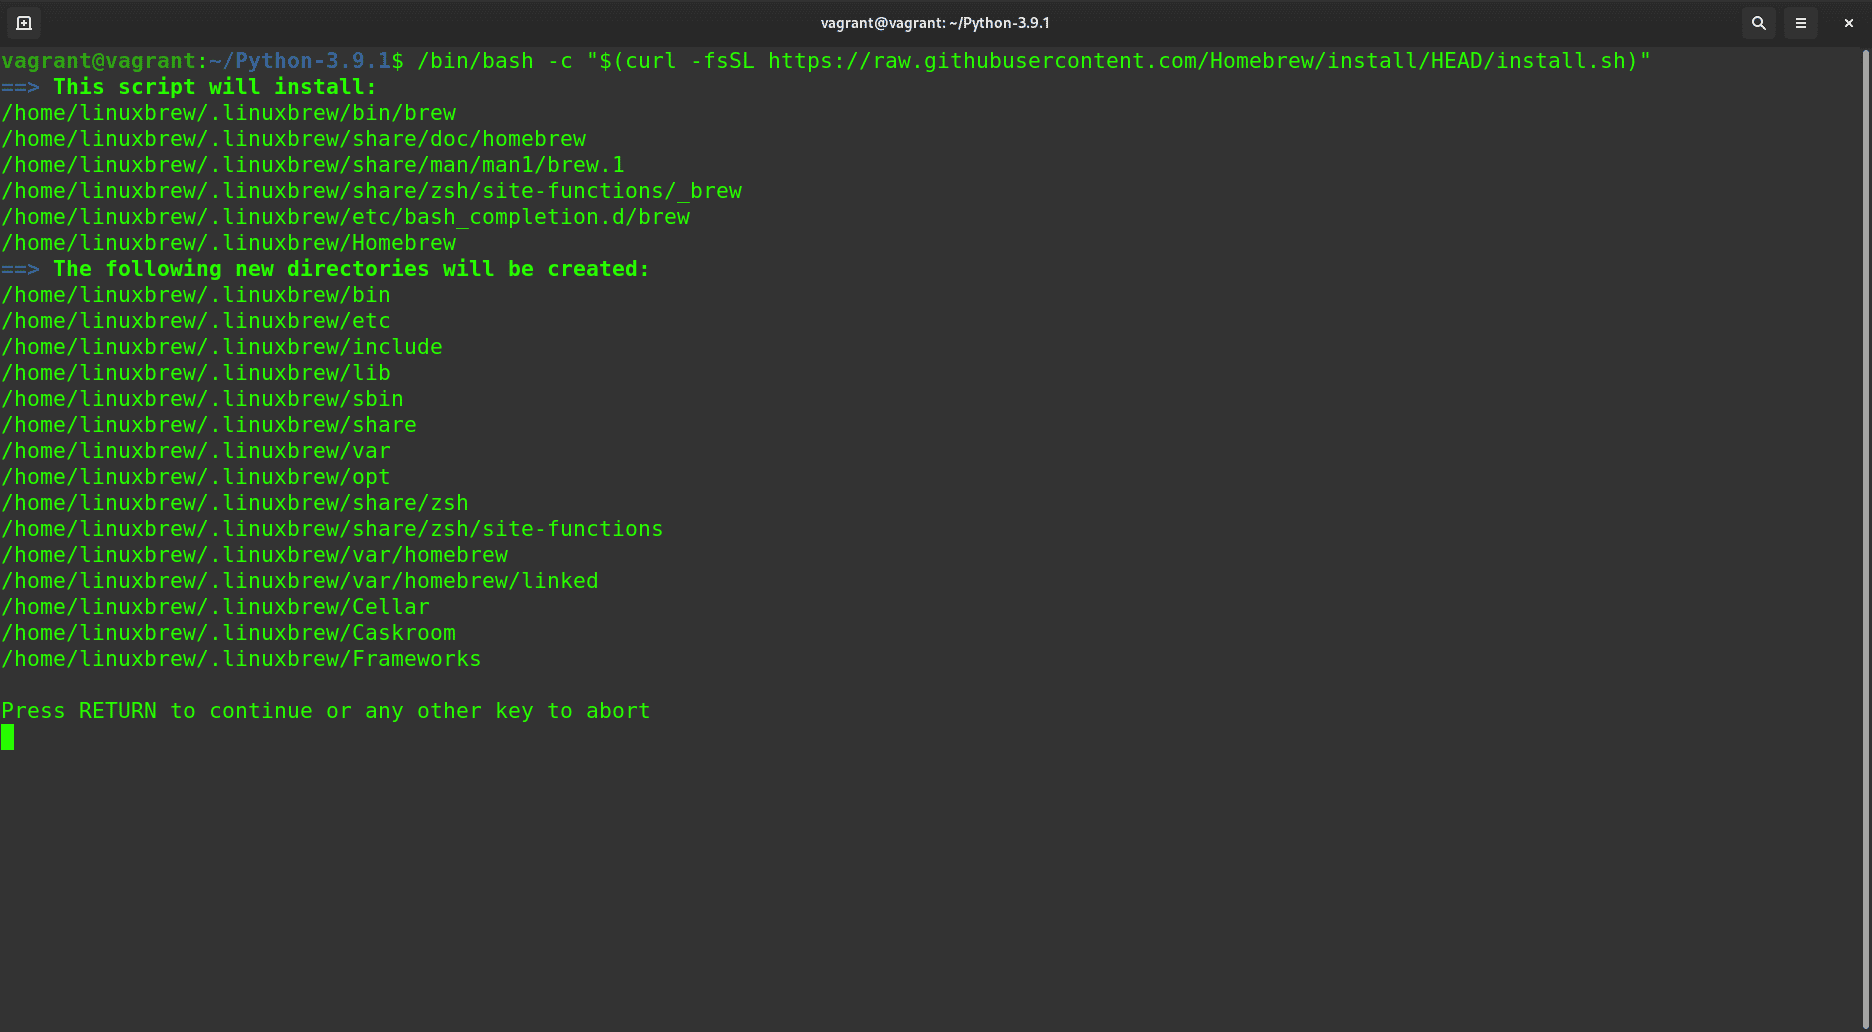
Next, add Linuxbrew to your PATH in /home/USERNAME/.profile (change USERNAME in command with your logged-in user):
$ echo 'eval $(/home/linuxbrew/.linuxbrew/bin/brew shellenv)' >> /home/USERNAME/.profile
$ eval $(/home/linuxbrew/.linuxbrew/bin/brew shellenv)
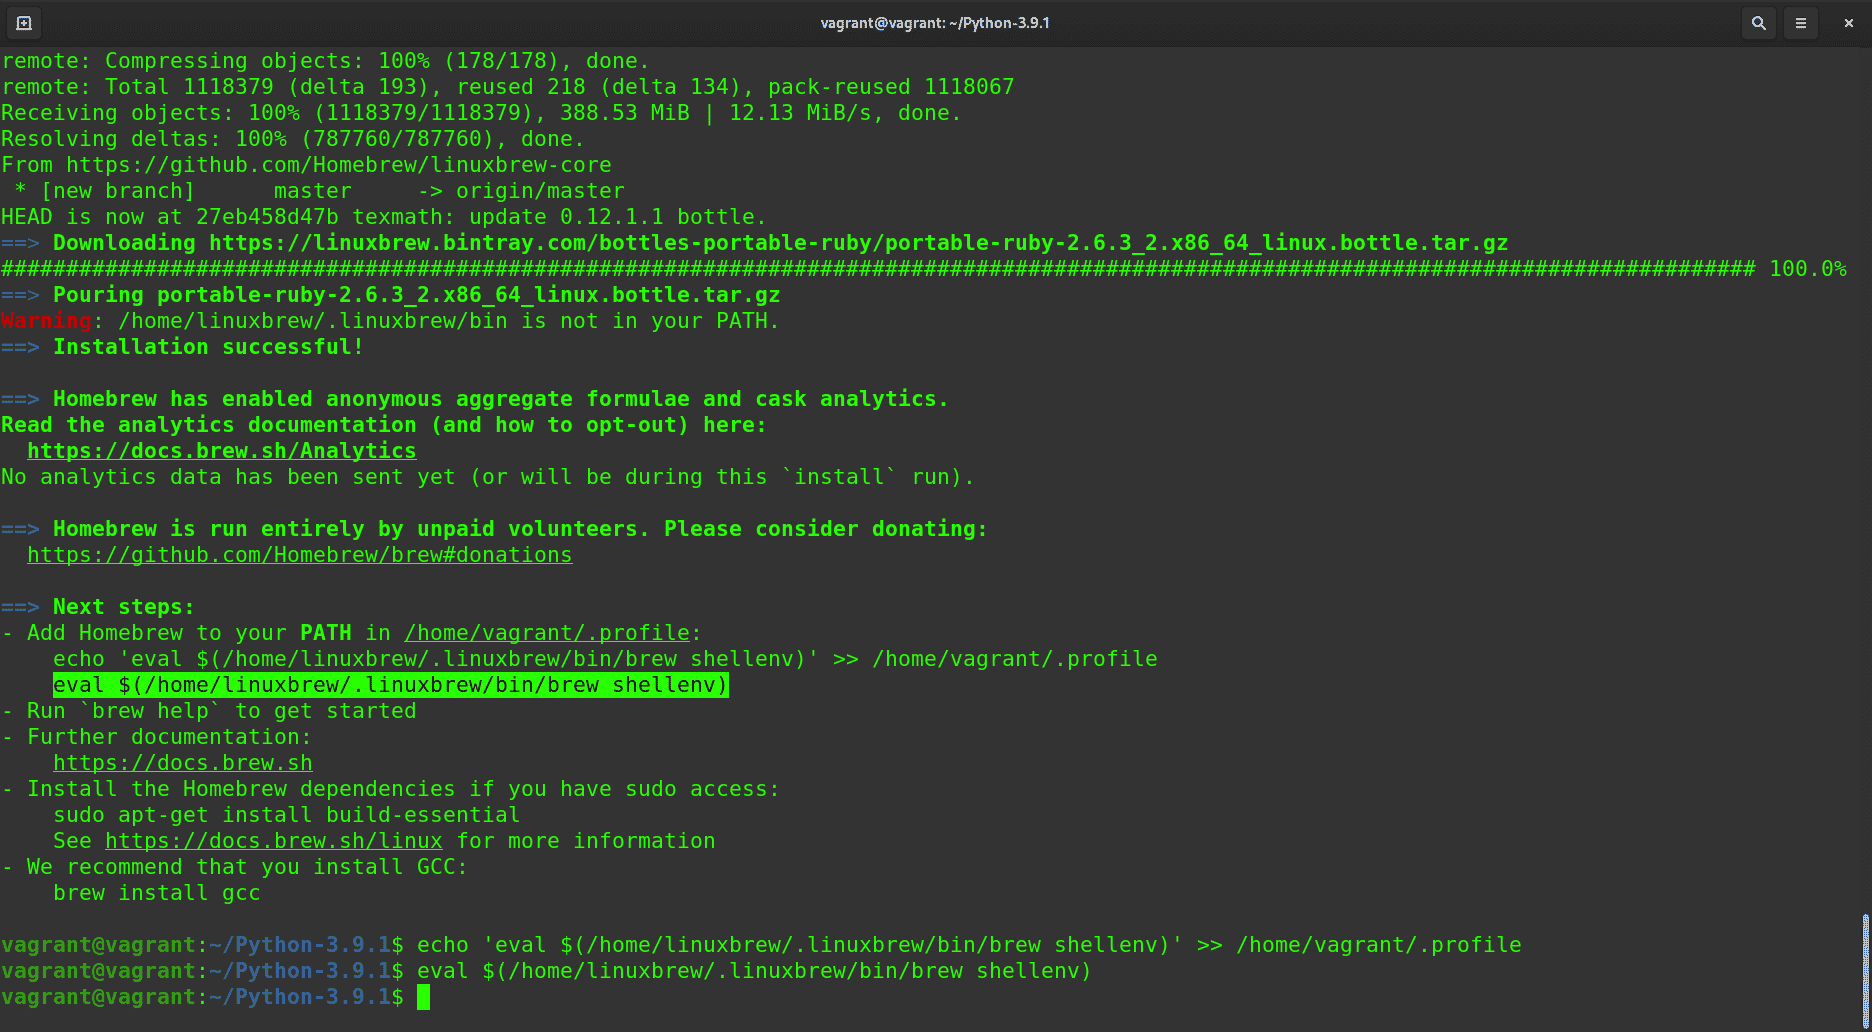
Next, install Python 3.9 by running this command:
$ brew install python@3.9
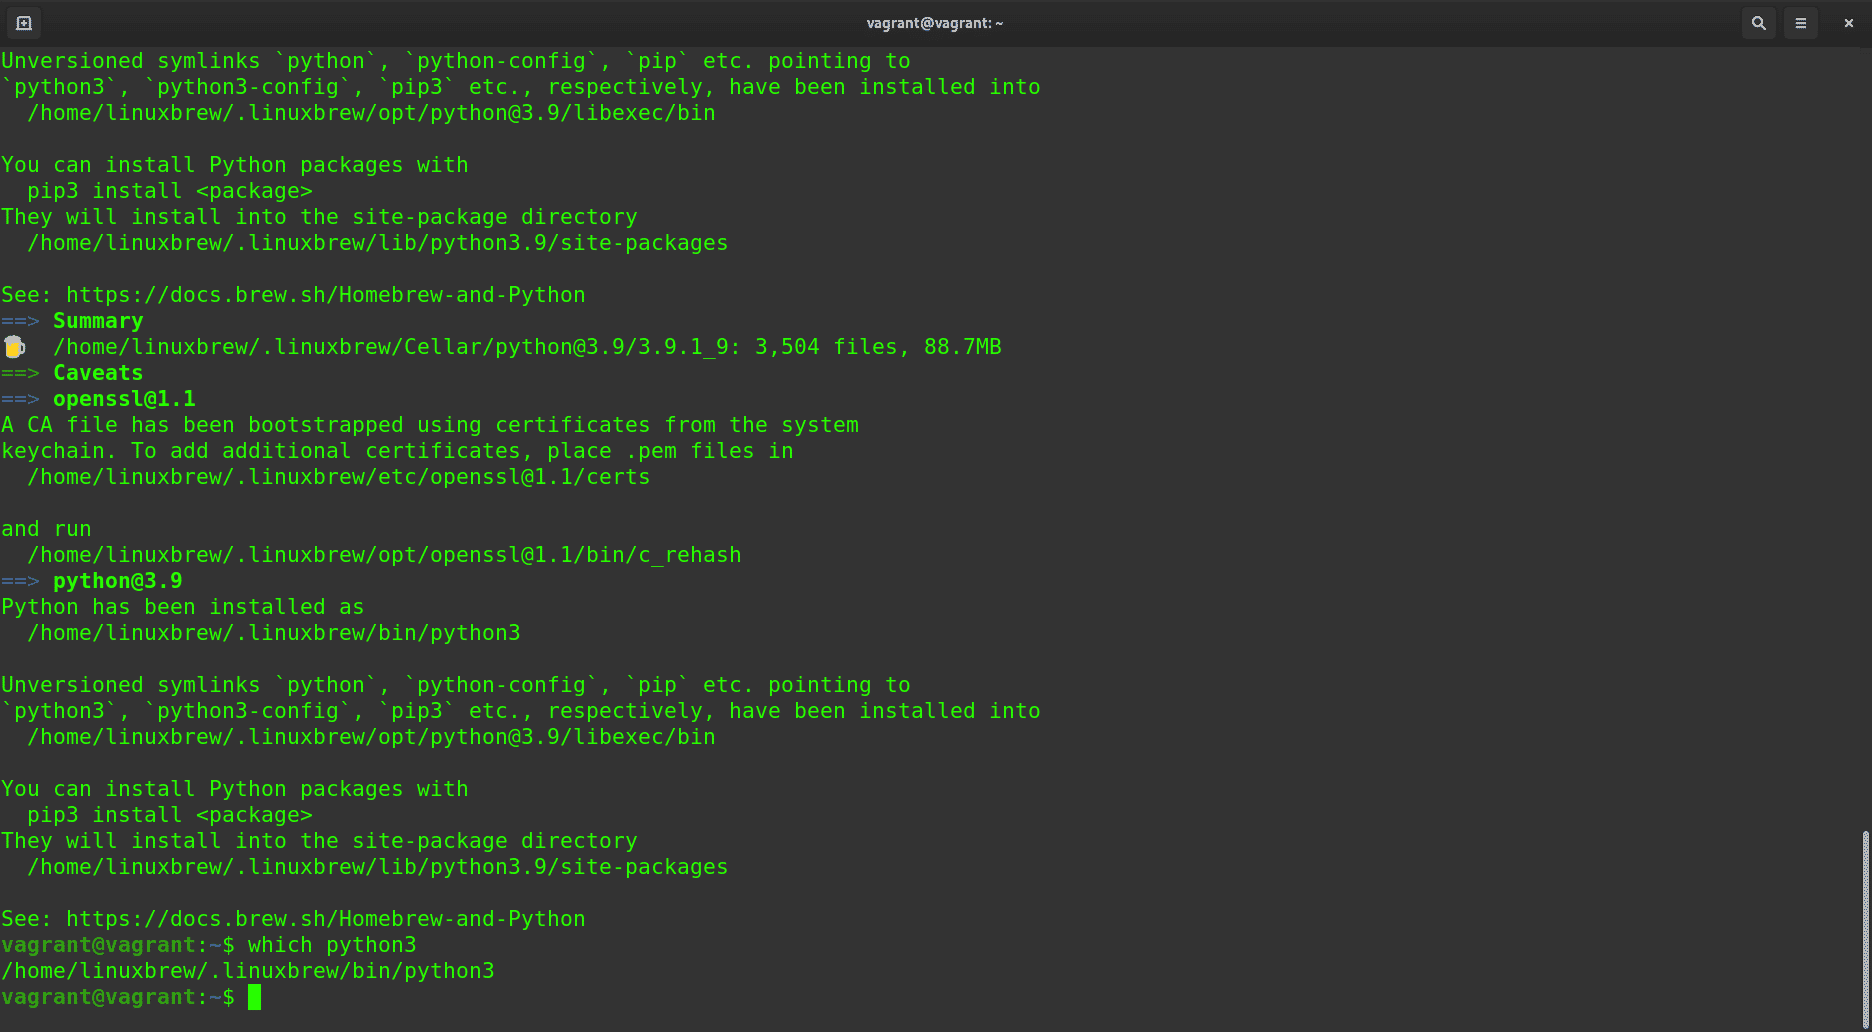
After some time, we will see this log at the end:
==> python@3.9
Python has been installed as
/home/linuxbrew/.linuxbrew/bin/python3
See: https://docs.brew.sh/Homebrew-and-Python
We have successfully installed the latest python3.9 using Linuxbrew. This is the simplest method to install it.
We can also check and verify the installation directory:
$ which python3
/home/linuxbrew/.linuxbrew/bin/python3
Conclusion
We have successfully installed and compiled Python3.9 using three different methods, using PPA repo, compiling it from the source code, and installing it using the Linuxbrew tool. We can now start using Python 3.9 for our projects.


