Stacer is an open-source handy optimizer and monitoring tool for Linux operating systems. It is a GUI-based tool that simplifies the optimization and maintenance of Linux systems conveniently through a single application. Although all the optimization and maintenance tasks handled by Stacer can be accomplished via command line or different smaller tools, but Stacer combines all these tasks in a single graphical tool.
With Stacer you can:
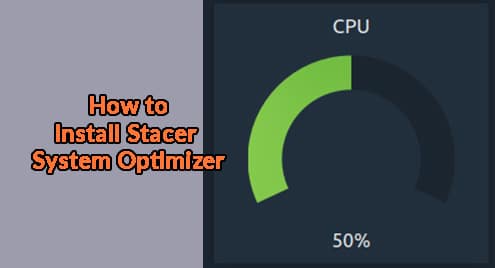
- View system information, CPU, memory, storage, and network activity
- Clean up logs, cached data, temporary files
- Manage Startup apps
- Manage system Services
- View and end system processes
- Uninstall system applications
- Manage package repositories
In this post, we will describe how to install Stacer System Optimizer & Monitoring Tool on Ubuntu using the following two methods:
- Installing Stacer from Ubuntu Repository
- Installing Stacer from .deb Package
Note: The procedure shown here has been tested on Ubuntu 20.04 LTS.
Method#1 Installing Stacer from Ubuntu Repository
In this method, we will install Stacer from the Ubuntu repository. Stacer is available in the default repositories of Ubuntu OS. Hence, Stacer can be easily installed using the Ubuntu package management utility.
1. First, run the below command to update the repository index:
$ sudo apt update
Enter sudo password and wait for the update to be completed.
2. Now install Stacer using the command below:
$ sudo apt install stacer
If it asks for your confirmation, type y and press Enter to confirm. After that, the installation of Stacer will be initiated on your system.

After the installation of Stacer is completed, you are ready to use it.
Method #2 Installing Stacer from .deb Package
In this method, we will install Stacer from .deb package available at the Stacer GitHub site. We will install it using the dpkg package management utility.
1. Go to the Stacer GitHub site releases page using your web browser. Here you will find various releases of Stacer. Download the .deb package of Stacer latest release.

Alternatively, you can download Stacer latest release 1.1.0 (as of this writing) using the below command:
$ wget https://github.com/oguzhaninan/Stacer/releases/download/v1.1.0/stacer_1.1.0_amd64.deb
2. Now in order to install Stacer .deb package, use the below command:
$ sudo dpkg -i stacer_1.1.0_amd64.deb
Now the installation of Stacer will be started.

After the installation of Stacer is completed, you are ready to use it.
Launch Stacer
You can launch Stacer either via the command line or GUI. In order to launch Stacer via command line, run the below command in Terminal:
$ stacer
To launch Stacer via GUI, hit the super key on your keyboard and type stacer in the search bar at the top. From the search result, click the Stacer icon to launch it.

When the Stacer application opens, you will see the following similar window with the Dashboard displaying a general overview of your system. This overview includes your system information, CPU, memory, storage, and network activity. On the left side bar, you will see different tabs for different purposes which include Startup Apps, System Cleaner, Services, Processes, Uninstaller, Resources, and APT Repository Manager.

Uninstall Stacer
In case you want to remove Stacer from your Ubuntu system, you can do so as follows:
$ sudo apt remove stacer
Enter sudo password. If it asks for your confirmation, type y and press Enter to confirm. After this, Stacer will be uninstalled from your system.
Stacer lets you perform several Linux optimization and monitoring tasks through a single utility. In this post, we described the installation of Stacer on Ubuntu OS. Now you can manage and monitor your system easily and efficiently using a graphical tool. In the end, we also described how to uninstall Stacer if you ever need to do so.

Karim Buzdar holds a degree in telecommunication engineering and holds several sysadmin certifications including CCNA RS, SCP, and ACE. As an IT engineer and technical author, he writes for various websites.


