Ubuntu is one of the best Linux distros that is currently available. Although this Linux distro was designed for personal computers (PCs), it can also be deployed on servers. It is a good option to have multiple web browsers installed on your computers since it provides a backup or alternative means to connect to the Internet if one of your favorites stops operating or refuses access to a specific website. Tor is a type of web browser, we cannot use it unless we install it on Ubuntu, as it’s not the default browser. This article is all about the installation of a tor browser on your Ubuntu system.
Privacy is the main concern in today’s world. The Tor Browser is a web browser that uses the Tor network to protect the privacy of your web traffic, making it simple to safeguard your online identity. When you browse the web with the Tor Browser, the connections you establish to the websites you visit are encrypted and secured from network surveillance and data-traffic analysis. There are a couple of drawbacks to utilizing the Tor Browser. Tor is slower than a conventional Internet connection for online browsing, and some well-known websites do not allow Tor users to access their sites. Tor is also prohibited by the governments of different countries in some parts of the world.
Installation of Tor Browser on Ubuntu
Tor Browser is available for Linux, Macintosh, and Windows, and for mobile devices. Below mentioned are some ways to install tor:
- Installation of the Tor browser through GUI
- Installation of Tor Browser through CLI using PPA Repository
Below, these ways are explained in detail.
Installation of the Tor browser through GUI
You can launch the Tor browser using a graphical interface by downloading it from the App store for Ubuntu. When you first launch the Tor browser, it will be downloaded from https://www.torproject.org/ and extracted to ~/.local/share/torbrowser and then executed. Below are the steps to install the Tor browser from the GUI.
Step 1: Search for the Tor browser
Open the App store on Ubuntu and in the search bar type “tor browser” and then click on the “tor Browser” option as shown below:

Step 2: Install the Tor Browser
The install button is clicked to begin the installation.


Step 3: Launch the Tor Browser
Open Activities and type “tor browser” in the search bar and click on the Tor Browser launcher icon.
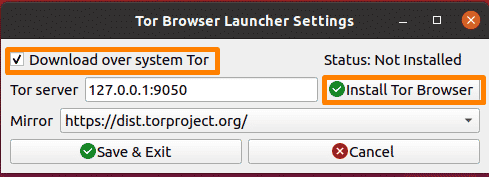
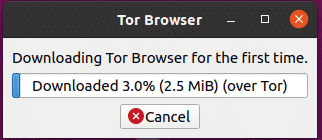
Now another window will open, mark the check box if you want to download it over the system, and as it is not installed yet, click on “Install Tor Browser”.

Installation of Tor Browser through CLI using PPA Repository
Another and the most common way to install the Tor browser is by using the Command Line Interface, which is mostly used on Linux systems.
Step 1: Adding the PPA Repository
The Tor browser can be downloaded from the PPA repository. The PPA repository must be added to the Ubuntu system by the below-mentioned command:
$ sudo add-apt-repository ppa:micahflee/ppa |
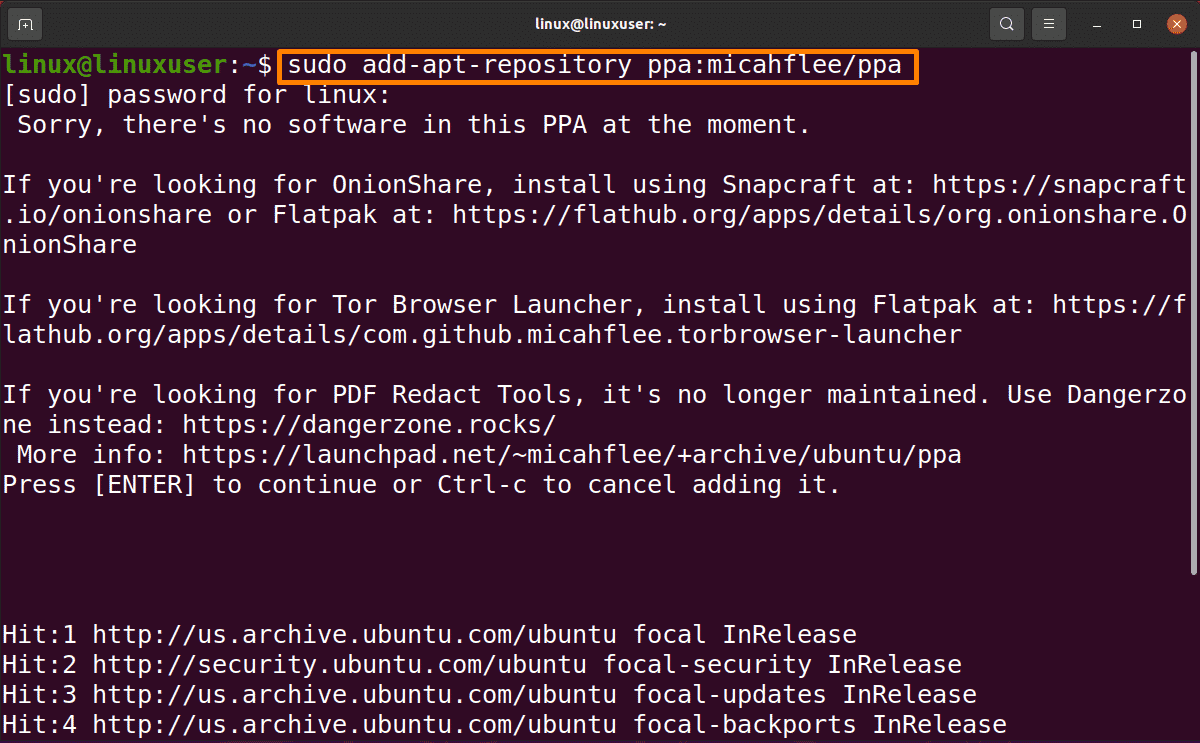
PPA repository is added.
Step 2: Installation of the Tor Browser
Firstly, update the packages with the below-mentioned command:
$ sudo apt update |

Now install the browser using the command mentioned below:
$ sudo apt install torbrowser-launcher |
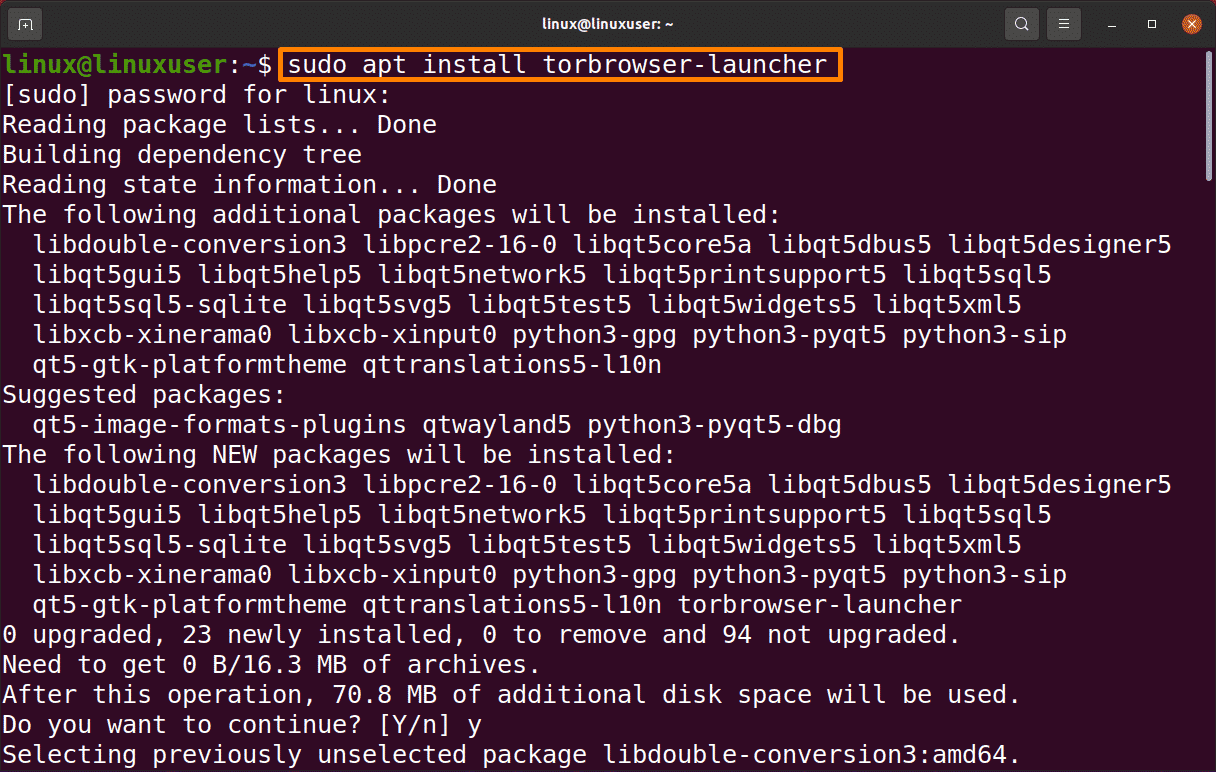
Now the Tor browser is installed.
Step 3: Launching the Tor Browser
After the Tor browser launcher has been successfully downloaded and installed, you can launch it from the command line or the program menu.
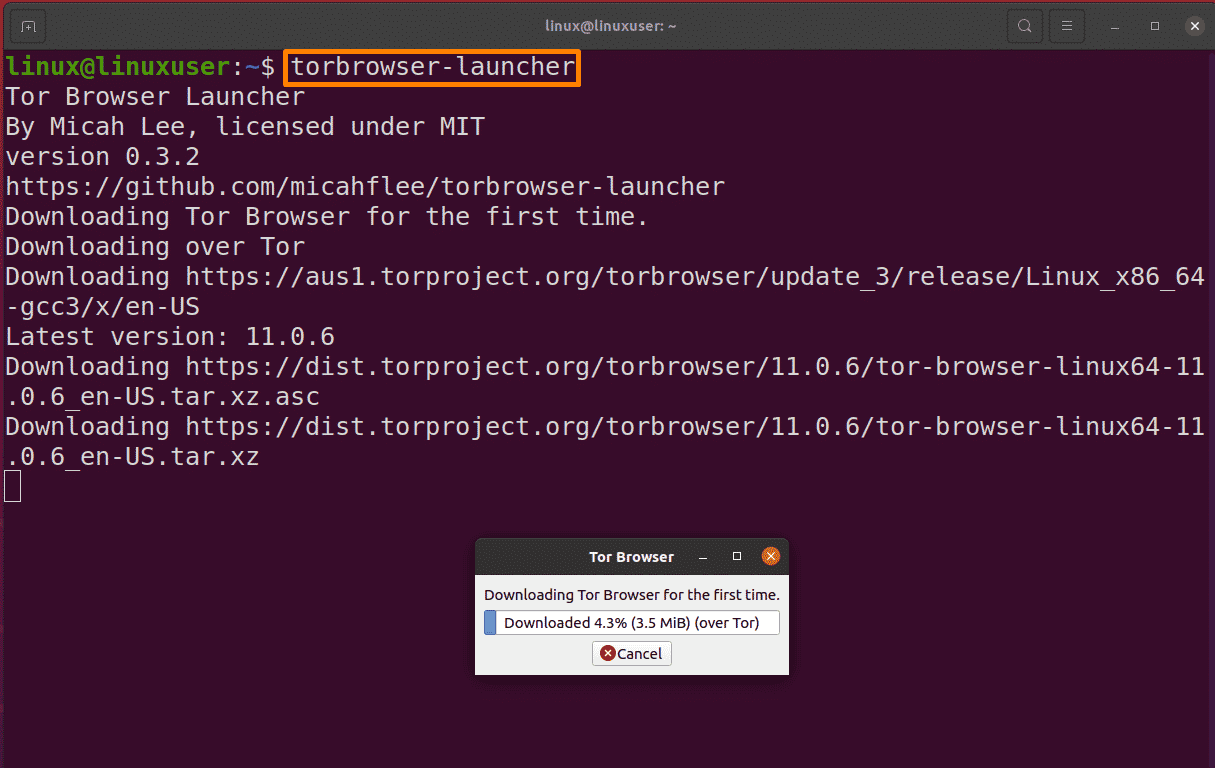
The below-mentioned command will launch the Tor browser automatically.
$ torbrowser-launcher |
Or you can also launch it by the GUI method as shown above.
Conclusion:
Tor is a web browser that uses the Tor network to protect the privacy of your web traffic. It is a customized version of the Firefox browser, but it’s not the default browser. You need to download and launch it. This article is about installing the Tor browser using GUI and CLI through a PPA repository.


