The abbreviation XAMPP stands for “Apache, MariaDB, PHP, and Perl”. It is one of Apache-Friends’ more famous products. It’s a cross-platform application that’s been created to cut down on developers’ development time. Developers can concentrate on their work because they don’t have to worry about resolving dependencies or conflicts between various components of a development platform. XAMPP’s lite version can be used if only PHP and MySQL are needed in the project.
How to Install XAMPP on Ubuntu
The below steps are explained in detail to download and install the XAMPP server on your computer.
Step 1: Download XAMPP
The XAMPP server is not present in the Ubuntu repository, so you need to download it from the link https://www.apachefriends.org/index.html . XAMPP’s official website includes installers for various systems that will run on practically all major Linux variants. Click on “XAMPP for Linux”, The PHP version will be mentioned by the installation here; it is 8.1.2.

Step 2: Giving Permission
Open the terminal, move to the folder where XAMPP is downloaded, and assign permissions using “chmod” in the command.
$ sudo chmod 755 xampp-linux-x64-8.1.2-0-installer.run |
Step 3: Launch the Installer
Now launch the installer by using the below command:
$ sudo ./xampp-linux-*-installer.run |
Step 4: Complete Installation
A welcome window will pop up; click next.

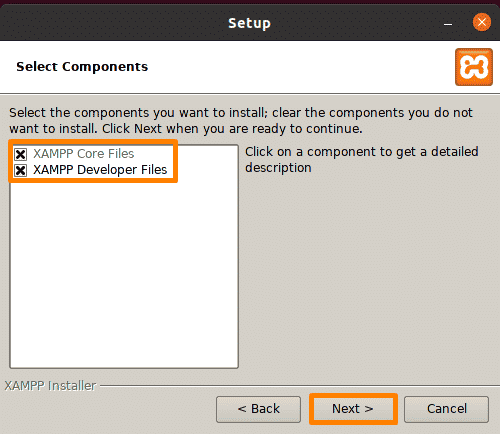
Now components are being selected. “XAMPP core files” and “XAMPP Developer Files” are checked by default, go with the default settings, and click next.
The installation path will now be displayed in the next window, but that’s not the complete path. Click “Next.”

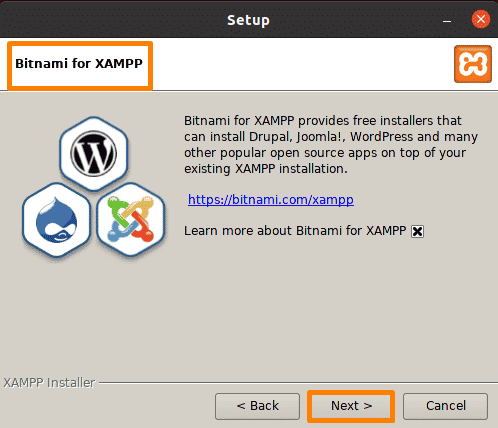
Bitnami modules such as “Joomla, Drupal, and WordPress” will be displayed by the installer. They are used in conjunction with XAMPP. Now press the “Next” button to move to the next phase.
Now on the next screen, a message will be displayed saying “Setup is now ready to install XAMPP on your computer.” Now click “Next.”

The installation process will be started.

At the end of the installation process, you’ll see an installation completion notice. By pressing the “Finish” button, XAMPP can be started right now or later by unchecking the box.


Step 5: Start XAMPP from the Command Line
Run the command mentioned below to start the XAMPP server from the command line.
| $ sudo /opt/lamp/lamp start |

Step 6: Create a Desktop Icon for XAMPP
Open any text editor, I’ll use nano and create a file with a “.desktop” extension. Below, I’ll create a “xampp.desktop” file.
| $ nano xampp.desktop |

Now write the below-mentioned text in it
[Desktop Entry] Name=XAMPP GUI Type=Application Exec=sh -c "pkexec env DISPLAY=$DISPLAY XAUTHORITY=$XAUTHORITY sudo /opt/lampp/manager-linux-x64.run" Terminal=false Icon=/opt/l ampp/htdocs/favicon.ico Terminal=false |
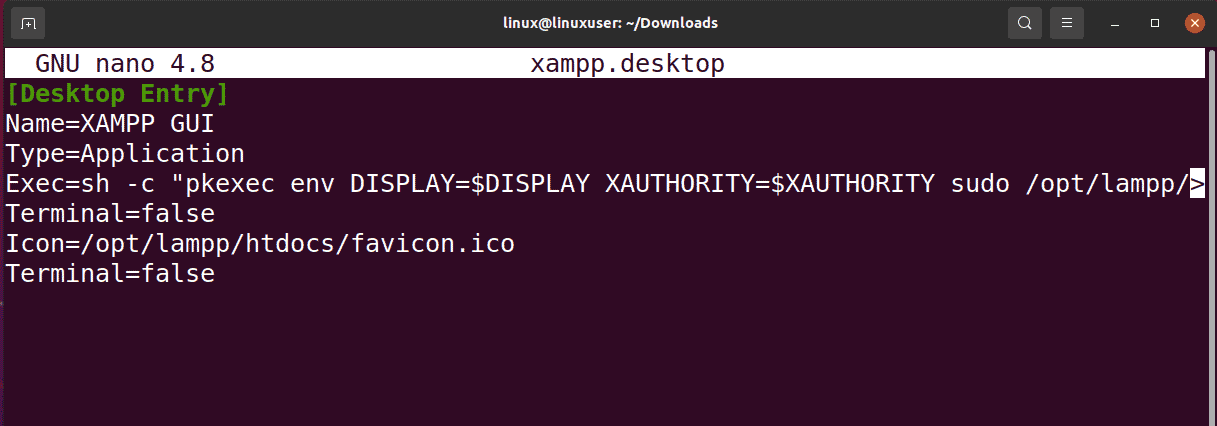
Keep the file with “Ctrl+S” and exit with “Ctrl+X”.
Right-click on it and select the “Allow Launching” option.

Now the XAMP GUI icon will be shown. Right-click on it and click the “Open” option from the drop-down list.

Perform Authentication.
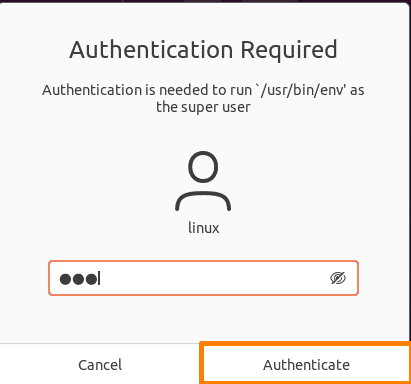
After authentication, the XAMPP window will open in front of you.
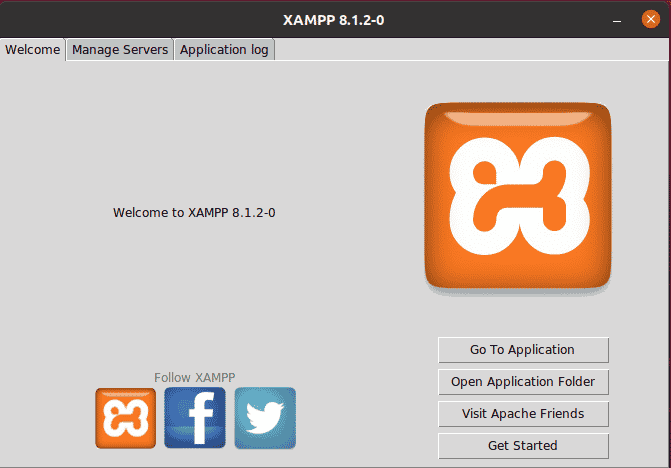
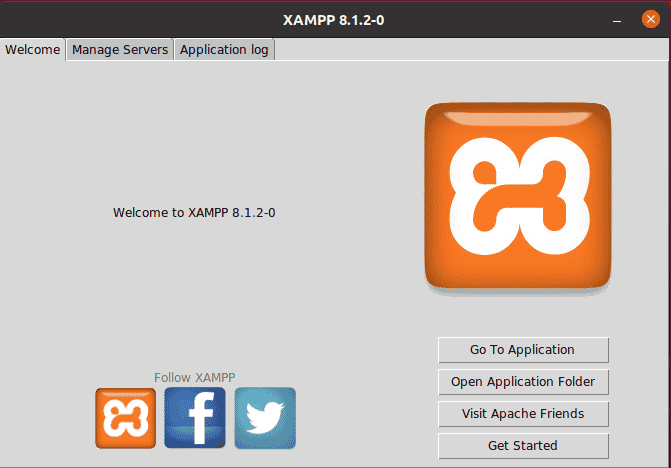
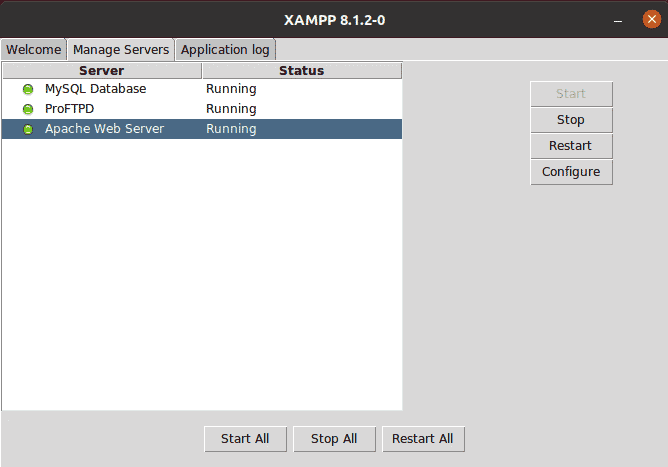
You can start/ stop any service from the “manage service” bar.
Step 7: Test XAMPP
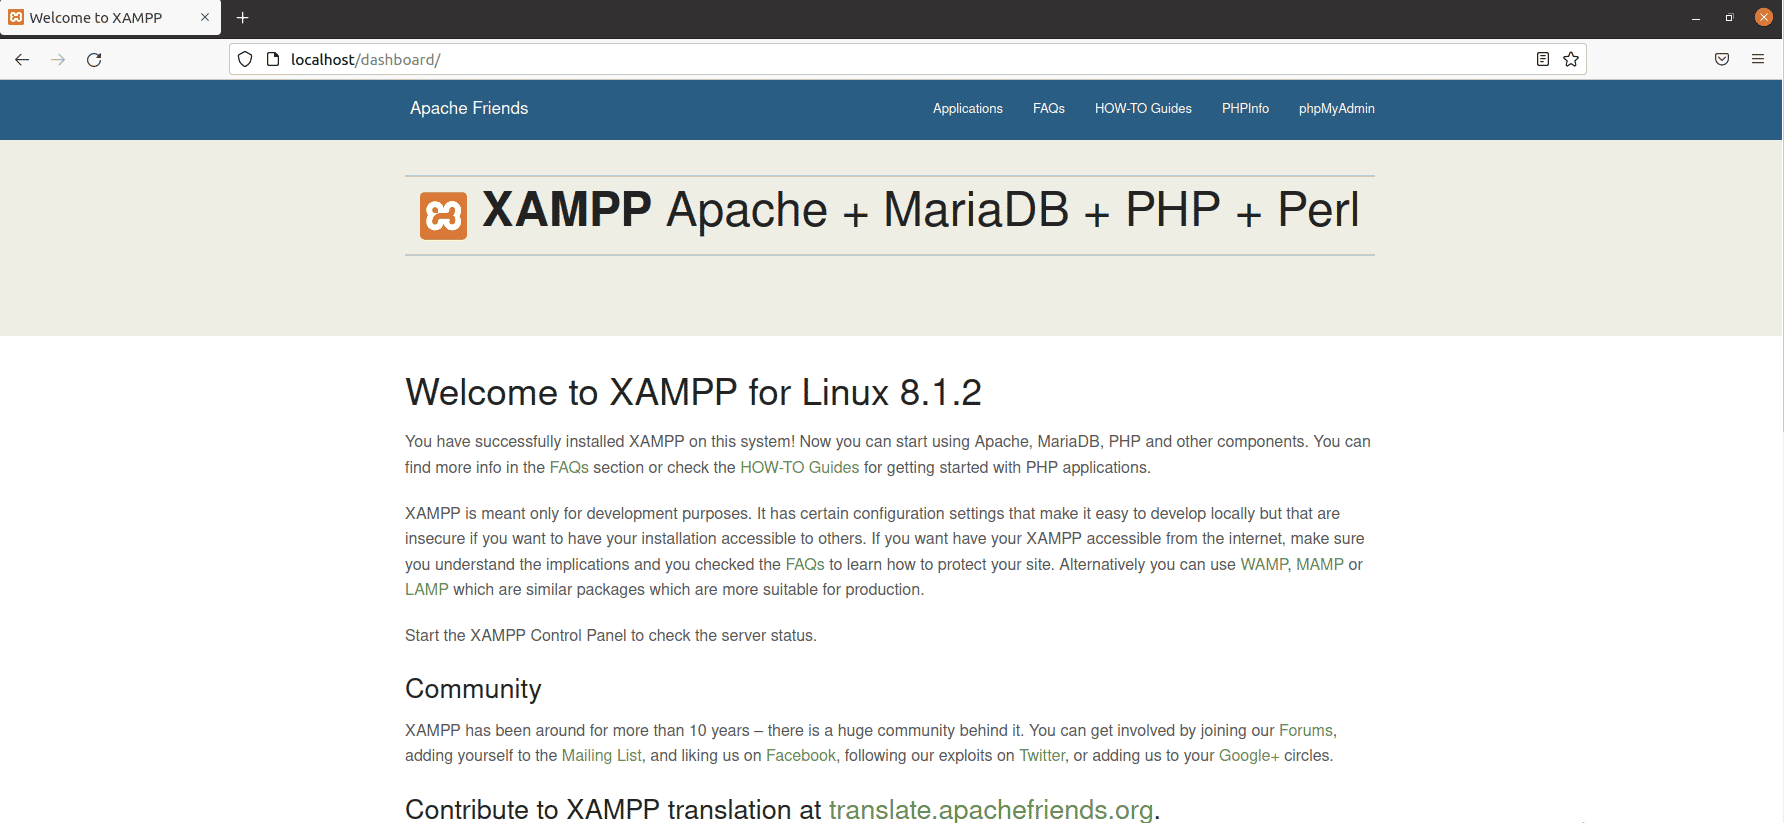
Open the URL “http://localhost/dashboard” in the browser. If the below window gets open, your installation will be successful.
Conclusion
It is one of Apache-Friends’ more famous products. It’s a cross-platform application that’s been created to cut down on developers’ development time. It includes Apache, Maria DB, PHP, and Perl. In this article, we explained how to install the XAMPP server, how to create its desktop icon, and then test it.
