
Have you ever thought about how your web browser works? When you type in a URL (or a domain name) into the address bar of your web browser, it takes the URL and sends it to the Domain Name System to decipher the IP address of the webserver. Once the browser has the details, it then connects with the webserver to load up your requested website. If you want to read in detail about what is a Domain Name System and how it works, you can read about it in our other post “What is a DNS Cache?”.
Now there might be times when you would run into network issues, for instance, you might be typing in the right URL but the website which loads could be different, or you might run into errors similar to the “DNS server not responding” errors. While running into these issues occasionally might not be such a huge hindrance, if you know that the error has something to do with your local DNS, knowing how to display the contents of your DNS cache can be a lifesaver.
How to check the contents of your DNS Cache on Ubuntu
Since Fedora 33 along with Ubuntu 20.10, many Linux distributions have switched to “system-resolved” for handling DNS along with many other necessary operations of the Internet. Though it has been around for longer than a while, many of the distros showed hesitation to make the switch.
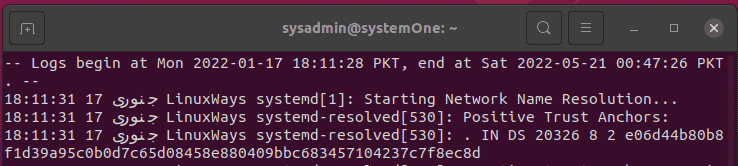
Though systemd is more than capable of handling the requirements of running tasks related to the DNS, there is no straightforward way to view the entries of the DNS cache. To get started, we need to send a kill signal to the service. Don’t worry, it doesn’t kill the service altogether but it writes the current entries of the cache to the system log. The kill command is:
$sudo killall -USR2 systemd-resolved

As you see, you’ll need to remember the sudo password for your account. Once you input the password, you’re going to get an instantaneous response with the return of your prompt.
Now you need to export these commands from the system log into a text file. You can achieve this goal through this command:
$sudo journalctl -u system-resolved > ~/dns-cache.txt

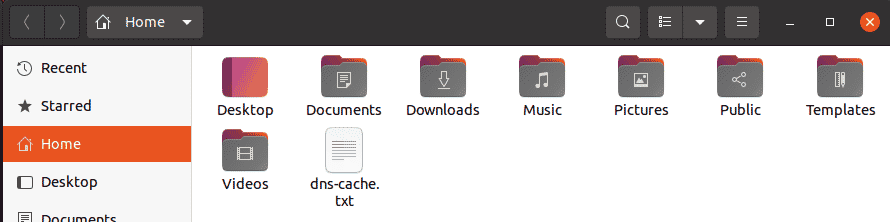
The command shown above will create a file with the same name, i.e., “dns-cache.txt” in your home directory. You can keep the name of the file to anything you please. Depending on how many entries you have in your DNS Cache, this command can take anywhere from 2-30 seconds.
Viewing the file through the text editor
You can directly open up this text file to view the entries in your DNS cache, by double-clicking on the file.

You can view all the entries of your DNS cache and easily edit the file if you want to.
Viewing the file through the terminal
In your terminal, type the following to open up the file in the terminal.
$less ~/dns-cache.txt
How to check the contents of your DNS Cache on Windows
There are various ways you can check the contents of your local DNS cache on Windows. Let’s take a look at the top two ways you can easily employ:
Through the command prompt
This is fairly simple and easy to remember. Start by opening your command prompt and type:
“ipconfig /displaydns”
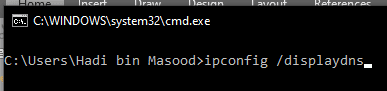
Upon pressing enter with this command, you’ll get results such as the following:
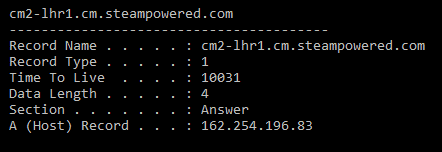
Let’s break down this output further. The “Record Name” is the name your browser uses to query the DNS server for and its records. The “Record Type” refers to the type of entry which corresponds with a DNS protocol. “Time to Live” or TTL describes how long an entry is valid for, displayed in seconds. Data Length describes the length of the entry in bytes, an IPv4 address is 4 bytes and IPv6 addresses are 16 bytes. The “Section” holds the answer to the query.
Last but not the least, “A (Host) Record” is the IP address corresponding to the URL in your browser.
Exporting the records
You can export the results of this query by typing “ipconfig /displaydns > dnscacheoutput.txt” in your command prompt.
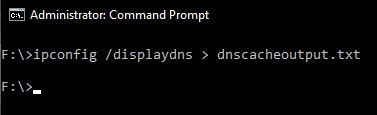
In this command, you can replace “dnscacheoutput” with any name of your choice.
Executing this command will create a file containing all of the contents of your DNS cache in your current directory.
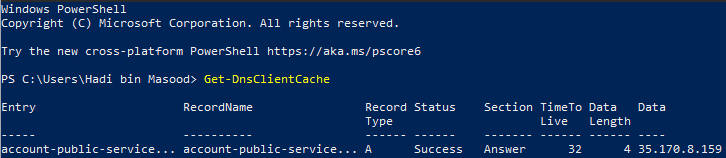
Through the PowerShell
As discussed, you can also view the contents of your local DNS cache using the Windows PowerShell. Open the Windows PowerShell with Admin privileges, and then type this “Get-DnsClientCache”. It will list all of the entries in a tabular form as such:
Conclusion
If you’ve followed through the tutorial step by step, you now know how to view the contents of your local DNS cache on Windows and Ubuntu 20.04. Though the process isn’t as easy on Ubuntu as compared to Windows, it requires you to understand the flow and execute 3 commands. If you run into any issues with these commands, or if you want to know more about the DNS cache and its entries, feel free to drop us a comment below and we’ll be glad to help.

Karim Buzdar holds a degree in telecommunication engineering and holds several sysadmin certifications including CCNA RS, SCP, and ACE. As an IT engineer and technical author, he writes for various websites.


