“In this Linux tutorial, we will try to explore the usage of a very useful Linux command, i.e., the LSOF command. We will first introduce you to the basic purpose and the general syntax of this command, followed by a few useful examples that will help you a lot in using this command. So, let us get started.”
Purpose of the LSOF Command in Linux
LSOF literally stands for “List Open Files,” and as its name says, this command is used for listing down all the currently opened files of your system. The general syntax of this command is as follows:
$ lsof [option]
Here, you can replace “option” with any of the options that are available with this command.
Usage of the LSOF Command in Linux
To learn how you can use the LSOF command in Linux, you can go through the following examples:
Example # 1: Listing All the Open Files in Linux
In this example, we will be using the LSOF command in Linux for simply listing down all of the open files. For that, we will run this command in the manner shown below:
$ lsof
![]()
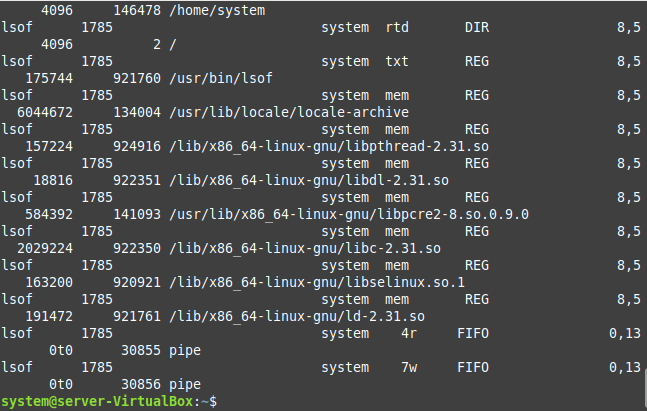
Running this command without any options prints the details about all the currently opened files on the terminal, as shown in the following image. This command will take some time for execution as it has to produce a lengthy output.
Example # 2: Listing All the Open Files Belonging to a Particular User in Linux
Now, we will use the LSOF command to print the details about all the open files belonging to a particular Linux user since a Linux system can have multiple users at the same time. For that, we will use the command shown below:
$ lsof –u system
![]()
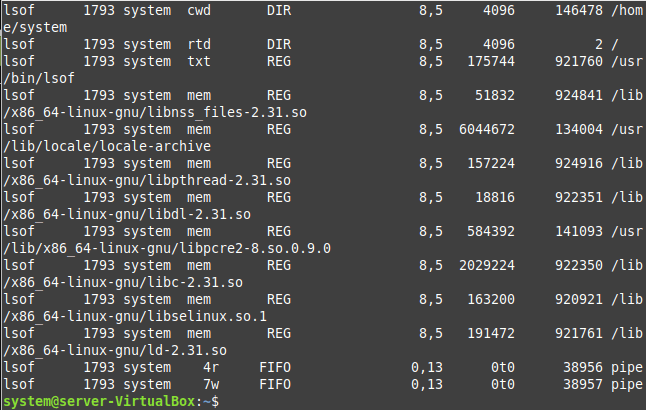
The LSOF command with the “-u” flag followed by the username prints all the open files belonging to the specified user. In this example, we wanted to print the open files belonging only to the Linux user named “system”. You can replace it with the username of the user whose open files you wish to list down.
All the open files belonging to the specified user of our Linux system are shown in the following image:
Example # 3: Listing All the Open Files Associated With a Specific Process ID in Linux
In this example, we intend to print all the open files that are associated with a specific process ID. For that, we will use the LSOF command in the manner shown below:
$ lsof –p 1129
![]()
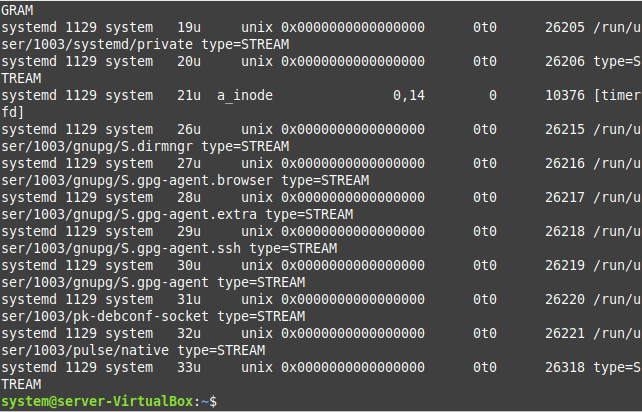
Whenever the LSOF command is paired up with the “-p” flag followed by a particular process ID, then all the open files associated with that particular process ID are printed on the terminal. You can replace “1129” with the process ID of the process whose associated open files you want to print.
All the open files associated with the specified process ID of our Linux system are shown in the following image:
Example # 4: Listing All the Open Files Associated With the Parent Processes in Linux
Now, we simply want to list down all those open files that are associated with the parent processes in Linux. For that, we will use the LSOF command as shown below:
$ lsof –R
![]()
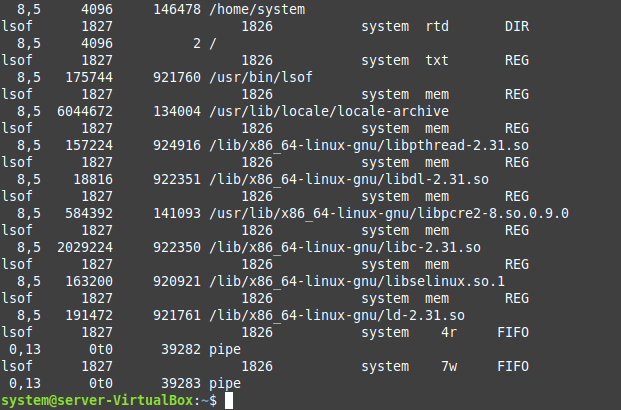
The “-R” flag is used with the LSOF command for listing all the open files associated only with the parent processes in Linux.
All the open files associated with the parent processes of our Linux system are shown in the following image:
Example # 5: Listing All the Open Files Associated With the Network Connections Following a Particular Protocol in Linux
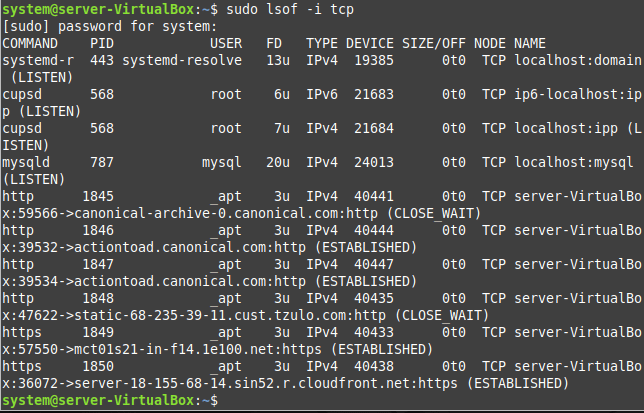
In this example, we wish to list down all the open files associated with the network connections of Linux that follow a particular protocol such as TCP or UDP. For that, we will use the LSOF command in the manner shown below:
$ sudo lsof –i tcp
![]()
This command requires “sudo” privileges to execute. Moreover, you can simply replace “tcp” with “udp” if you want to display all the open files associated with this particular protocol.
All the open files of our Linux system belonging to the specified protocol are shown in the following image:
Conclusion
In this tutorial, we wanted to guide you on the usage of the LSOF command in Linux. For that, we began by talking about the purpose of this command, followed by its general syntax. After that, we discussed a few example use-cases of this command that will help you a lot in the further exploration of this command.


