
What is FortiClient VPN?
FortiClient uses SSL and IPSec VPN to provide its customers with safe, efficient, reliable, and fast access to corporate networks and applications from virtually any internet-connected remote machine. FortiClient enhances remote user experience with built-in auto-connect and always-up VPN features.
In today’s guide, we will show you how to install FortiClient VPN on our machine. We have used Ubuntu 20.04 as our operating system on which we will install the VPN application. Ubuntu is a very popular, efficient, fast, and reliable distribution of Linux. This distro is based on Debian. Due to its focus on user-friendliness and stability, it is widely used by both beginners as well as experts.
Let’s get started!
Installation Guide:
Following are the steps involved in installing FortiClient VPN on our Ubuntu machine:
Step 1: Install gpg key
The very first thing that we will start with is installing the gpg key. To do that run the following command:
wget -O - https://repo.fortinet.com/repo/ubuntu/DEB-GPG-KEY | sudo apt-key add -
![]()
Step 2: Edit sources.list file
In this step, we will add a line in the sources.list file to enable installation of the application. To do that, first, go to apt directory following the command given below.
cd /etc/apt
![]()
Next, open sources.list file with the editor you are comfortable with. We have used nano editor as it is the easiest to use. To open the file, run:
nano sources.list
![]()
Once the file is open, copy this line and add it to the top of the file as shown below:
deb [arch=amd64] https://repo.fortinet.com/repo/ubuntu/ /bionic multiverse
![]()
Now save the file with (CTRL + T) and exit with (CTRL + O).
Step 3: Update your system
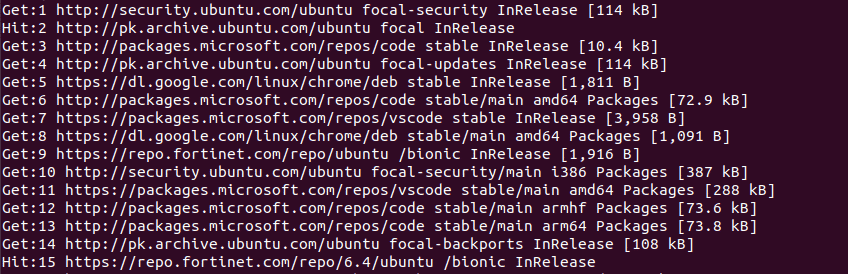
To update the recent changes we made in the file in the previous step, we will update our system. To do that run this command:
sudo apt-get update
![]()
After entering the command, you will be prompted to give your sudo password. Once it is accepted, the system will begin to update like this:
Step 4: Install Forticlient VPN
Once the system is updated, we will install the VPN application using this command:
sudo apt install forticlient
![]()
Forticlient VPN will begin to install and this is what the terminal will look like:

Step 5: Verify Installation
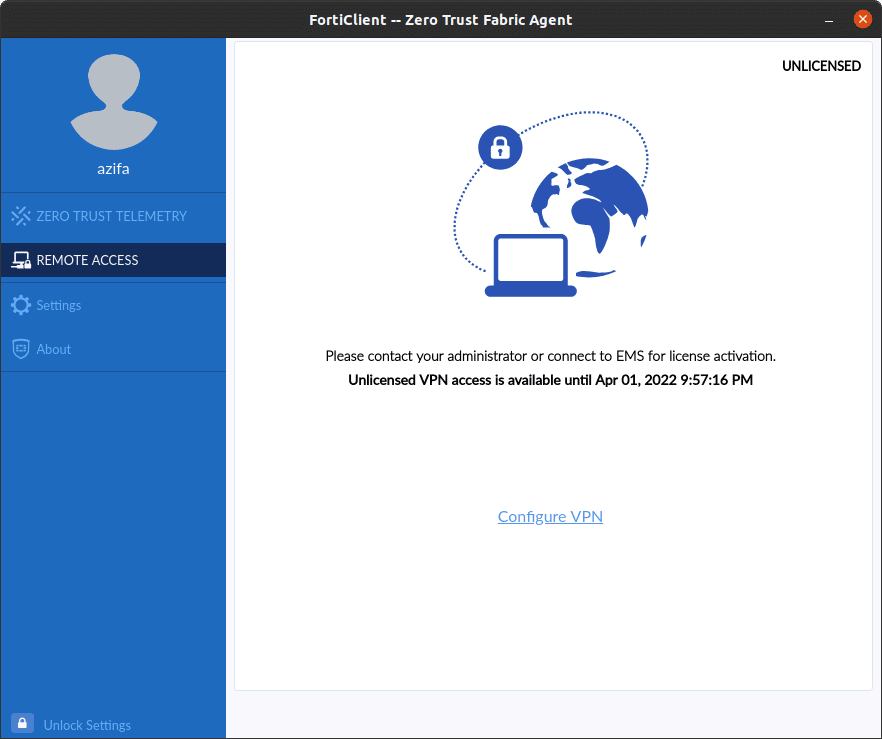
Now that we have installed the application, let’s also verify if it is working properly or not. To do that go to the start menu and search for the application. FortiClient VPN will appear on the screen. Run it to see if it is working fine.
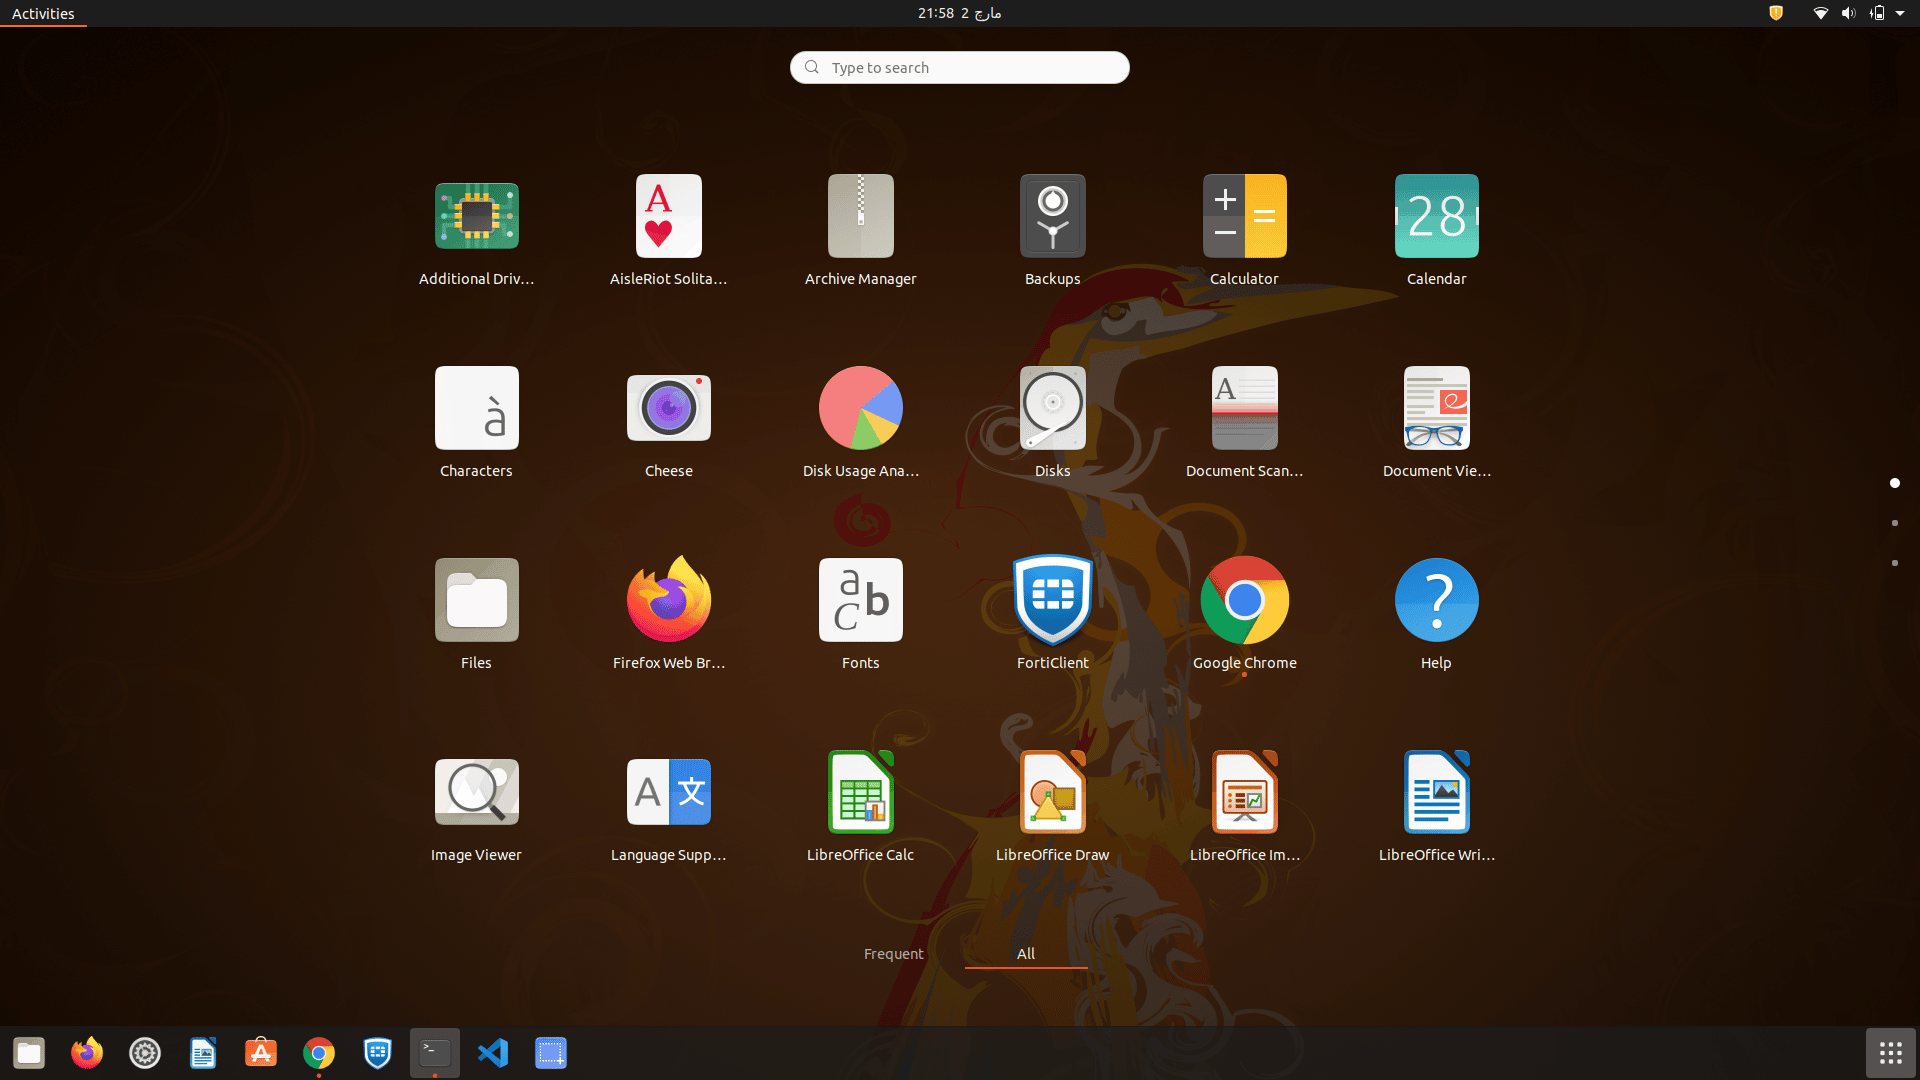
This is how the user interface for FortiClient will appear.

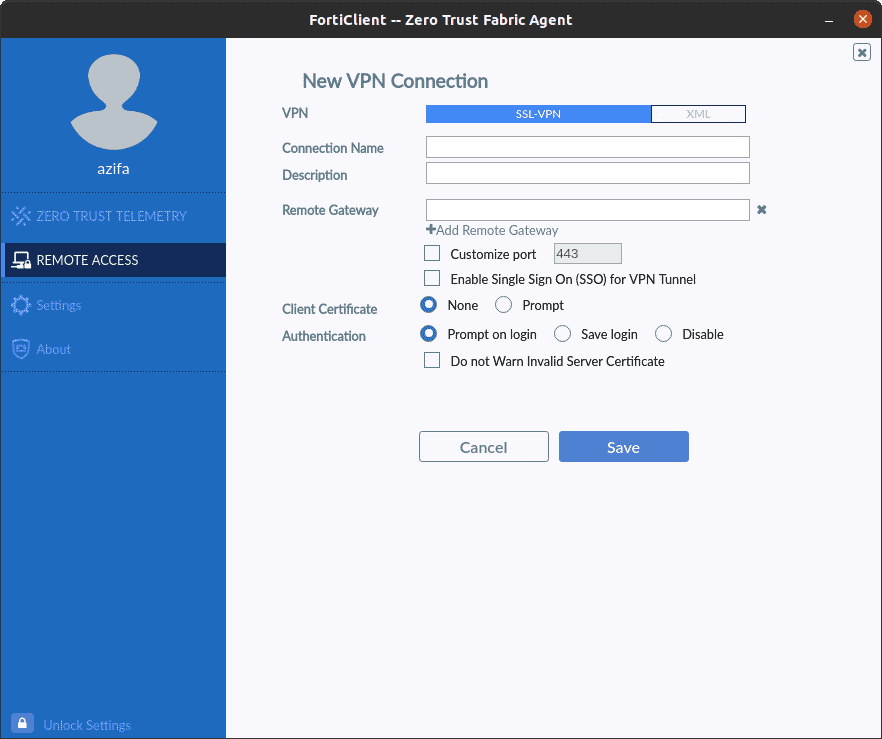
Next, go to remote access and click on configure.
Now here provide the configuration to connect through VPN.
How to uninstall FortiClient VPN from Ubuntu 20.04?
Now that we have understood how to install FortiClient VPN on our system, let’s also have a look at how to remove it from our machine. To do that we only need one simple command, and the application will be swiftly uninstalled from our Ubuntu machine. This is the command:
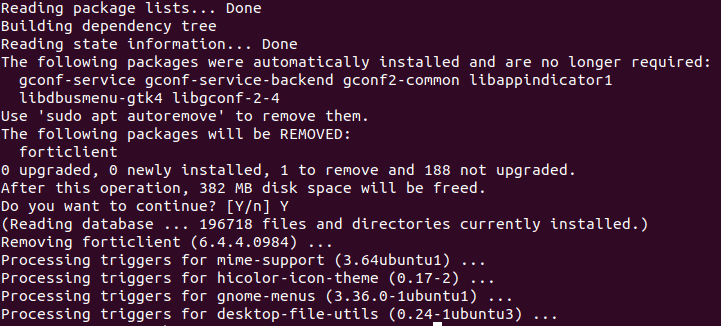
sudo apt-get remove forticlient
![]()
When the application begins to uninstall, this is what the terminal looks like:
Once the process is completed, to verify the uninstallation, you can go to the start screen to check if the application still exists on the system or not.
In this tutorial, we looked at how to install FortiClient VPN in detail with the help of a few easy-to-follow commands. We also explored the process required to uninstall the application. The installation process will not take more than 5 minutes. After installing it and connecting to it, you can securely communicate on your network.
To see how you can install Open VPN on Ubuntu 20.04, check this out:
https://linuxways.net/ubuntu/how-to-set-up-openvpn-on-ubuntu-20-04/

Karim Buzdar holds a degree in telecommunication engineering and holds several sysadmin certifications including CCNA RS, SCP, and ACE. As an IT engineer and technical author, he writes for various websites.


