If you ever needed a nifty tool for creating a bootable USB drive without the need of formatting the drive over and over again, the Ventoy is the go-to utility. Ventoy is an open-source and cross-platform utility that allows you to create a bootable USB drive with multiboot support among other features. You can copy the ISO images of various operating systems and Ventoy will display them during boot time. In this guide, we show you how you can create a bootable multiboot USB drive using Ventoy.
Step 1: Download Ventoy tarball installation file
First off, download the latest Ventoy compressed file from GitHub as shown using the wget command.
$ wget https://github.com/ventoy/Ventoy/releases/download/v1.0.46/ventoy-1.0.46-linux.tar.gz

Upon completion of the download, you can verify its presence in your current working directory using the ls command as shown.
$ ls -l | grep ventoy

Step 2: Extract the Ventoy compressed file
The next step is to extract the tarball file and this can be accomplished by running the command below.
$ sudo tar -xvf ventoy-1.0.46-linux.tar.gz
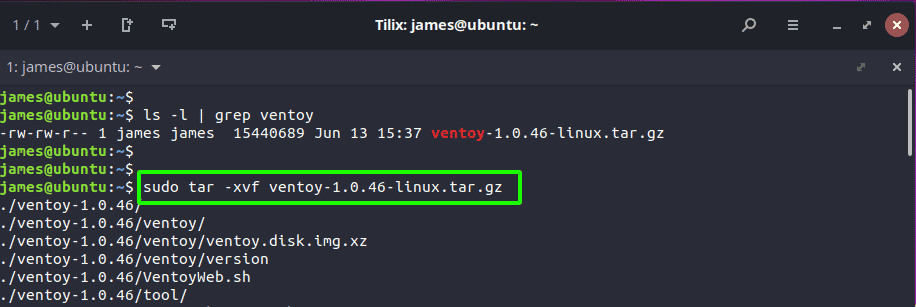
This takes a matter of seconds, and once the extraction is complete, navigate to the extracted folder as shown.
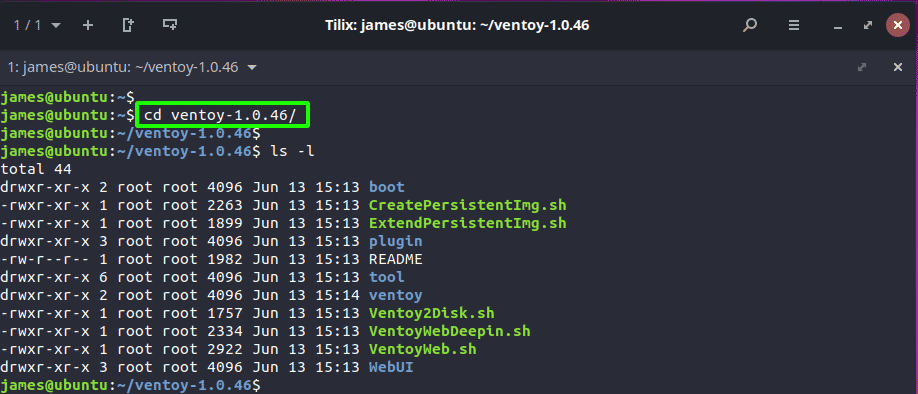
$ cd ventoy-1.0.46/
If you are curious enough, you can check the contents of the directory as shown.
$ ls -l
It contains script files, sub-directories, plugins, and a set of tools required to create a bootable USB drive.
Step 3: Create a bootable USB drive
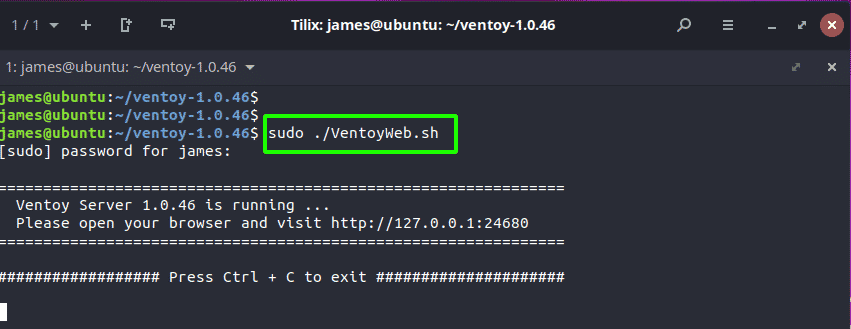
To make the USB drive bootable, execute the VentoyWeb.sh script file as a root or sudo user as follows.
$ sudo ./VentoyWeb.sh
This creates a temporary web server that will help you make your USB drive bootable. The output prompts you to launch your browser and visit the webserver URL indicated as http://127.0.0.1:24680
When plugged in, your USB drive will be automatically detected as shown.
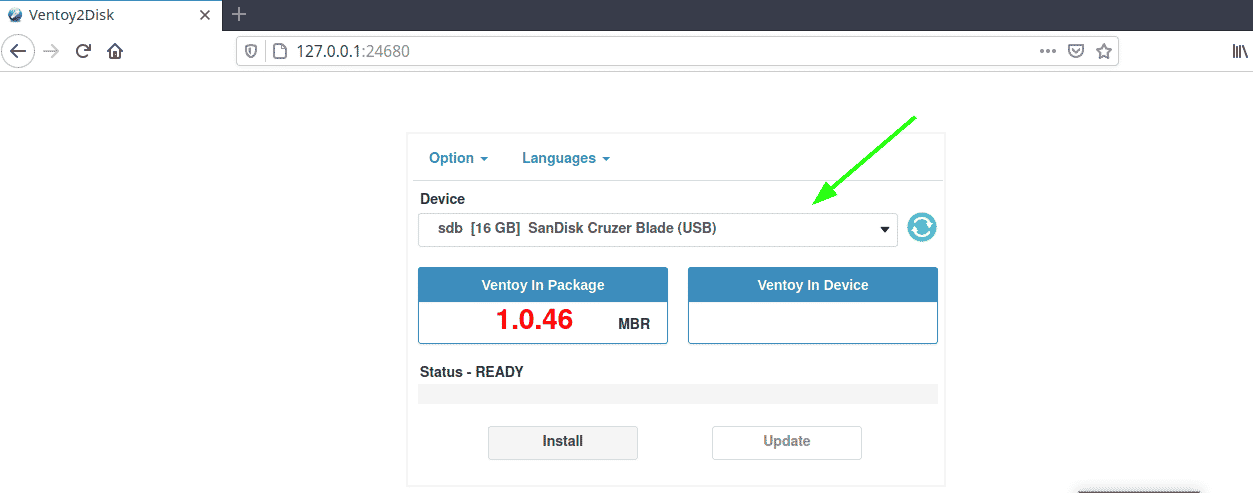
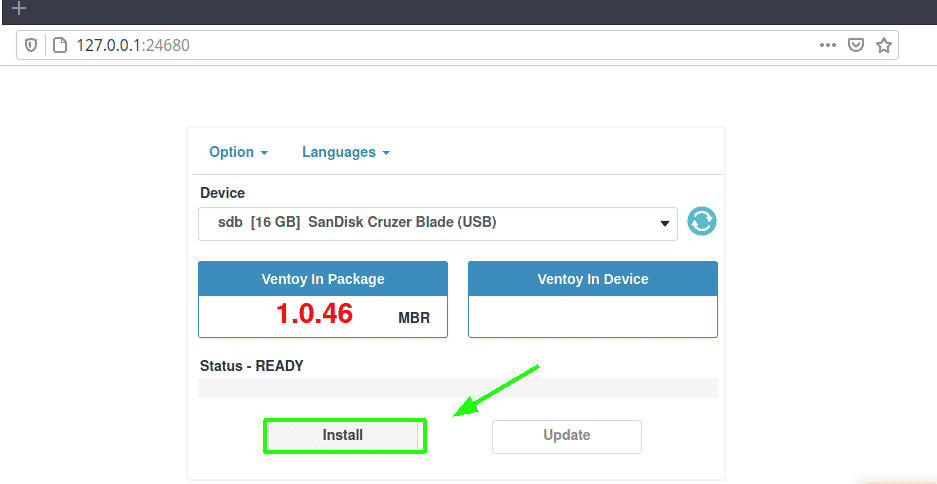
Next, click on Install to start creating the bootable drive.
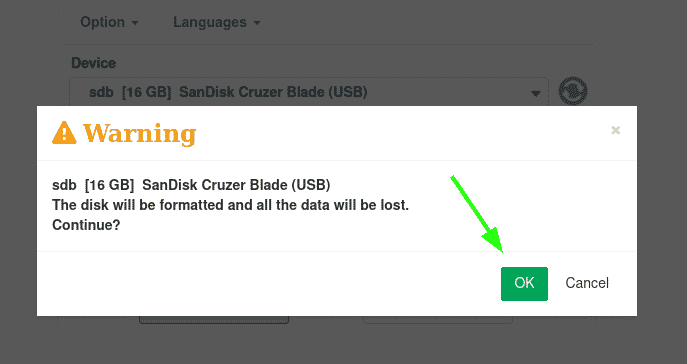
Note that all the contents of the drive will be erased as indicated by the warning below. So, if you have any precious data, be sure to back it up. To proceed, simply click ‘Ok’.
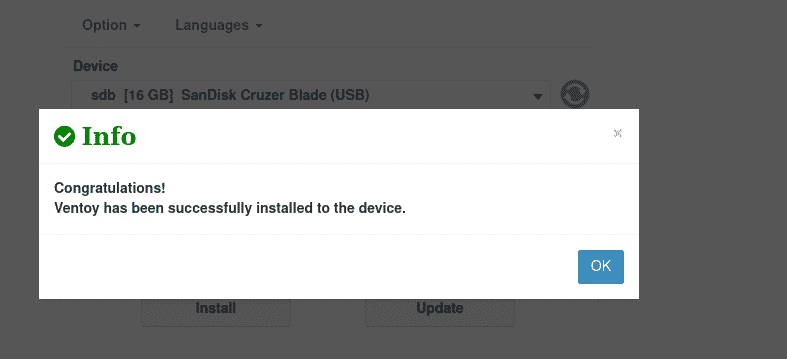
After a few seconds, you will be good to go. Just hit the ‘Ok’ button.
Ventoy creates a separate EFI partition that contains the bootloader files. To list all the partitions, run the fdisk command shown.
$ sudo fdisk -l /dev/sdb
The /dev/sdb1 partition is the partition on which you will copy your ISO disc images. This is formatted using the exFAT filesystem format.
The /dev/sdb2 partition contains Ventoy bootloader files and occupies only 32M

Our USB drive is now ready for multibooting. All that is remaining is to copy the ISO images of the operating systems that you want in the first partition. Ventoy will then search for them and list them in alphabetical order on the GRUB menu.


