Config Server Firewall (CSF) is a free and open-source firewall that is used to protect Linux servers from unauthenticated users. Services such as SSH, SMTP, HTTP, IMAP, POP3, and FTP as well as many other protocols, are continuously monitored by CSF.
This firewall allows you to temporarily or permanently block and unblock specified IP addresses. It also has a web-based interface for cPanel, Webmin, and DirectAdmin that allows you to manage your firewall from a web browser.
CSF is very simple and straightforward to install. This guide will walk you through the process of installing and Configuring the Config Server Firewall on Ubuntu 20.04.
Step 1: Remove UFW firewall
By default, Ubuntu comes with the UFW firewall already installed. The first thing that you would want to do is to remove it before installing the CSF firewall. Therefore, run the command:
$ sudo apt remove ufw
Step 2: Install Required Dependencies
CSF Web comes with a web interface based on perl that requires some dependencies installed. Install the required dependencies as shown:
$ sudo apt-get install sendmail dnsutils unzip git perl iptables libio-socket-ssl-perl libcrypt-ssleay-perl libnet-libidn-perl libio-socket-inet6-perl libsocket6-perl -y
Step 3: Download Config Server Firewall(CSF)
Download the CSF archive file from its official site since it is not available in Ubuntu repositories. Run the following wget command to download CSF.
$ sudo wget http://download.configserver.com/csf.tgz

Once the download is complete, extract the archive file as shown:
$ tar -xvzf csf.tgz
Step 4: Install Config Server Firewall(CSF)
Next, navigate into the CSF directory and install it by running the following script:
$ cd csf
$ sh install.sh
Once the installation is complete, a success message will be displayed on the terminal. To confirm CSF is installed and running correctly, execute the command below:
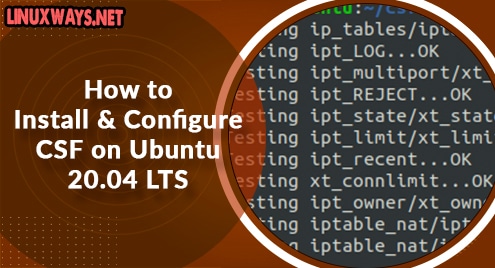
$ sudo perl /usr/local/csf/bin/csftest.pl
The output will be as follows.

Step 5: Configure Config Server Firewall
CSF can be configured by editing its configuration file that is in the path /etc/csf/csf.conf.
$ sudo nano /etc/csf/csf.conf
Change the following lines at the beginning of the config file:
TESTING = "0"
RESTRICT_SYSLOG = "3"
Save and reload CSF using the commands below:
$ sudo csf -ra
You can also check the status of CSF with the following command:
$ sudo systemctl status csf

From the output above, the CSF service is up and running.
The CSF configuration file offers a wide range of settings. The default settings are generally satisfactory and can be used on practically any server. Common attacks such as port scans, flood attacks, and unauthorized access attempts are blocked by the default settings in the file.
If you want to fine-tune your configuration even further read the comments in the /etc/csf/csf.conf and make the necessary changes.
Step 5: Manage CSF with Command Line
You can manage the CSF firewall using the command line. You can allow, deny, or ban an IP address. Below are examples of how to use the csf command.
Allow a specific IP address as shown:
$ csf -a ip_address
Deny an IP address using the -d option followed by the IP address as shown:
$ csf -d ip_address
To remove a blocked IP address from a CSF rule, run:
$ csf -dr ip_address
To display all firewall rules, run:
$ csf -l
Conclusion
That’s it with installing Config Server Firewall on Ubuntu 20.04.

Karim Buzdar holds a degree in telecommunication engineering and holds several sysadmin certifications including CCNA RS, SCP, and ACE. As an IT engineer and technical author, he writes for various websites.


