Apache Maven is a powerful project management utility that uses the idea of project object model. It manages the project’s build, dependency, reporting, and documentation. In an earlier post, we went through the installation of Apache Maven on Ubuntu OS. Today’s post is regarding how to install Apache Maven on CentOS. We will cover:
- Installing Apache Maven via Yum Package Manager
- Installing Apache Maven via Direct Download method
Note: We will be demonstrating the procedure on CentOS 8.
Installing Apache Maven via Yum Package Manager
Apache Maven is included in the CentOS default repository. In this procedure, we’re going to install Apache Maven on CentOS via the Yum package manager.
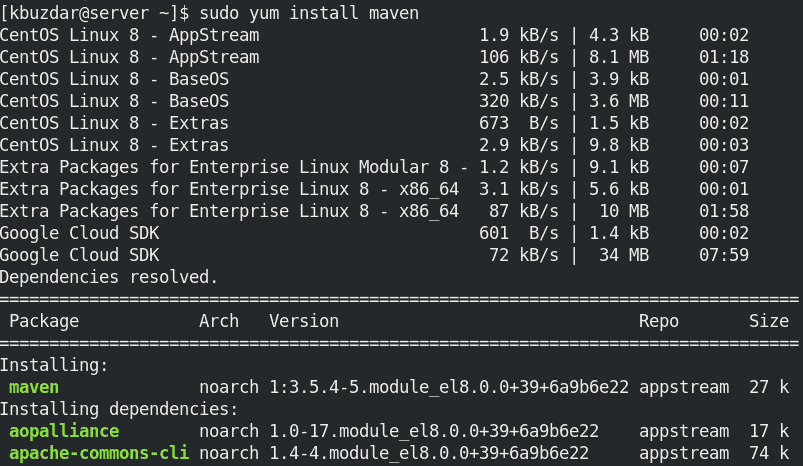
1. Use the command below in the Terminal to install Apache Maven on your CentOS system:
$ sudo yum install maven
Enter sudo password, after which the installation of Apache maven will be started.

2. After the Apache Maven is installed, you can confirm it using this command:
$ mvn --version
The output below verifies that Apache version 3.5.4 has been installed.

Installing Apache Maven via Direct Download
Apache Maven is also available for download and installation on its official website. In this method, we’re going to install Apache Maven on the CentOS system. Using this method, you can have the latest release of Maven. We’re going to download the current latest version 3.8.1 (as of July 2021).
1. Apache maven requires JDK 1.7 or later to be installed on your machine. To verify if Java is installed, use the command below:
$ java --version
If it installed, you will see the below similar output:

Otherwise, you can install it using the command below in the Terminal:
$ sudo yum install -y java-1.8.0-openjdk-devel
2. Visit the Apache Maven Downloads page and download the latest or any previous version of Apache Maven. You can also use this command for downloading the Maven 3.8.1
$ wget https://downloads.apache.org/maven/maven-3/3.8.1/binaries/apache-maven-3.8.1-bin.tar.gz
The downloaded file will be an archive file.
3. Extract the downloaded Apache Maven archive using the command below:
$ sudo tar xf apache-maven-3.8.1-bin.tar.gz -C /opt
Replace the apache-maven-3.8.1 with your extracted directory name.
This command will extract the archive in a directory named apache-maven-3.8.1 (apache-maven-version_number) in the /opt directory.
4. Move inside the /opt directory and rename the extracted directory as follows:
$ cd /opt
$ sudo mv apache-maven-3.8.1/ apache-maven
5. Now setup environment variable. To do so, create a file maven.sh in the /etc/profile.d using the command below.
$ sudo nano /etc/profile.d/maven.sh
Now copy-paste the below lines in the maven.sh file:
export M2_HOME=/opt/apache-maven

export MAVEN_HOME=/opt/apache-maven

export PATH=${M2_HOME}/bin:${PATH}
Then save the file and exit the editor.

6. The maven.sh file created in the previous step is a script file. You will have to make it executable as follows:
$ sudo chmod +x /etc/profile.d/maven.sh
7. Apply the configurations as follows:
$ source /etc/profile.d/maven.sh
Now the Apache Maven has been installed. To verify the installation, use the command below:
$ mvn --version
The output below verifies that Apache maven version 3.8.1 has been installed.

Uninstall Apache Maven
If you want to remove Apache Maven from your system, you can do so using the command below in the Terminal:
$ sudo yum remove maven
By following either of the installation methods( Yum package manager or via direct download method), you can easily install Apache Maven on CentOS. The Yum package manager downloads the older release of Maven while using the direct download method; you can have the latest version of Maven.


