GlassFish is an open-source and Java-supported application server through which users can run Java-based applications. It supports the latest Java platforms such as Enterprise JavaBeans, JavaServer Faces, JPA, JavaServer Pages, JMS, RMI and servlets, etc. Glassfish allows developers to build enterprise applications that are scalable and portable and can integrate with legacy technologies. Users can also install optional components for providing additional services. We will discuss the installation of the GlassFish application server on the CentOS 8 system in this article.
Prerequisites
Root privileges are required to assign administrative roles and systemd services configurations.
Installing GlassFish Application Server on CentOS 8
Follow the following key steps to install the GlassFish server on CentOS 8:
Step 1: Install Java OpenJDK
At that time, different Java versions are available for installation. However, for convenience install only the most commonly used LTS OpenJDK Java version OpenJDK 11 and 8. Most of the application supports OpenJDK 11 and some support OpenJDK 8. Therefore, install both Java versions one by one on CentOS 8 system. First, install the OpenJDK 11 by using the below-mentioned command:
$ sudo dnf install java-11-openjdk-devel
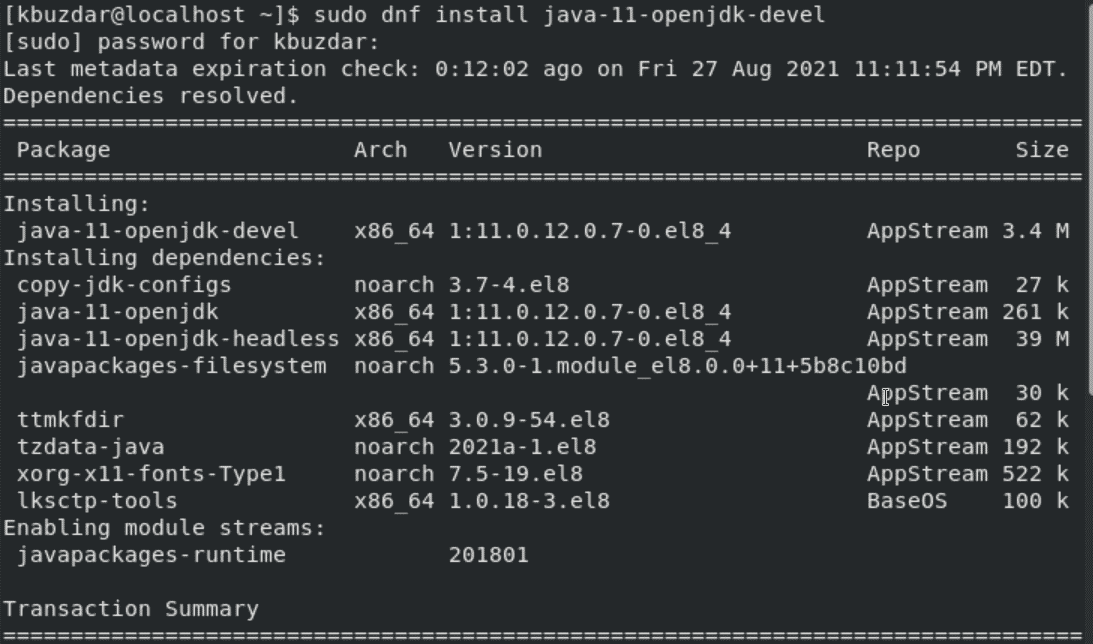
Once the OpenJDK 11 is installed on your system, type the following command to install OpenJDK 8 on CentOS 8:
$ sudo dnf install java-1.8.0-openjdk-devel
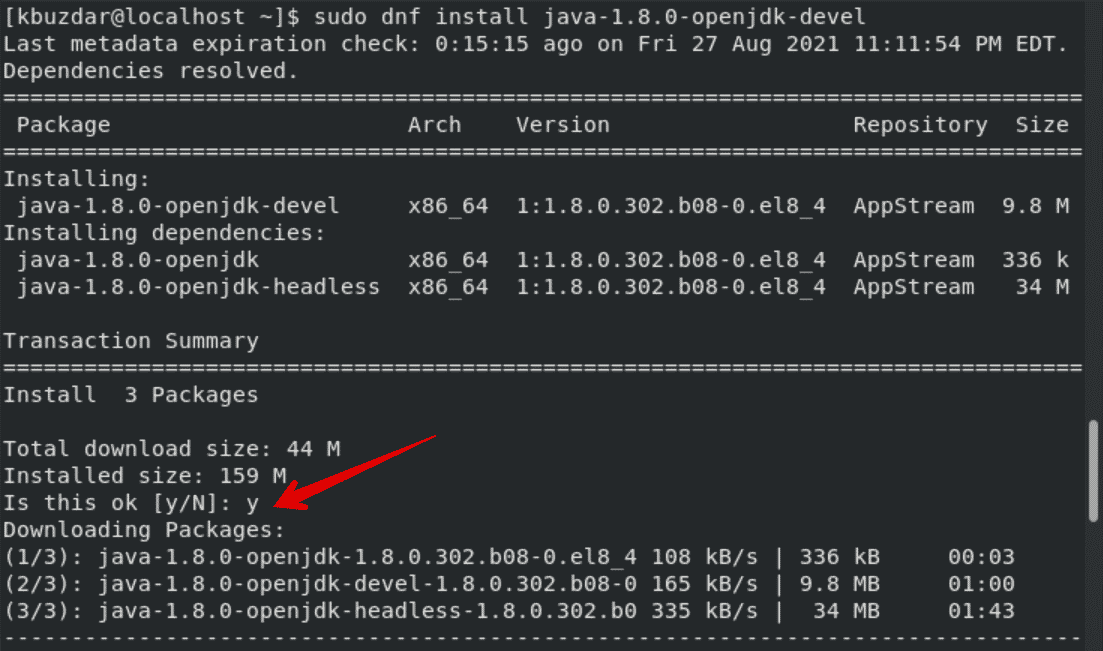
Verify the installation of Java by running the below-given command:
$ java -version

Now, to switch between two Java alternatives use the following command:
$ update-alternatives --config java
Using the above command, select the number that Java version you want to use on your system as the default version.
Step 2: Install GlassFish on CentOS 8 system
First, add a user for Glassfish by running the below-mentioned command using root privileges:
# useradd -s /sbin/nologin glassfish

Step 3: Download GlassFish Stable version
Download the GlassFish most stable version according to the requirement on your system using the ‘wget’ command as follows:
# wget http://download.oracle.com/glassfish/5.0/release/glassfish-5.0.zip
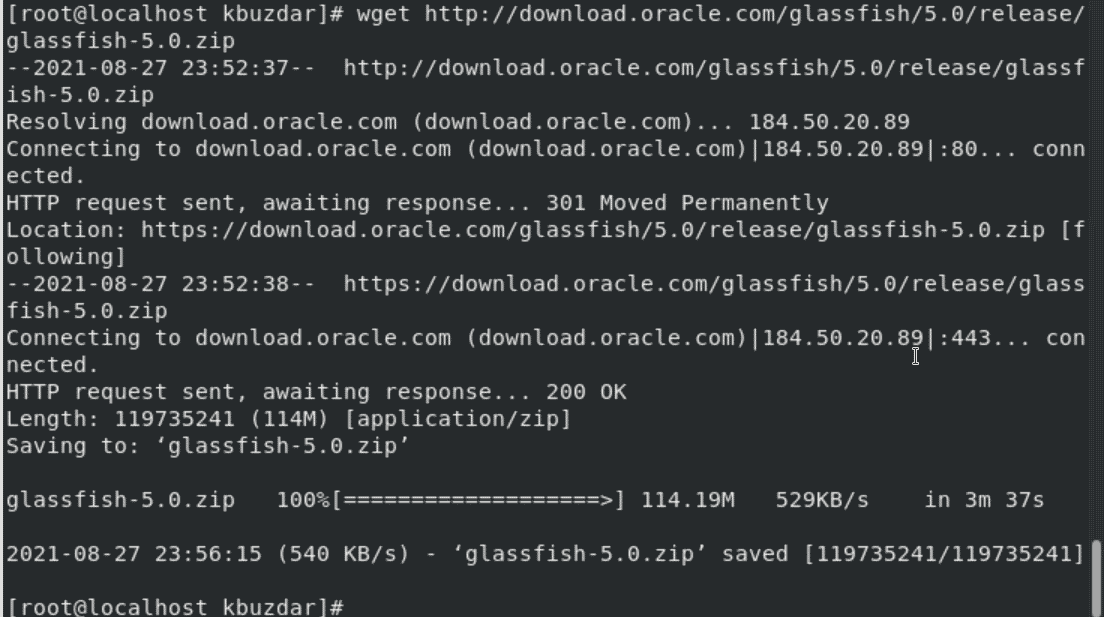
We have downloaded glassfish version 5 on this system. You can download the available latest version from the oracle website. The zip file will download on your system.
Step 4: Unzip the GlassFish release
Unzip the downloaded file by using the unzip command. Type the below-given terminal command to unzip the glassfish zipped file:
# unzip -d /opt/ glassfish-5.0.zip
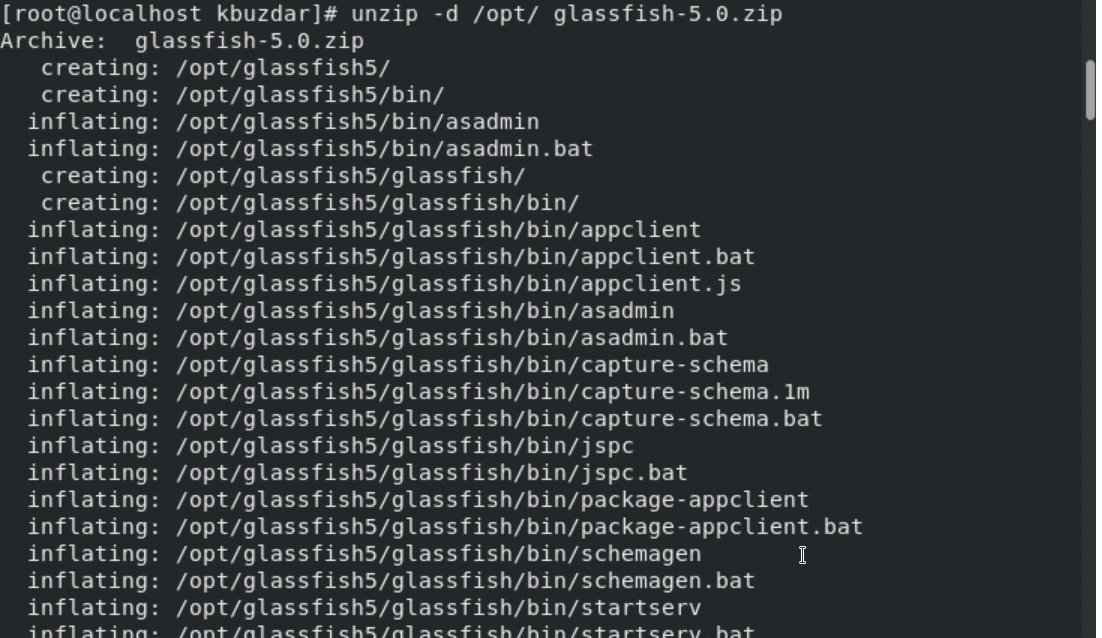
Now, assign privileges to the GlassFish user of the ‘/opt/ glassfish5/’ directory.
# chown -R glassfish:glassfish /opt/glassfish5/

Step 5: Create GlassFish systemd service
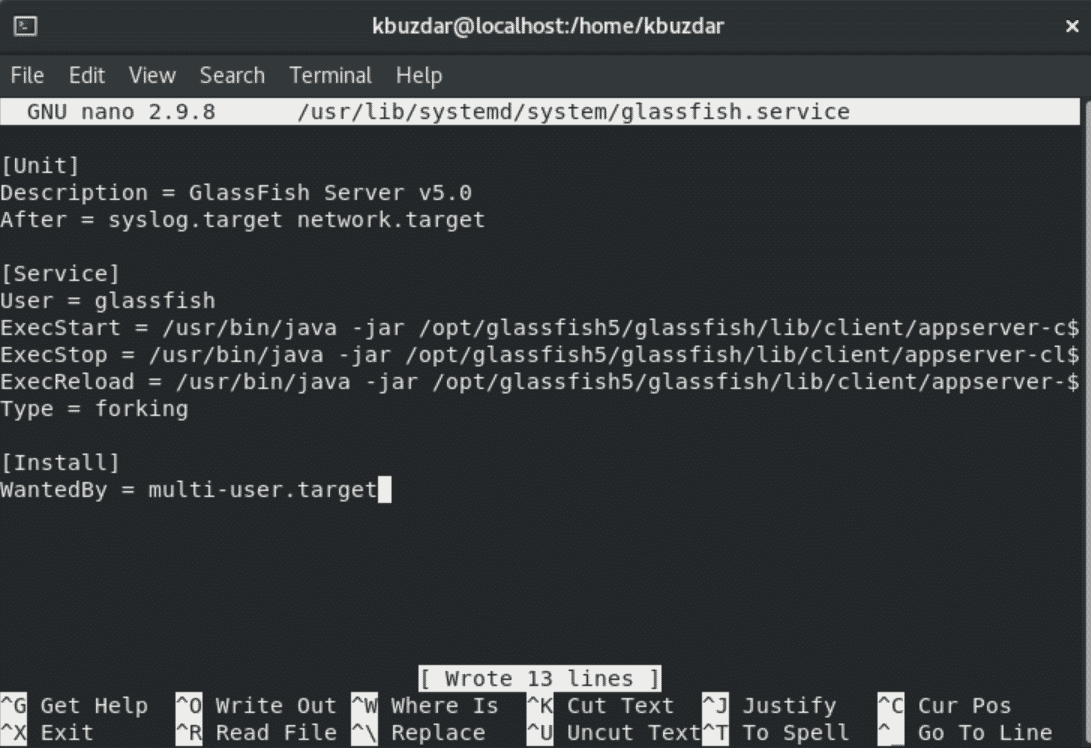
Now, create the (glassfish.service) systemd service for running GlassFish server on CentOS 8. Create a file using text editor as follows:
# nano /usr/lib/systemd/system/glassfish.service
Paste the following lines of code in this systemd service file:
[Unit]

Description = GlassFish Server v5.0

After = syslog.target network.target

[Service]

User = glassfish

ExecStart = /usr/bin/java -jar /opt/glassfish5/glassfish/lib/client/appserver-cli.jar start-domain

ExecStop = /usr/bin/java -jar /opt/glassfish5/glassfish/lib/client/appserver-cli.jar stop-domain

ExecReload = /usr/bin/java -jar /opt/glassfish5/glassfish/lib/client/appserver-cli.jar restart-domain

Type = forking

[Install]

WantedBy = multi-user.target
Now, exit from the current displaying window after saving all changes in this file.
Step 6: Enable and start GlassFish server
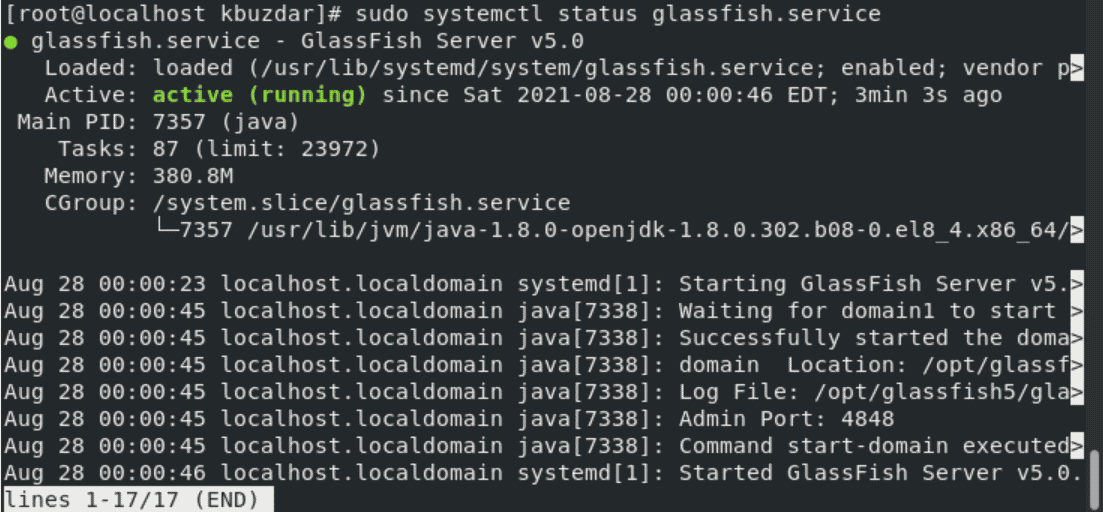
Start the GlassFish server and enable it on CentOS 8 system by running the below-mentioned commands:
$ sudo systemctl start glassfish.service
$ sudo systemctl enable glassfish.service

$ sudo systemctl status glassfish.service
Step 7: Firewall Configuration
Configure the firewall setting. Open the HTTP ports (4848, 8080, and 8181) in the firewall for running the Glassfish server.
$ sudo firewall-cmd --add-port={4848,8080,8181}/tcp --permanent
$ sudo firewall-cmd --reload

The success status should display on the terminal for enabling the firewall settings.
Step 8: Launch GlassFish server web interface
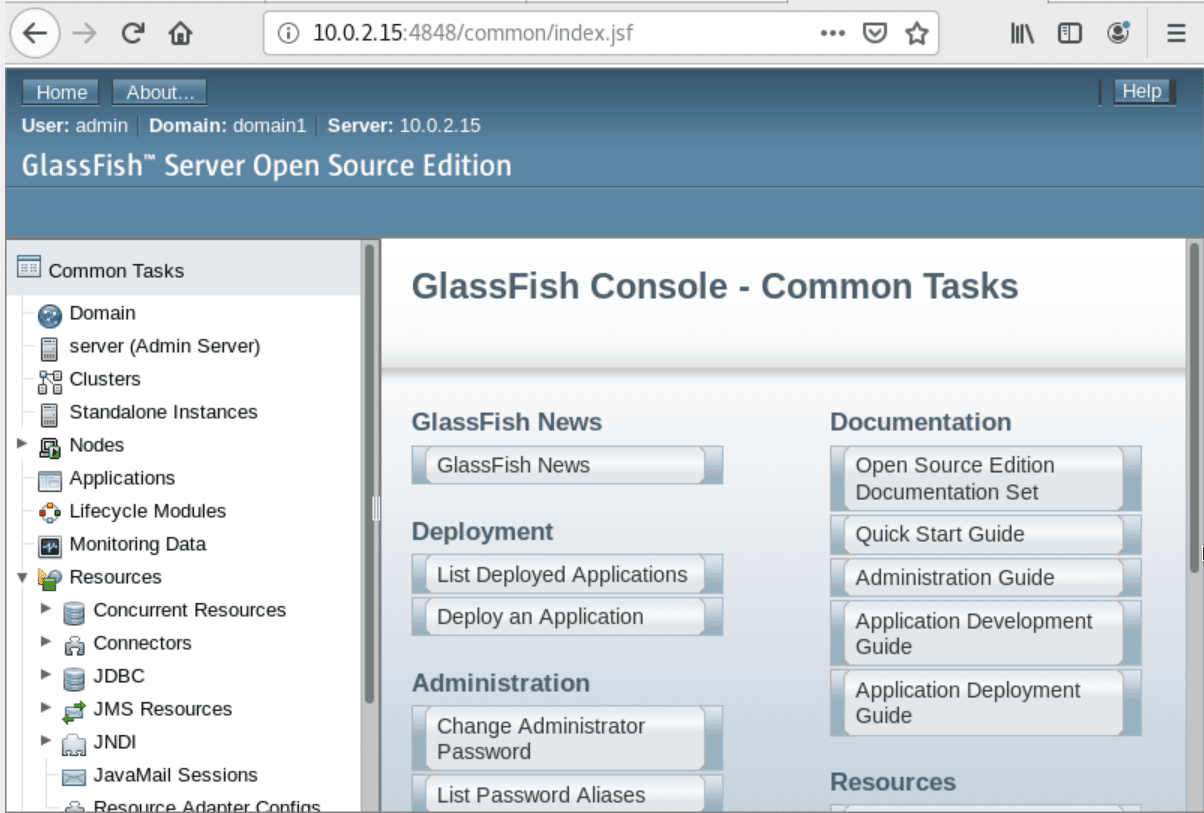
GlassFish can listen on HTTP as default port 8080 and port 4848 by the administration. So, open the web browser MozilaFirefox and enter one of the following URLs in the address bar.
http://domain.com:8080
Or
http://IP-Address-Server:4848
The following glassfish web interface will launch on the system after completing the required login steps automatically.
Conclusion
We learned how to install the GlassFish application server on CentOS 8 in this article. We have observed how to define systemd services for running Glassfish server and firewall configurations. After launching the GlassFish web interface you can enjoy its benefits and run multiple Java applications on it.


