Rust (commonly known as Rust-Lang) is a modern, powerful, open-source server-side programming language. It was developed by Mozilla and first launched in 2010. It provides numerous features such as move semantics, zero-cost abstractions, pattern matching, minimal runtime, type inference, threads without data traces, efficient C bindings, etc.
Rust is similar to c++ and runs on a number of platforms. Organizations that rely on Rust in their production servers include CoreOS, Dropbox, and Mozilla.
In this guide, we will walk you through the installation of the Rust language on Linux and write our first program.
Step 1: Install necessary dependencies
We first need to install the necessary dependencies required for Rust in Linux.
To install the dependencies on Debian-based systems, run the following command:
$ sudo apt-get install build-essential -y
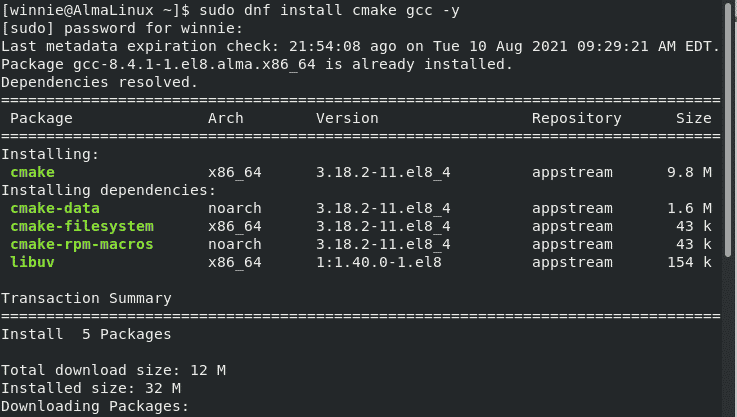
To install the dependencies on Red Hat-based systems, run the following command:
$ sudo dnf install cmake gcc -y

Step 2: Installing curl
Moving along, we will install Rust in Linux using curl, a free command-line utility. If you don’t have curl in your system, run either of the following commands to install.
To install curl on a Ubuntu / Debian-based Linux distributions run:
$ sudo apt install curl -y
To install curl on Red Hat-based Linux distributions such as Rocky Linux, Fedora and CentOS, run:
$ sudo dnf install curl -y
Step 3: Install Rust
With curl installed, the next step will be to install rust. Use the curl command to download and execute the installation script.
$ curl https://sh.rustup.rs -sSf | sh
The above command is distribution-agnostic and will run on any Linux environment.
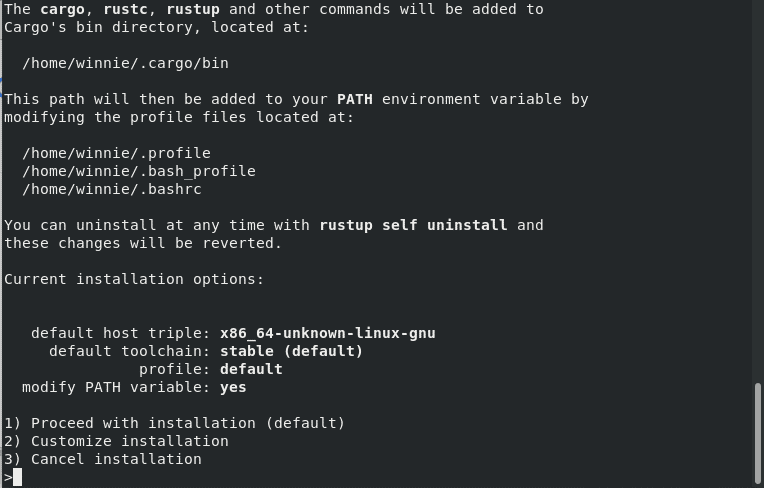
When prompted, select ‘1’ and hit Enter to proceed with the installation. All the required components for Rust programming language will be downloaded.

When the installation is complete, the following output will be displayed.

Rust will not add the Cargo bin directory (the package management and crate host for rust) to your $PATH during the installation process, therefore you’ll have to do it manually. Run the command:
$ source $HOME/.cargo/env
Next, source your user .profile file so as to make sure it uses the modified $PATH. This ensures your shell functions properly within the Rust environment. Execute the command below:
$ source ~/.profile
Finally, let’s verify the version of rust installed in our machine with the command:
$ rust --version

From the output, the currently installed rust version is 1.54.0
Step 4: Testing your Installation
We are now ready to run our first program in rust. We will run a simple “hello world” script. I will first create a new directory for my rust project.
$ mkdir ~/rustproject
Next, navigate into the new directory.
$ cd rustproject
Let’s now create and open a new rust file with the command:
$ sudo nano rusttestfile.rs
You should notice that rust programs are saved with the .rs extension.
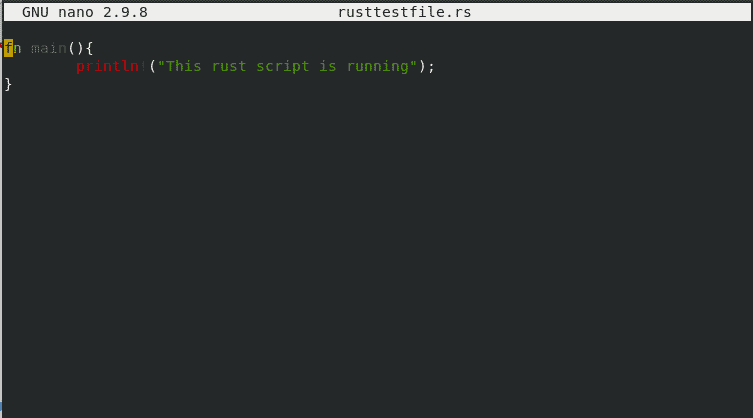
Copy the following lines of code that print the statement “This script is running”. Save and close the file.
fn main(){

println!(“This rust script is running”);

}

After saving the above file, create a Rust executable for our rusttestfile.rs file with the command:
$ rustc rusttestfile.rs
Finally, we will run the compiled program with the following command:
$ ./rusttestfile
You should see “This script is running!” printed in the output upon successful execution of the program.

Conclusion
We are now set to write rust programs on Linux.


