Introduction:
Whenever the topic of video editing is discussed, there are certain prominent names that you will hear quite often. One such name is VidCutter that is a free and open-source professional-quality video editing software that can be used across different operating systems including Linux. The motivation behind writing this guide is to make you aware of the installation method of VidCutter on a Linux Mint 20 system.
How to Install VidCutter on a Linux Mint 20 System?
We can install VidCutter on Linux Mint 20 by performing the below shown steps:
Step # 1: Update your System to Avoid any Installation Issues:
We will begin with the command that will save us from any future installation issues i.e. the update command in Linux which is as follows:
$ sudo apt update
![]()
Step # 2: Use the APT Package Manager to Install the Snap Daemon:
After that, we will install Snap Daemon with the help of the APT package manager in the following manner:
$ sudo apt install snapd
![]()
Step # 3: Install VidCutter through the Snap Daemon:
Now, we will install VidCutter on our Linux Mint 20 system by running the command shown below:
$ sudo snap install vidcutter
![]()
The display of the VidCutter version on the system’s terminal will indicate its successful installation as shown in the following image:

Step # 4: Launch VidCutter for Getting Started with it:
We can get started with VidCutter by launching it through the terminal with the command shown below:
$ vidcutter
![]()
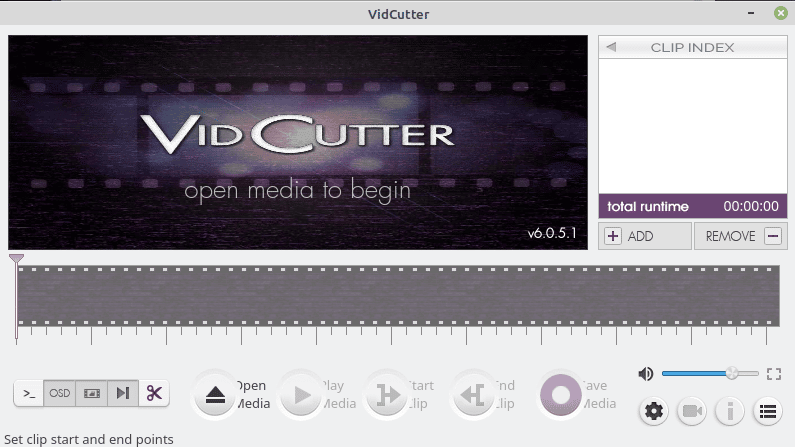
The VidCutter interface can be visualized from the following image:

How to Remove VidCutter from a Linux Mint 20 System?
We can use the Snap Daemon for removing VidCutter from our system as well by executing the following command:
$ sudo snap remove vidcutter
![]()
Conclusion:
While going through this article, you would have clearly realized how easy it is to install VidCutter on a Linux Mint 20 machine. Once you have this video editor installed on your system, you can immediately start using it for beautifying your videos, and that too without any cost.


