The .zip extension is used for the compressed file format. This format allows you to compress all files of a directory without any data loss. Users can compress more than one directory or file at a time using Zip file format. However, when you want to extract the zip files in Linux distribution, you need to use a command-line utility that is known as ‘unzip command’. You can easily extract all types of zip files just in a few minutes using this command-line tool.
This article will show you how you can unzip files through the terminal in a Linux environment. We have implemented the unzip command on the CentOS 8 system. These commands are the same for all Linux distributions, therefore, you can implement all these commands on Ubuntu, Debian, LinuxMint and fedora, etc.
Use of unzip command in File Extraction
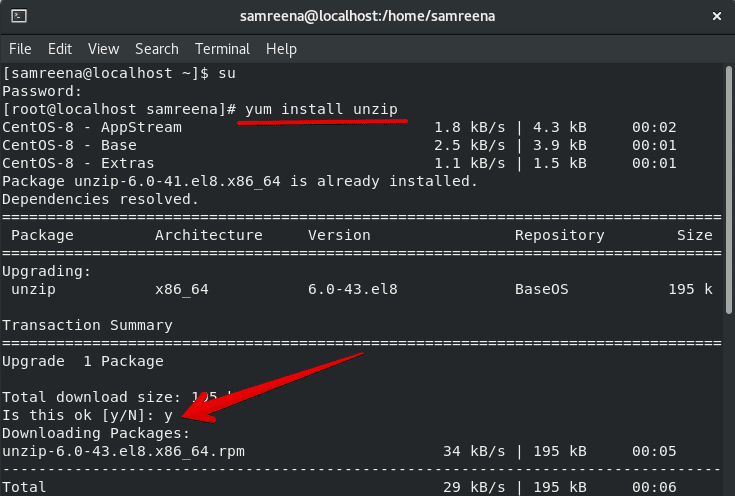
The unzip command is not installed on CentOS 8. But, it is preinstalled on most of the Linux distributions. Open the terminal window from the left sidebar of your desktop in CentOS 8 and install this utility by using the following command:
# yum install unzip
File Extraction using unzip command
You can easily extract a zip file by using the unzip command. Using the below-given command, you can unzip a file into a current folder or directory:
# unzip file-name
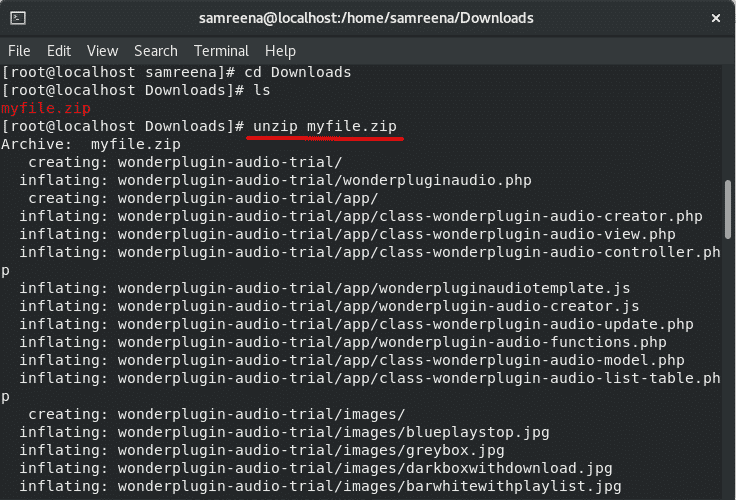
For example, if you want to extract a zip file ‘myfile.zip’ into the current directory ‘Downloads’ then, navigate into the ‘Downloads’ folder and list all files. Now, use the following command to unzip a file:
# unzip myfile.zip
Extract file into another directory
If you want to extract a zip file into another directory then, Use the -d option with the unzip command. To extract a file into a different directory, type the below-mentioned command on the terminal:
$ unzip file-name.zip -d /directory-path
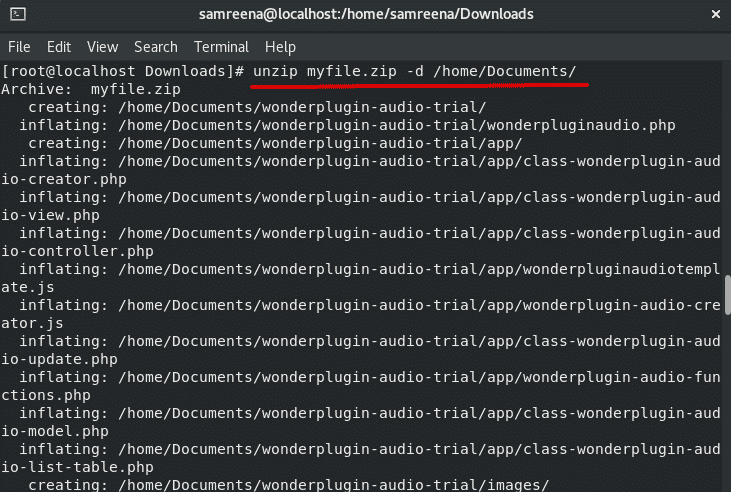
For example, you want to extract a zip file in the Documents instead of extracting it into the current Downloads. So, in this case, the following command will be used:
# unzip myfile.zip -d /home/Documents/
Unzip files with suppressing output
During the extraction of a file, it first prints the file names and also shows a summary of task completion. If you don’t want to print all file names then, use the option ‘-q’ with the unzip command as follows:
# unzip -q myfile.zip

The ‘Myfile.zip’ is the name of a zip file. You can replace your own file name.
Exclude file while extracting a ZIP file
Using the ‘-x’ option with the unzip command, you can also exclude files and directories from extraction. Use the following command to exclude a file while extracting a file.
# unzip file-name.zip -x exclude-name1 exclude-name 2
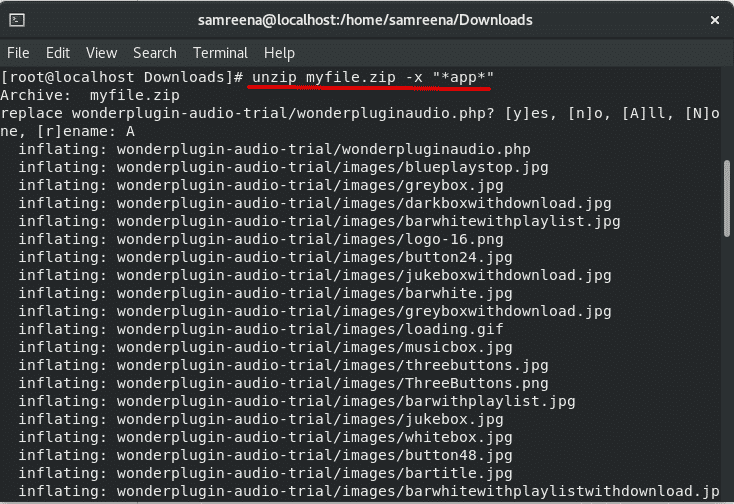
For example, we want to exclude the ‘app’ folder from the file extraction. So, the above command will change into the following form:
# unzip myfile.zip -x "*app*"
Overwrite the existing extracted files
If you have completed the extraction of a file and again type the unzip command then, it will ask you to overwrite or rename an existing file. If you want to ignore this prompt then, type the following unzip command with option -o:
# unzip -o myfile.zip
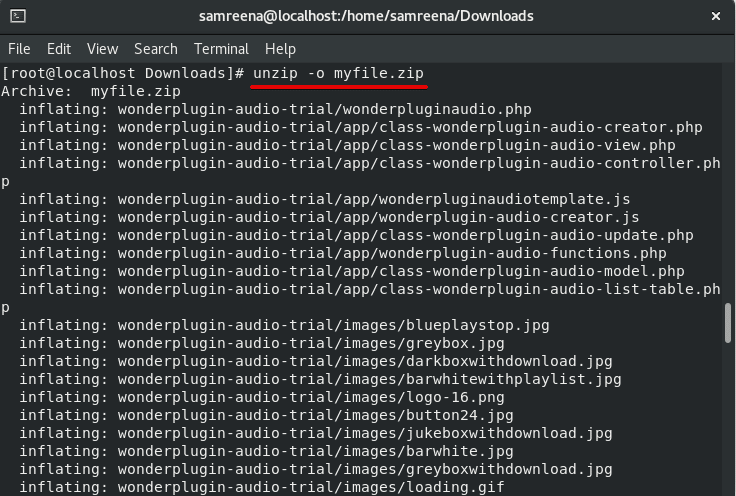
Use the above-command carefully, due to any small mistake you can lose all your original data.
If you don’t want to overwrite these existing files then using the option ‘-n’, you can forcefully skip all these files which have been extracted or exist.
# unzip -n myfile.zip

Unzip multiple files
You can also extract multiple files using the unzip command as follows:
# unzip '*.zip'
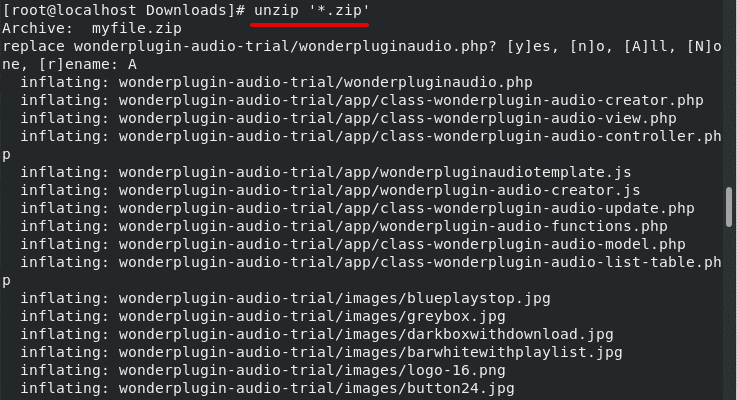
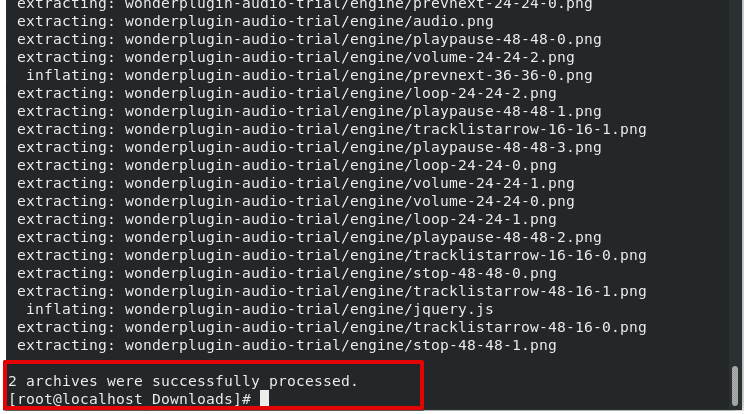
At the end of the file extraction, you can see how many archives are extracted.
List zip file contents
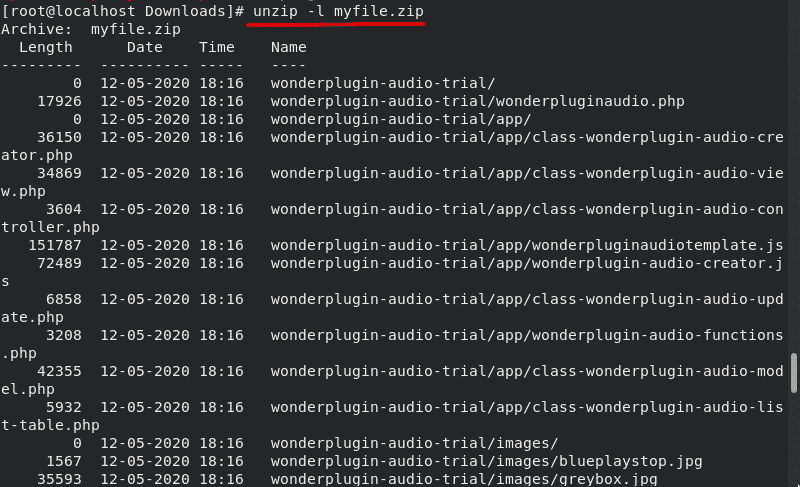
By using the following command, you can list the contents of a zip file:
# unzip -l myfile.zip
Conclusion
We have elaborated on how to use the unzip command on the CentOS 8 Linux system. We have explored various uses of the unzip command through which you can list ZIP archive content and extract files. You can utilize the unzip command according to your needs.


