Introduction
Grsync is a graphical alternative to command-line-based Rsync. It has several advantages over plain CLI-based software. In this guide, We are going to learn how to install Grsync. I am using Debian 10 Buster Edition. All instructions and commands only apply to Debian. Do not try to install Grsync from PPAs as it will result in a system break.
Installing Grsync
Run the following command to install Grsync on Debian:
sudo apt install grsync
![]()
Once installed, you can access Grsync from both your dashboard and CLI.
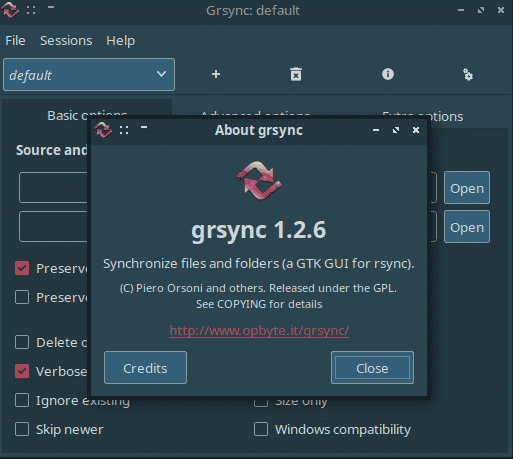
The latest version of Grsync is installed now.

Running a backup
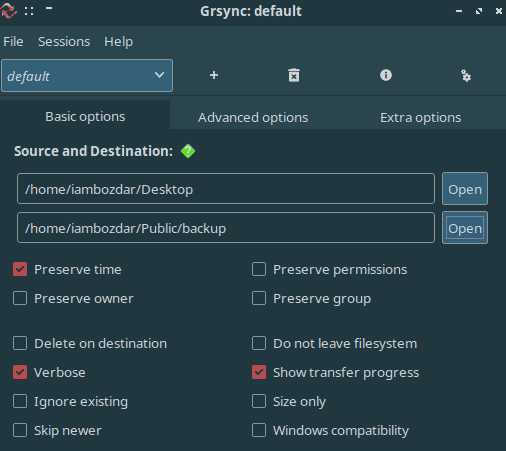
Add your source and destination directories and run the backup. It is not required to change the defaults unless that is absolute.
Running Grsync Using CLI
You would only need to use the following command to run Grsync to run it via the command line. Running rsync is also the same as Grsync as both are mirrors to each other.
$ grsync
Uninstalling Grsync
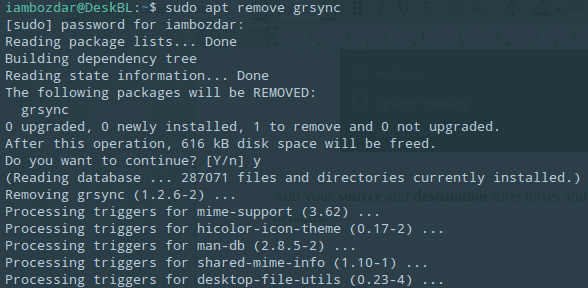
Run following simple commands, and Grsync will be gone.

You are good to move on now.
Conclusion
In this guide, we learned how to install and remove Grsync which is a nice backup utility. We also learned how to add source and destination into Grsync and take routine backups on our system.


