MongoDB is a renowned free-to-use NoSQL database for storing and handling immense amounts of structured and unstructured data. It stores data in adaptable JSON-like documents by utilizing the document-oriented model. It is a popular choice for building scalable and flexible applications because it manages data and high traffic loads by distributing data across multiple servers.
MongoDB offers extensive official support for numerous platforms, such as Windows, macOS, containers, as well as Linux distributions including Debian 12. This write-up will demonstrate the detailed MongoDB installation method along with its usage on Debian 12.
Outline
- How to Install MongoDB on Debian 12
- How to Manage MongoDB Services on Debian 12
- How to Use MongoDB on Debian 12
- How to Configure MongoDB Security on Debian 12
- How to Uninstall MongoDB on Debian 12
- Sum Up
How to Install MongoDB on Debian 12
You can install the MongoDB on your Debian 12 system from the official MongoDB repository by importing/adding it to your system. This method installs the up-to-date version of MongoDB with all the latest features. You can go through the step-by-step instructions to install MongoDB on Debian 12:
Step 1: Update Debian System
Before installing MongoDB on Debian 12, make sure to refresh your system’s packages as:
sudo apt upgrade
Step 2: Install Required Dependencies
Then, install the following necessary dependencies on your Debian 12 system:

Step 3: Import MongoDB GPG Key
Next, import the MongoDB GPG key on your Debian system through the given command:

Step 4: Add MongoDB Repository to Debian 12
After that, add/import the official MongoDB repository to the Debian 12 system:

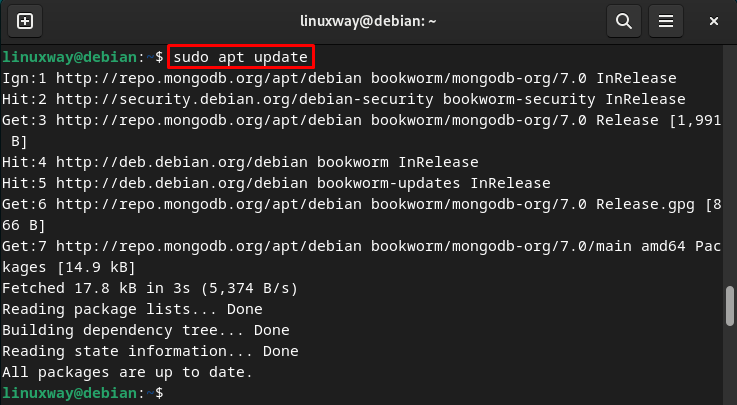
Step 5: Refresh System Packages
To implement new changes, you are also required to update your system repository:
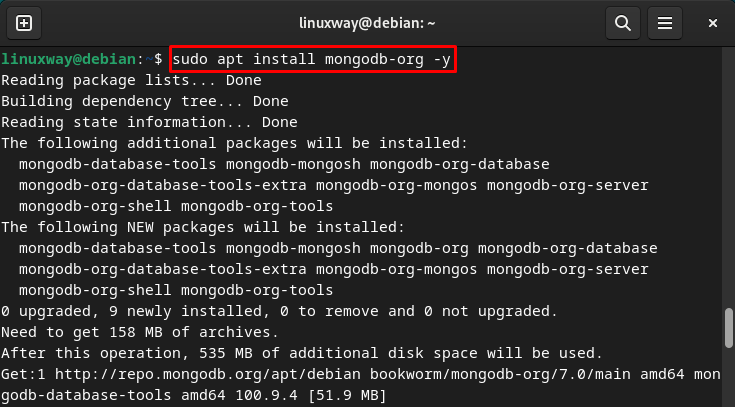
Step 6: Install MongoDB on Debian 12
Now, write out the following command to install MongoDB along with additional packages on Debian 12 from the official repository:
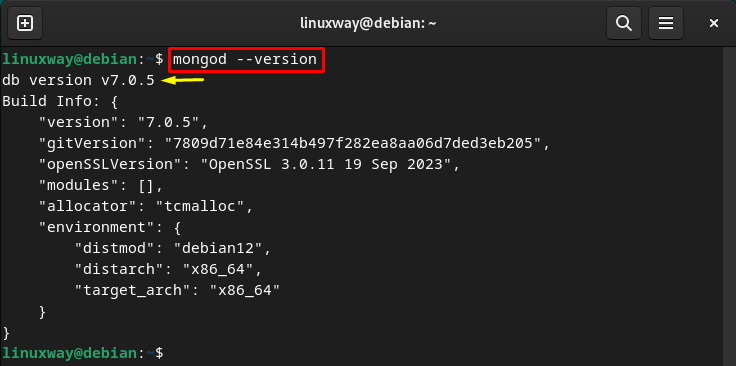
Step 7: Ensure MongoDB Installation
Finally, display the MongoDB version to confirm its installation of the Debian 12 system:
How to Manage MongoDB Service on Debian 12
After the installation of MongoDB on your Debian 12 system, you can manage its services to control the accessibility of the database and ensure its security. Managing the MongoDB services involves starting, stopping, restarting, enabling, and disabling MongoDB services.
You can manage your MongoDB services on the Debian 12 system as
Start MongoDB Service
Usually, the MongoDB services start after its installation on the Debian system. However, you can start it manually using the given command:
Enable MongoDB Service
If you want MongoDB services to start automatically whenever the system boots up, utilize the below-mentioned command:
Disable MongoDB Service
To stop/prevent MongoDB services from initiating automatically when the Debian system boots up, type the following command:
Stop MongoDB Service
To immediately stop the MongoDB service on the Debian system, run the provided command:
Restart MongoDB Service
You can also restart the MongoDB service as below:
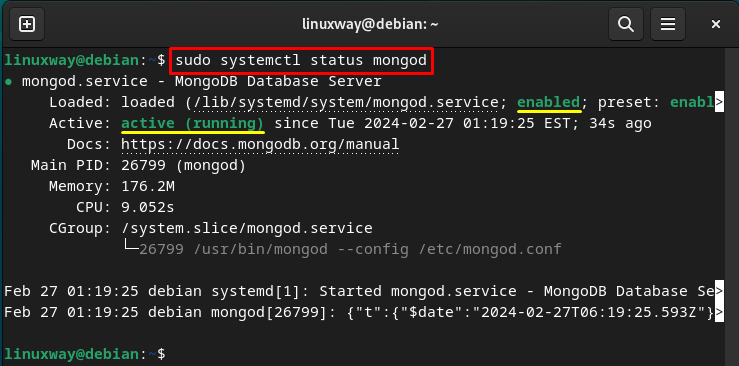
Display Status of MongoDB Service
If you want to view or display the MongoDB service’s status, you can utilize the below-listed command:
The output shows the MongoDB service’s information:
How to Use MongoDB on Debian 12
You can use MongoDB through its command-line interface i.e. MongoDB shell. For this purpose, you must connect to the MongoDB server and access the MongoDB shell. Then, you will be able to perform various operations, such as viewing, creating, and using MongoDB databases, managing collections, and many more. Go through the following steps to use MongoDB on Debian 12:
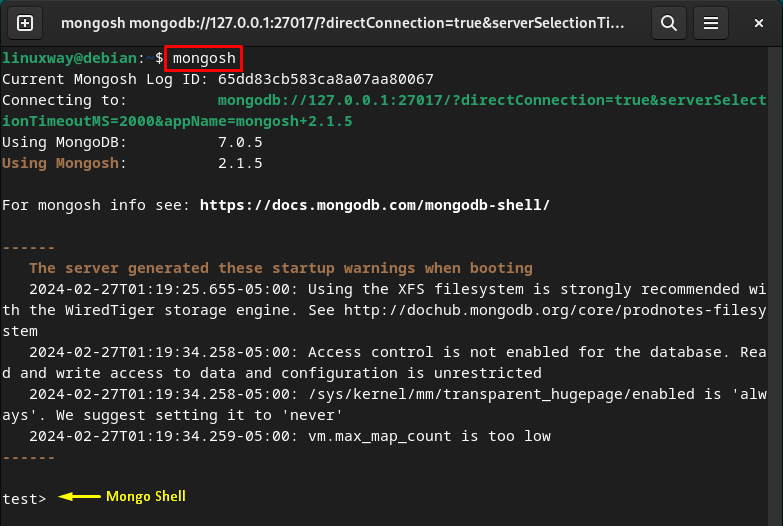
Connect to the MongoDB Server
To interact with MongoDB, connect to the MongoDB server using the provided command:
As you can see, the MongoDB shell has been started:
Display All MongoDB Databases
To display all the available MongoDB databases, enter the given command:

Switch or Create a Database
If you want to create a new MongoDB database or switch to the specific existing database, execute the “use <database-name>” command and specify the desired database name:

Create MongoDB Collection (Table)
To create a MongoDB collection (table) in the database, utilize the “db.createCollection(“<collection-name>”)” command:

Show All Collections (Tables)
You can display all the MongoDB collections via the below “show” command:

Insert Value in MongoDB Collection
If you want to insert values in the specific MongoDB collection/table, you can do it as follows:

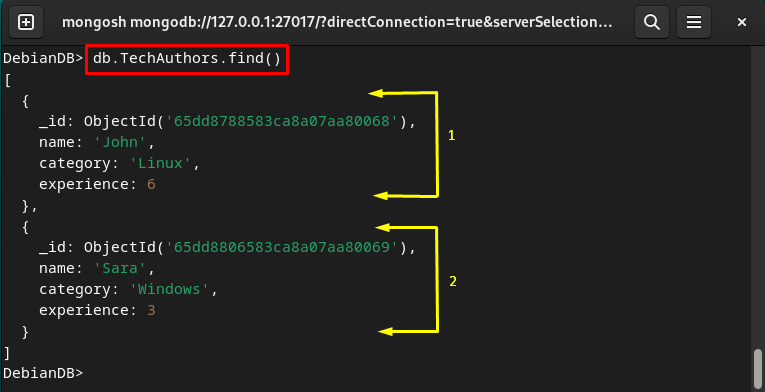
Display MongoDB Collection’s Data
To display all the data of the MongoDB collection, type out the given command:
Delete Data From the MongoDB Collection
If you want to delete the specific data of the MongoDB collection, utilize the “db.TechAuthors.remove()” command and specify the required condition:

Delete MongoDB Database
To delete the current MongoDB database, write out the following command:

Exit MongoDB Shell
You can close the current MongoDB shell session as:

How to Configure MongoDB Security on Debian 12
By default, MongoDB doesn’t have authentication enabled which means anyone can access it and connect to the server without a password. Therefore, you should configure your MongoDB security with the username and password on your Debian system to protect your data, prevent unauthorized access, and maintain privacy.
Here are the steps to configure MongoDB security on your system:
Step 1: Enable Authorization
First, open the MongoDB configuration file i.e., “/etc/mongod.conf” with sudo privileges:
In the “/etc/mongod.conf” file, find the line that starts with “#security” and uncommit it by removing the “#” with it. Then, add the provided line below it:
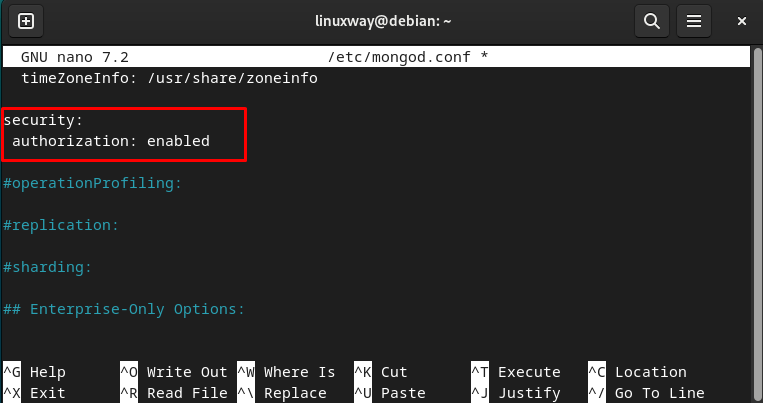
Save the file and close the nano editor by pressing “CTRL + S” and “CTRL + X” respectively.
Step 2: Restart MongoDB Service
After that, you need to restart the MongoDB service to implement changes:
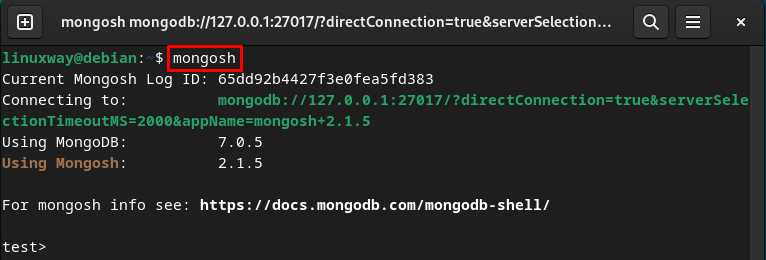
Step 3: Access MongoDB Shell
Then, connect to the MongoDB server and access the MongoDB shell through the below-listed command:
Step 4: Switch to Admin Database
Now, switch to the “admin” database via the “use” command for creating a new user:

Step 5: Create a New User
To create a new user in the database, utilize the “db.createUser()” command and specify the username, password, and its role as seen below:
{
user: "LWadmin",
pwd: "pass123",
roles: [ { role: "userAdminAnyDatabase", db: "admin" } ]
}
)

Step 6: Close MongoDB Shell
Next, use the provided command to exit the MongoDB Shell:
Step 7: Test MongoDB Authentication
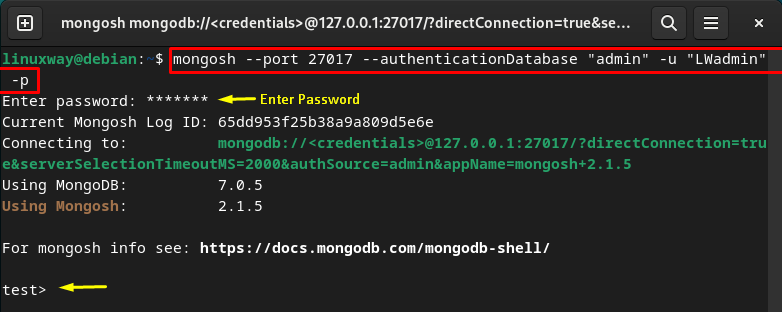
Finally, connect to the MongoDB with the new user to ensure its authentication. After executing the below command, you will be asked to enter the password. Enter the desired password that you have set for this user:
The output indicates that we have successfully connected to the MongoDB server with the new username and password:
How to Uninstall MongoDB on Debian 12
If you do not want to use MongoDB on the Debian 12 system, you can completely remove/uninstall it via the given command:
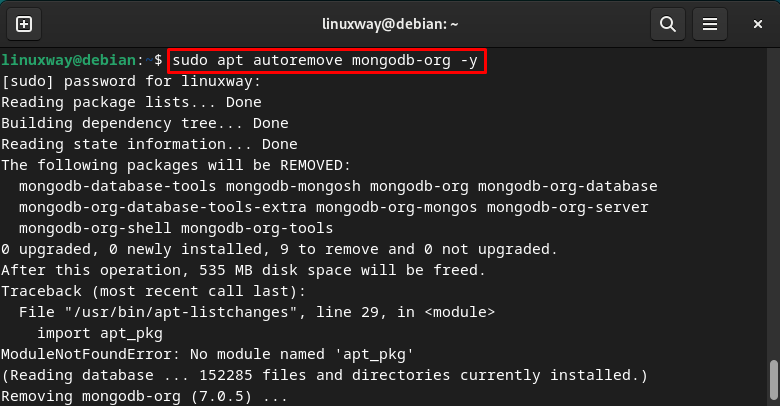
You should also remove the added GPG key and MongoDB repository from your Debian 12 system:

That was all about installing and managing MongoDB on Debian 12.
Note: You can also check out the official MongoDB documentation for more details.
Sum Up
To install the latest version of MongoDB on Debian 12, add the official MongoDB repository to your Debian system. You will get the up-to-date version of MongoDB directly from the source with all the latest features and updates. You can use MongoDB for creating and managing databases, documents, and collections/tables. This guide has explained the method to install, manage, use, manage as well as remove MongoDB on Debian 12.
I am a technical writer with a knack for learning and exploring new technologies. As a Computer Science Graduate, my expertise lies in the fundamentals of Programming languages and Linux OS. I strive to provide users with in-depth and informative articles that can help them understand the core concepts of modern technologies.
