Kali Linux is a robust operating system used by the developers for hacking purposes and penetration testing. You can install Kali Linux on multiple platforms, no matter which device you are using, including your Android phone as well. Installing Kali Linux on Android may not be a simple task compared to installing it on other devices like Laptop, Chromebox, or Raspberry Pi. The reason is you will need to root your device to use the operating system on your Android phone. However, rooting the device can impact your phone warranty or destroy your operating system. Thus, it is generally avoided to protect the phone from any damage.
Follow this guide to learn the easy way for installing Kali Linux on an Android phone without rooting the device. Together with Kali Linux and Android, you can develop a portable hacking environment where you can execute several important tasks useful for beginning your ethical hacking adventures.
Outline
- Prerequisites for Installing Kali Linux on Android
- How to Install Kali Linux on Android
- How to Access Kali Linux Desktop with NetHunter on Android
- How to Keep Kali Linux Session Running on Android
- How to Fix Repository Update Problem in Kali Linux
- Bonus Method: How to Install Kali Linux on Android with Root
- Conclusion
Prerequisites for Installing Kali Linux on Android
To install Kali Linux on Android, you will require following prerequisites:
- Fdroid Application (Optional)
- Termux Emulator (Compulsory)
- NetHunter (Optional)
- LADB Connect (Compulsory)
- VNC Client (Optional if want to access Kali Linux Desktop)
How to Install Kali Linux on Android
You can install Kali Linux on Android phone using the following steps:
Step 1: Download and Install Fdroid on Android
Fdroid is an open-source platform similar to Google Play Store that allows you to download Android supported applications on mobile. You can download and install this tool on your Android phone, this can be done by downloading the apk file from here and installing it on your device.
Step 2: Install Termux Emulator on Android
You should also require a Termux emulator on your Android phone that allows you to perform Kali Linux installation on mobile. You can download the Termux emulator on Android by opening the Fdroid application and searching for Termux emulator with package option. Then, select the Install button for installing the Termux emulator on your Android phone.
You can also download and install Termux emulator on Android by downloading the apk file from GitHub website and installing it.

Step 3: Download NetHunter Application
You may also download and install the NetHunter application on your Android phone from the apk file through here. This application will manage a VNC supported application that allows you to use the Kali Linux desktop interface on your Android phone using the keyx command-line utility.
Note: The NetHunter application will help update the VNC supported applications.

Step 4: Setup Environment for Kali Linux on Termux
Now, open Termux on your Android phone and allow it to access your Android phone storage for installing packages on your device, you can do this using the following command:

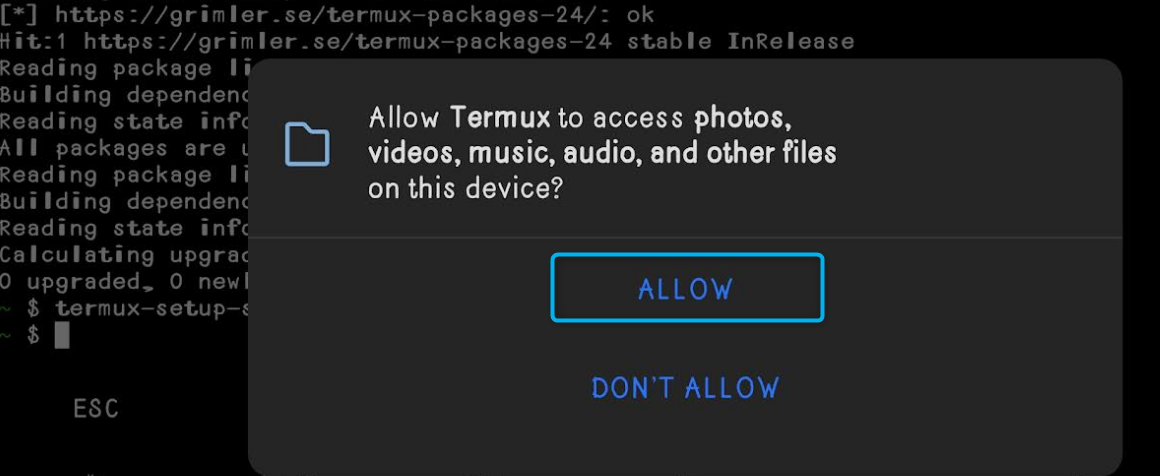
A pop-up window will appear once you execute the above command, select the Allow option to ensure Termux has access to your device storage.
Now, run the following command after that to update the packages repository for Termux:

Note: If you experience any error while updating the package, you can use the following command to set or change the repository for Termux:
Then go with the default option for the Termux repository changing process.
Step 5: Install wget Command Line Utility on Termux
You may require installing the wget command line utility on Termux, since you will need it later on for downloading the script, this can be done using the following command:

Step 6: Download Kali Linux Installation Script
Now, download the Kali Linux installation script on Termux using the below-given wget command:

Step 7: Allow Execute Permission to Script
You should also provide execute permission to the downloaded Kali Linux script file on Termux using the following command:

Step 8: Execute the Script
Then run the Kali Linux installation script file on Termux from the below-given command:

During the installation, you will be provided with several options to choose from, you can go with the default one by simply typing N on the command prompt. At the final stage of installation, you may be asked to delete downloaded rootfs file, do it by entering y in the option box.

Step 9: Select Kali Linux Version
After the execution of the script file, you will be provided with three Kali Linux options to choose from:
Nethunter ARM64 (full): It offers a complete Kali Linux distribution for 64-Bit amd architecture with several tools for ethical hacking. It is suitable for advanced users since it includes core toolsets of the Kali Linux system.
Nethunter ARM64 (minimal): It only includes a limited set of tools providing users to start their ethical hacking journey, it is useful for resource-constrained users.
Nethunter ARM64 (nano): It is the most lightweight OS for Android that includes a few tools that usually focus on specific tasks like wireless attacks.
Here, I have chosen the NetHunter ARM64 (full), once selected, the installation will begin that can take some time because of the large image size.
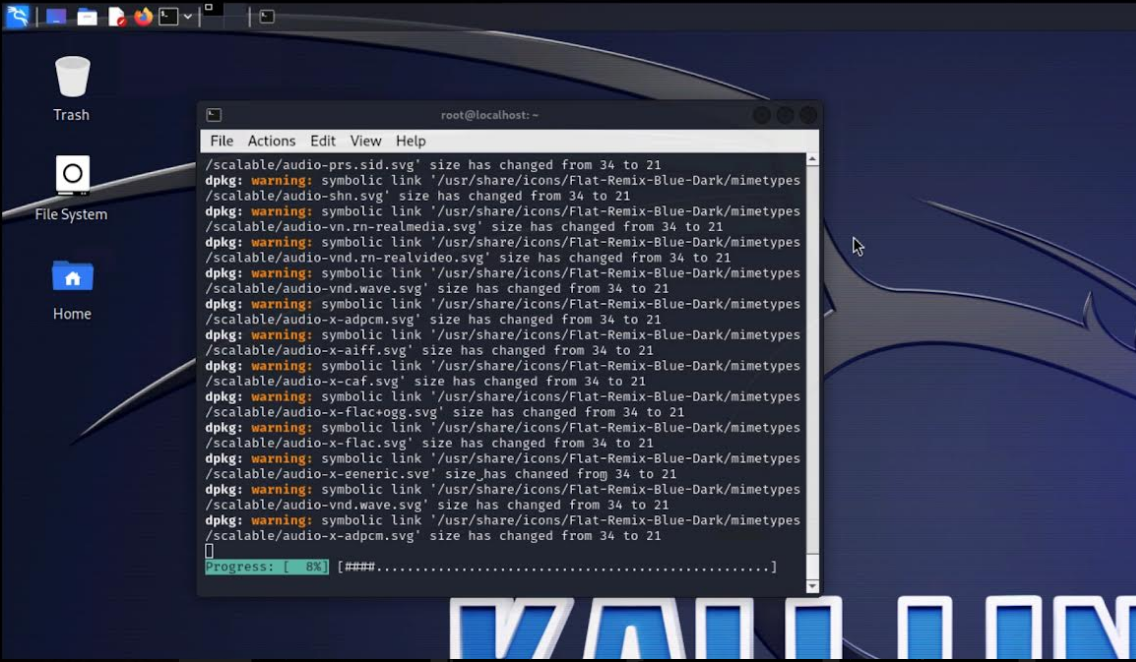
The process will begin installing Kali Linux on your Android storage after the above step.
Step 10: Launch Kali Linux on Android
Once the above step is completed, Kali Linux will be installed on your Android phone, and you can launch it by running the following command on Termux:

You can confirm the success of Kali Linux installation on your Android phone by running the below-given command:

How to Access Kali Linux Desktop with NetHunter on Android
To access Kali Linux desktop with NetHunter on your Android phone, you should install bVNC Pro or NetHunter Keyx application on your device.
Note: Here, we have installed bVNC Pro on Android.
After you have completed the installation, run the following command to generate a session for the Kali Linux desktop on Termux.
Initially, you will have to set the password that you will use when accessing the Kali Linux on VNC-based application:

After setting the password, start the NetHunter session using the below-given command:

Then open the bVNC Pro on Android and set the:
- Connection type as Basic VNC
- Connection Name according to your choice
- VNC Server as local host
- Port Number as 5901
- VNC username leave it as empty
- VNC Password you set previously

Save the session using the save button and tap on the created session to access the Kali Linux desktop on Android:

How to Keep Kali Linux Session Running on Android
The Kali Linux session may only run for a few seconds, however, you can keep it running on your device for a longer run using the following steps:
Step 1: Install LADB Connect on Android
First, install LADB Connect on Android from Play Store.
Step 2: Enable Developer Mode on Android
Then enable Developer mode on your Android phone from the About section in the system settings. The settings could be different on different mobile models, you should check the manual guide to enable developer mode on your Android phone.
Step 3: Run LADB Connect on Android
Now, run LADB Connect on your Android phone:

Then enable Floating Window, USB debugging first, Wi-Fi Debugging. After that, enter the Wi-Fi debugging option to check for the pairing code and port number associated with that code in the Pair device with pairing code option. You must enter the provided information to pair your device with the LDB Connect.

Once done, click the “Connect” button to establish connection with Android phone:

Then execute the below-given command in the LADB shell to complete the process:
Step 4: Run the Kali Linux Session
After, you perform the above steps, re-run the Kali Linux session using the keyx start command and access the system. It will run the session in the background and will remain saved for you.
How to Fix Repository Update Problem in Kali Linux
While running the apt command to update or install applications on Kali Linux, you will get Temporary failure resolving.. Error.

This type of error occurs because of a network-related issue, and it prevents you from performing any activity on the terminal, you can fix it using the following steps:
Step 1: Login as a Root User in Terminal
First, give root permission to your current user using the following command:
Step 2: Remove the resolv.conf File
Then remove the resolv.conf file from your system using the below-given command:
Step 3: Add Server Information
Add the server information inside the resolv.conf file using the following command:
Step 4: Save the Changes
Now, save the configuration file using CTRL+X, adding Y for approving the changes and pressing the Enter button to close the file.
After you perform the above steps, you will be able to run apt commands and install packages on the terminal.

This completes your installation with Kali Linux on the Android phone.
Bonus Method: How to Install Kali Linux on Android with Root
It is strictly advised not to install Kali Linux on Android with root if you don’t have proper understanding. However, if you are professional and have sound knowledge of the Kali Linux system, you can put your device at risk and can install Kali Linux on Android with root from here. There, you will find the installation procedure of Kali Linux on different phone models.
Conclusion
Installing Kali Linux on Android allows you to use the operating system anywhere and it can be installed on your phone with and without root. If you want to install Kali Linux on Android with root, you have to use Termux and NetHunter tools. We have provided the step-by-step details to install and use these tools for installing Kali Linux on Android. Further, we have also provided you with steps to access the Kali Linux desktop, keep the session up and running for a longer time. Besides that, you will also find a guide on how to fix the repository error to seamlessly install applications on your Kali Linux system installed through Termux on Android.
By day, I am an engineer and researcher, building bridges and figuring out how the universe works. But when the clock strikes five, I turn into a wordsmith!
I write about my adventures on my blog, sharing tips and tricks to help others join the tech fun. I have worked on Raspberry Pi, Ubuntu, Debian, and Laptops. Right now, I have accepted the challenge of working on the Kali Linux system, and with my vast expertise in Linux systems, I will help users overcome the challenges through my blogs.


