
Redshift is an application that filters blue light by changing the color temperature of your monitor based on the time of day. This helps mitigate eye fatigue and even aids in improving sleep patterns by not interfering with the daily rhythm. The application communicates with the graphics driver, which enables it to modify the gamma ramp, the device that controls how color is represented on the monitor.
This guide covers every possible installation method for Linux Mint 22. Each step is explained in detail.
Content
- What is Redshift?
- How to Install Redshift on Linux Mint 22
- Method 1: Install Redshift Using CLI
- Method 2: Install Redshift Using GUI
- How to Configure Redshift on Linux Mint 22?
- How to Uninstall Redshift on Linux Mint 22
- Method 1: Uninstall Redshift Using CLI
- Method 2: Uninstall Redshift Using the GUI
- Conclusion
What is Redshift?
Redshift is an application that reduces blue light on the screen at night to reduce eye strain. It makes the monitor appear less bluish in the evening and more bluish during the day, and follows natural light rhythms projecting across the day, aiding the circadian rhythm.
Redshift shifts the color temperature of your display automatically with time of day. During the day, it uses standard colors (approx 6500K), and gradually shifts to warmer (3000K) redder colors in the evening by curtailing blue light.
How to Install Redshift on Linux Mint 22
Prior to the installation of Redshift, ensure that your system is up to date and meets all prerequisites. This is the complete guide for the installation of Redshift on Linux Mint 22, step by step, so that it is simple to follow:
Checking System Compatibility
First, check if your system has the required graphics capabilities:
lspci | grep -i vga |
|---|

Listed below are explanations for each part of the command line:
- lspci: This will display all PCI devices currently attached to your PC.
- grep -i vga: This will snipe lines with “vga” regardless of its case for the graphics card.
You get something like “VGA compatible controller: VMware..” or “VGA compatible controller: Intel Corporation…” This is useful in knowing what graphics drivers you have, which will determine if Redshift will work with your system.
Method 1: Install Redshift Using CLI
This is the simplest and most reliable method for the users. The APT (Advanced Package Tool) approach is recommended because it provides stable, tested packages that work well with your system. It provides automatic dependency resolution and allows easy upgrades using the system update routine.
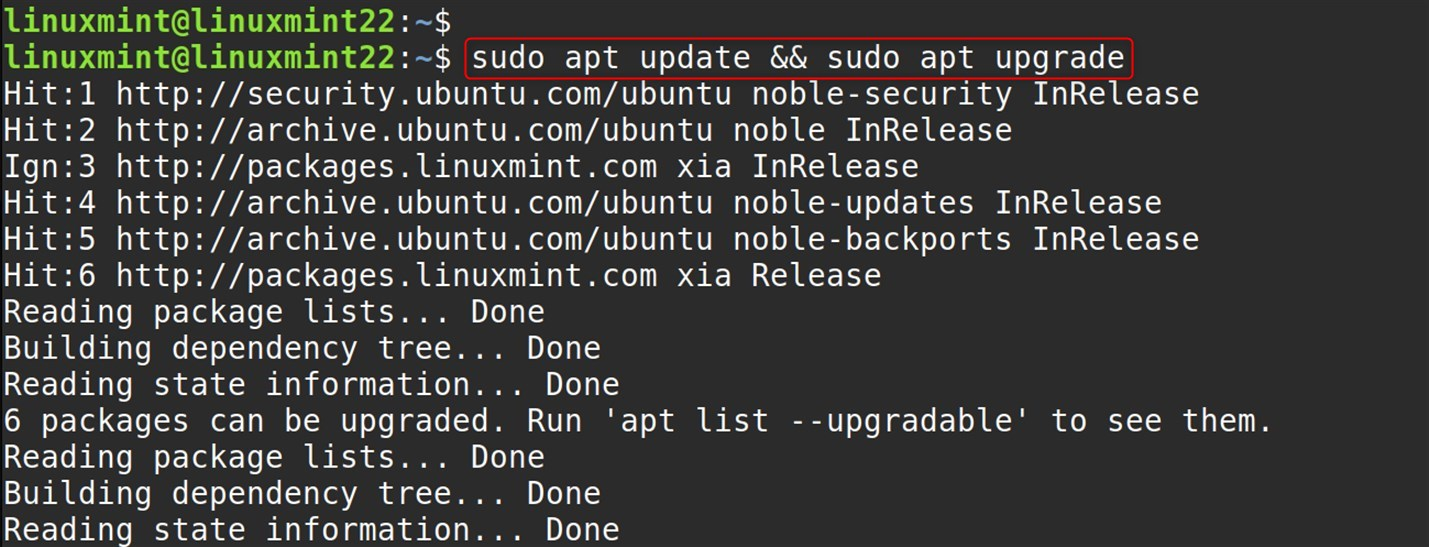
Step 1: Update Your System
Package updates keep the security patches, bug fixes, and compatibility changes up to date. It is important to check for conflicts when installing new software:
sudo apt update && sudo apt upgrade |
|---|
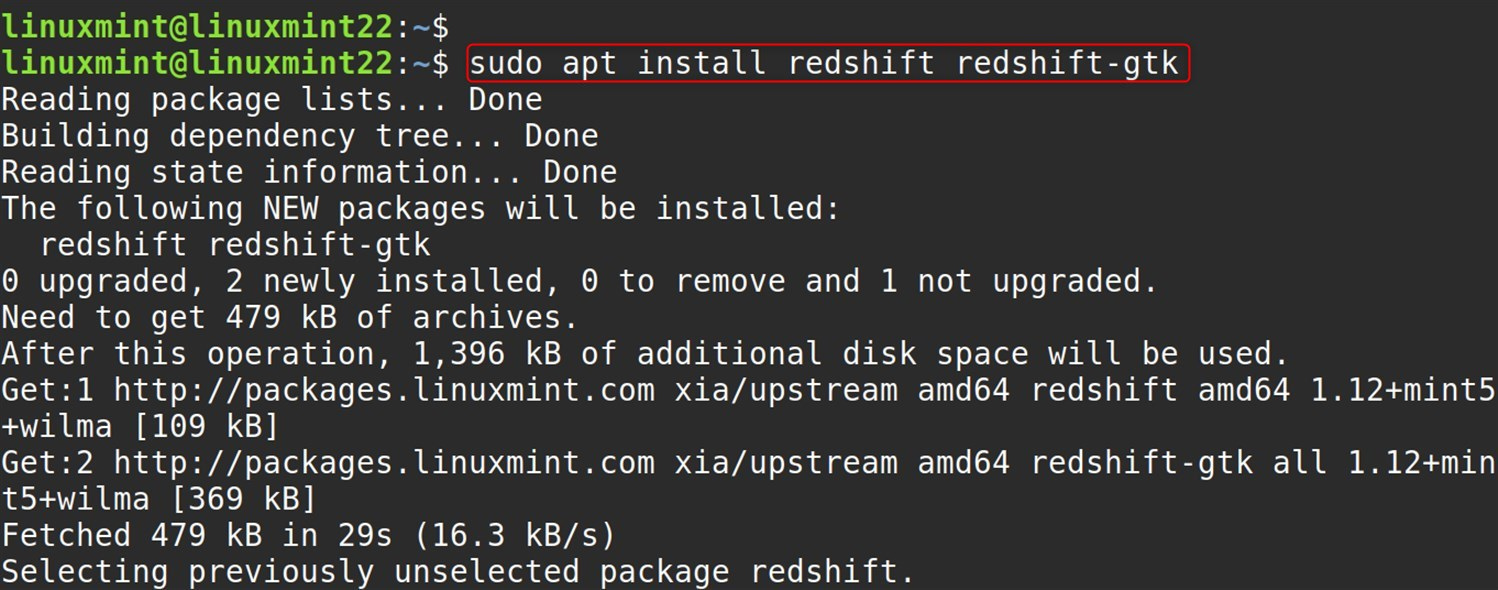
Step 2: Install Redshift and Redshift-GTK
The redshift-gtk package is mainly used to freely control Redshift via a tray icon and GUI, while redshift itself is the main utility:
sudo apt install redshift redshift-gtk |
|---|
Here,
- redshift: a command-line application that allows a user to control the color temperature.
- redshift-gtk: System tray integration, Toggles On/off, indicator, Menu for configuration as key provided.
Step 3: Verification
Check if the installation is successful:
redshift -V |
|---|

This command prints the version and build details.
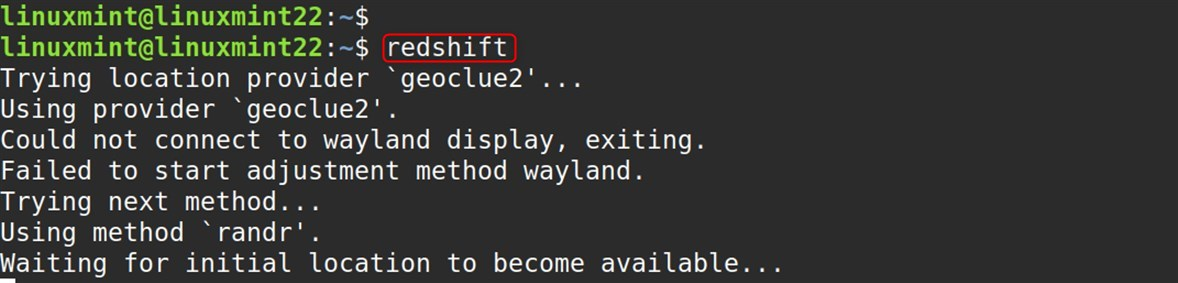
Step 4: Launch Redshift
This will start Redshift in command-line mode (you won’t see a tray icon):
redshift |
|---|
Method 2: Install Redshift Using GUI
Using GUI (Software Manager) turns out to be the easiest way of installing Redshift and also provides an easy way (but no terminal) to access Redshift GTK which has a tray icon.
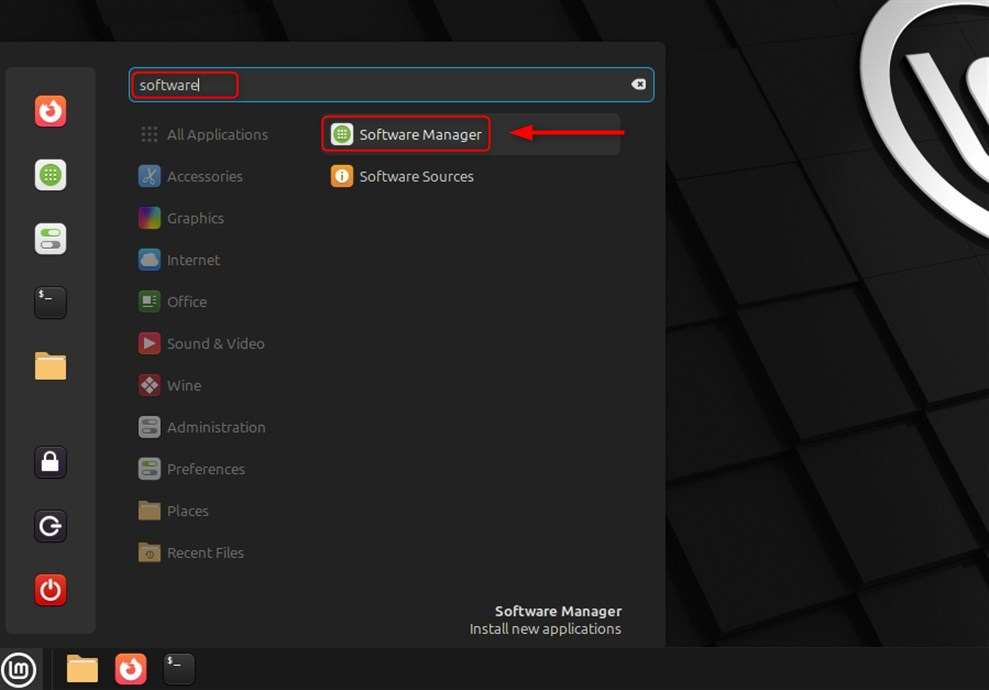
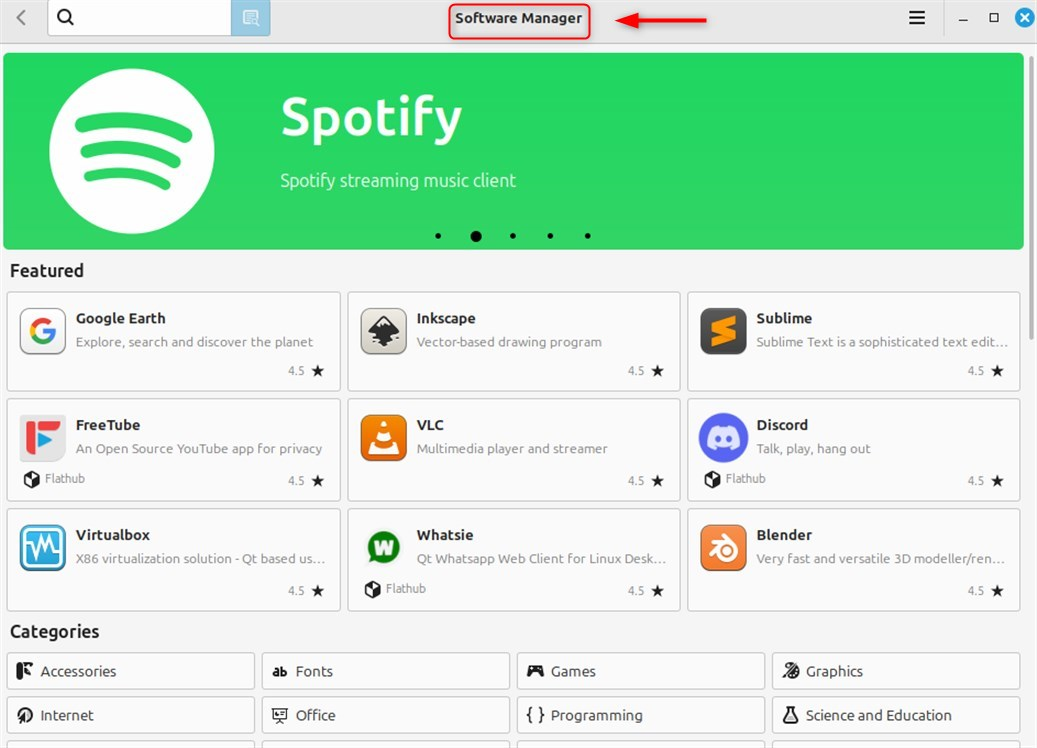
Step 1: Open Software Manager
Click on Menu, on the bottom left side of the screen. Look for Software Manager, click on it (the icon is a bag with the Mint logo):
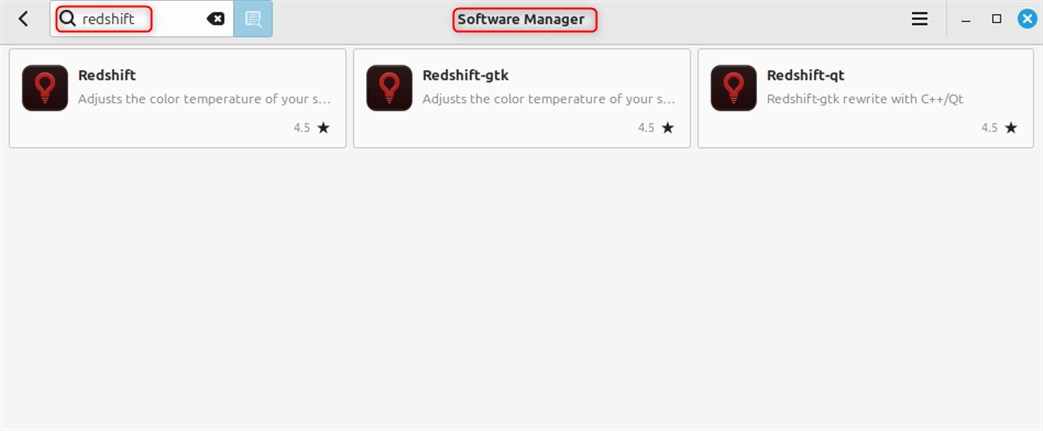
Step 2: Search for Redshift
Software Manager is opened, go to the search bar, look for redshift, you can type redshift and press Enter:
Step 3: Select Redshift from the Results
Redshift or Redshift GUI will be listed. Click on the specific package to view its contents:
Step 4: Click the Install Button
Most users will prefer Redshift-gtk more because of how user-friendly and convenient it is. Click the Install button:

On the Redshift package page, click the Install button:

You’ll be asked to enter your password (your user account password):

This installs the package using your administrator privileges. The Software Manager will download and install Redshift. Once done, the Install button will change to Remove, indicating successful installation.
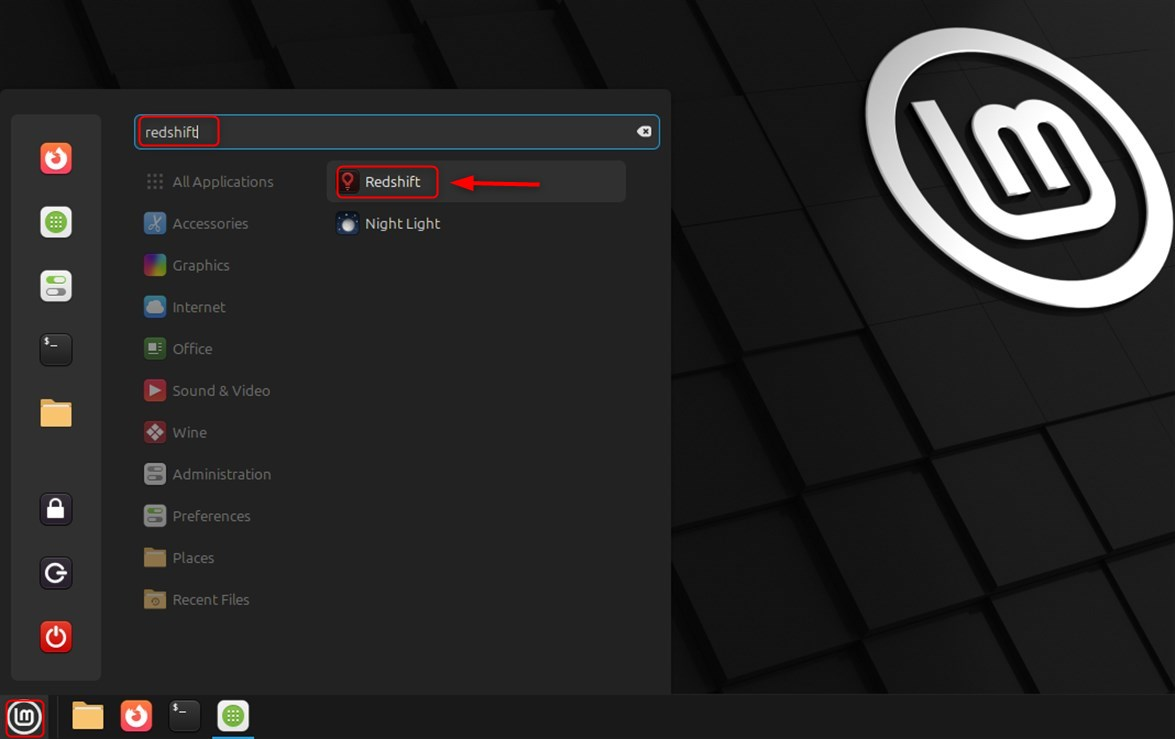
Step 6: Launching Redshift
Go to your menu for the Redshift section, where the application should appear, and click it:
How to Configure Redshift on Linux Mint 22?
You can fine-tune Redshift’s performance by making a config file, even though it operates effortlessly. It also has an interface with the system package manager. This is useful for maintaining regular updates via system updates.
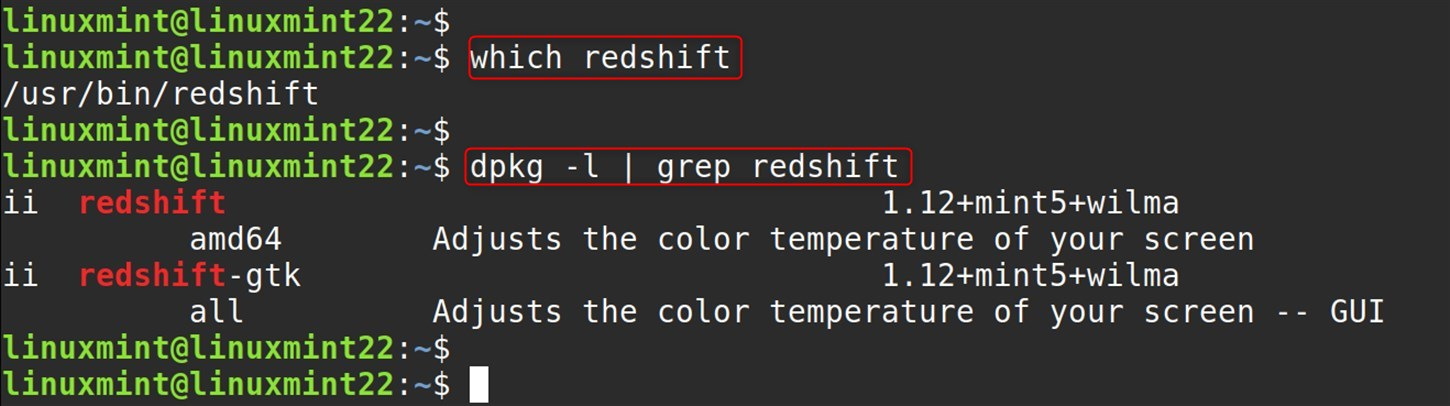
Commands for additional checks:
which redshift # Shows installation path dpkg -l | grep redshift # Shows installed package details |
|---|
Verify the version you have post-installation:
apt policy redshift |
|---|
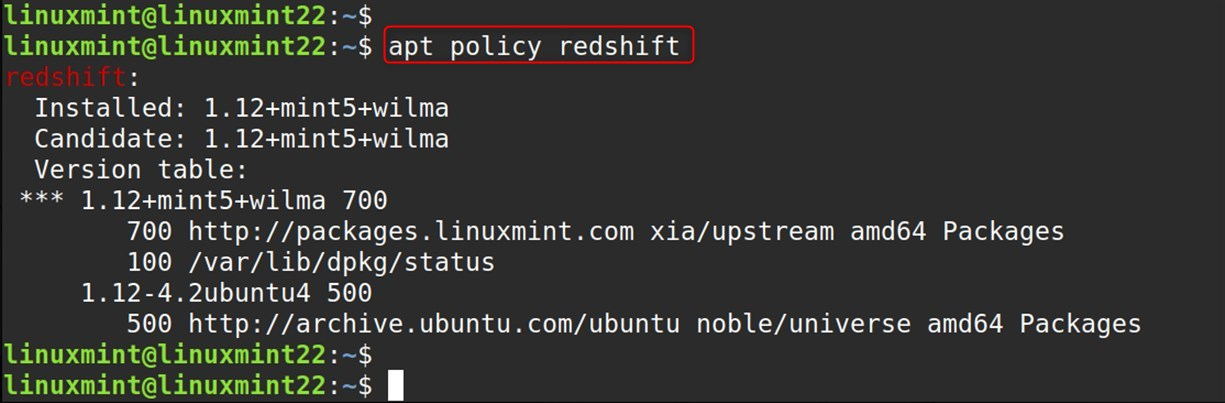
This tells you the repository that provided the version you have installed, as well as other available versions.
Understanding Redshift Configuration
Familiarizing yourself with configuration enables you to customize Redshift using terminal commands/ arguments, but the config file method is much more suited for permanent changes.
Creating the Configuration Directory and File
mkdir -p ~/.config nano ~/.config/redshift.conf |
|---|
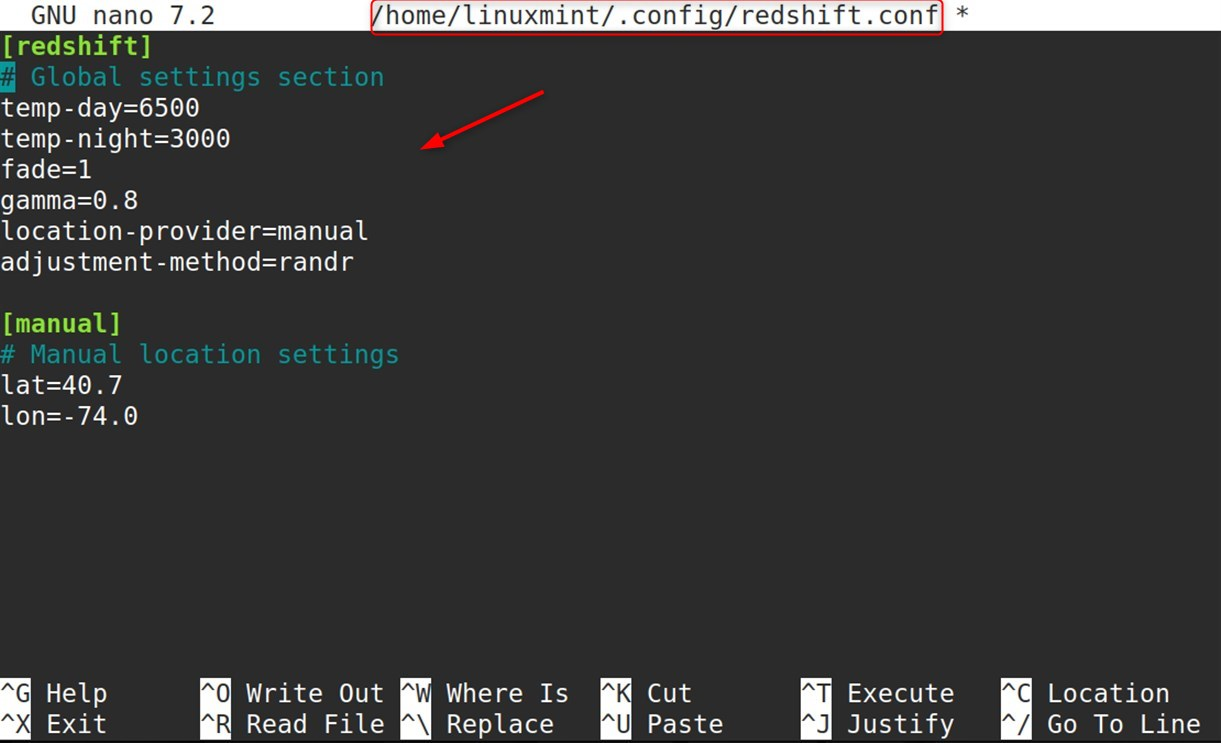
Comprehensive configuration file:
[redshift] #Global settings section temp-day=6500 temp-night=3000 fade=1 gamma=0.8 location-provider=manual adjustment-method=randr [manual] #Manual location settings lat=40.7 lon=-74.0 |
|---|
Detailed configuration parameter explanations:
[redshift] section – Global Settings:
temp-day=6500:
- Color temperature during daytime hours in Kelvin
- 6500K is neutral white, similar to daylight
- Higher values (7000K+) are cooler/bluer
- Lower values (5000K-) are warmer/yellower
temp-night=3000:
- Color temperature during nighttime hours in Kelvin
- 3000K provides significant blue light reduction
- 2700K-2500K for a very warm, candlelight-like appearance
- 4000K+ for a minimal but noticeable reduction
fade=1:
- Enables a smooth transition between day and night temperatures
- 1 = enabled, 0 = disabled
- When enabled, changes occur gradually over time
- When disabled, changes are instant at sunrise/sunset
gamma=0.8:
- The gamma correction value affects the overall brightness curve
- Values less than 1.0 make images appear brighter
- Values greater than 1.0 make images appear darker
- 0.8 provides a slight brightness increase for easier viewing
location-provider=manual:
- Specifies how Redshift determines your geographical location
- Options: manual, geoclue2
- The manual requires you to specify coordinates
- geoclue2 uses system location services
adjustment-method=randr:
- Specifies how Redshift communicates with your graphics system
- Options: randr, vidmode, drm
- randr: Modern X11 method (recommended)
- vidmode: Older X11 method (compatibility)
- drm: Direct driver communication (newest systems)
[manual] section – Location Settings:
lat=40.7:
- Your latitude in decimal degrees
- North is positive, South is negative
- Example: New York City ≈ 40.7°N
- Used to calculate sunrise/sunset times
lon=-74.0:
- Your longitude in decimal degrees
- East is positive, West is negative
- Example: New York City ≈ 74.0°W (hence -74.0)
- Used to calculate local solar time
Redshift is now installed and running. Your screen will adapt to day and night automatically with the changes.
How to Uninstall Redshift on Linux Mint 22?
Uninstalling Redshift on Linux Mint 22 renders the tool for adjusting screen colors useless, thereby regaining system resources. This is helpful if the user no longer requires it or prefers another method.
Method 1: Uninstall Redshift Using CLI
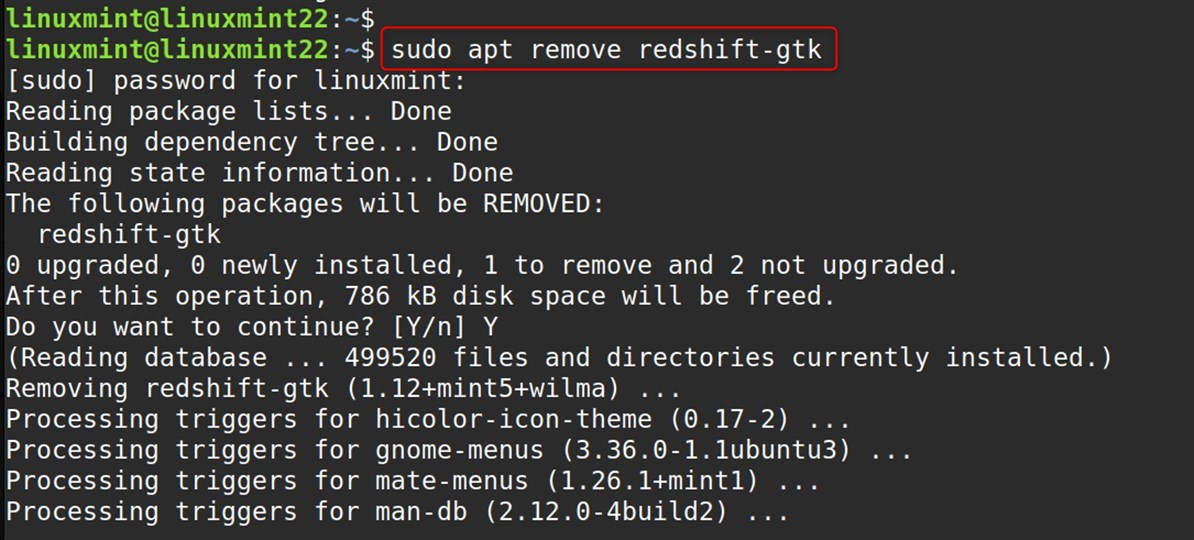
In case you have installed the GUI version (redshift-gtk). First, we need to uninstall the entire package:
sudo apt remove redshift-gtk |
|---|
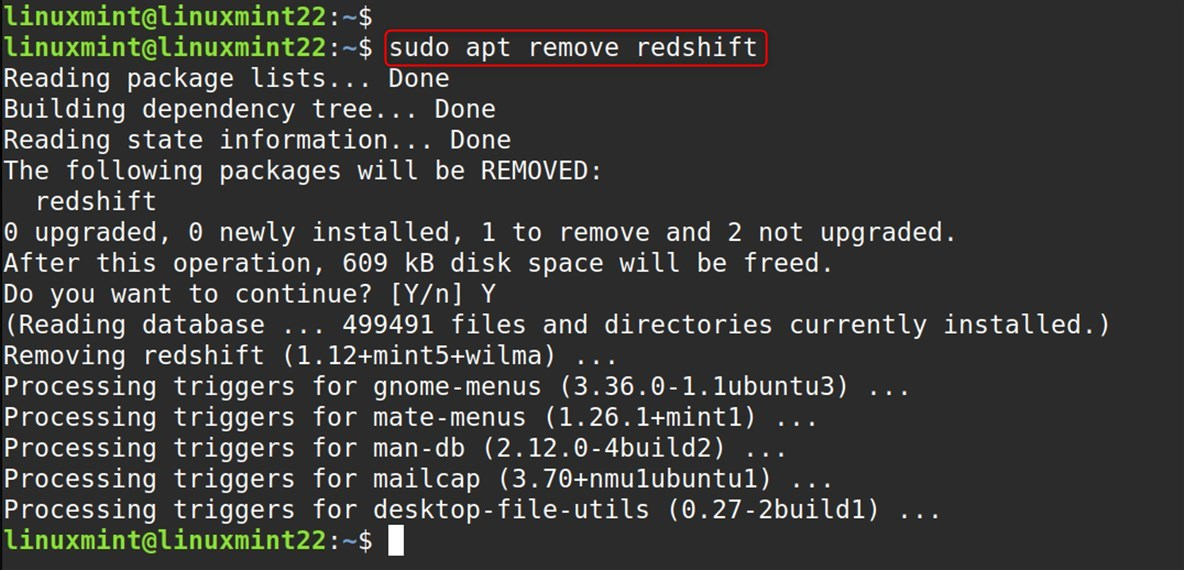
Second, if you only installed the command-line version:
sudo apt remove redshift |
|---|
Remove Leftover Config Files
To remove personal configuration files as well, running the following command is suggested:
sudo apt purge redshift redshift-gtk |
|---|
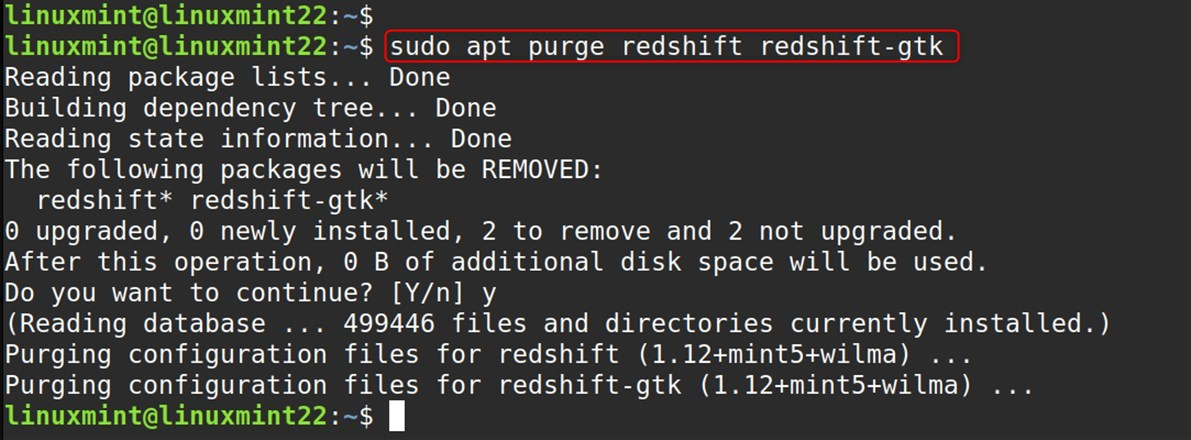
Removing purge will erase the program and the system-wide config files as well.
Delete User Config Files
If you wish to erase the config that Redshift holds, located at the user directory, you can run the command:
rm -r ~/.config/redshift.conf |
|---|

Otherwise, if you used a folder, run this command:
rm -r ~/.config/redshift |
|---|

Method 2: Uninstall Redshift Using the GUI
You can also uninstall it through the GUI. Go to Software Manager -> top right search bar -> type redshift. Look for the two options, which are ‘Redshift’ or ‘Redshift GTK’. Redshift is the command-line version. Redshift GTK (or redshift-gtk) has the tray icon and GUI.
In the Redshift package, you will see a Remove button if it is installed. Click Remove:
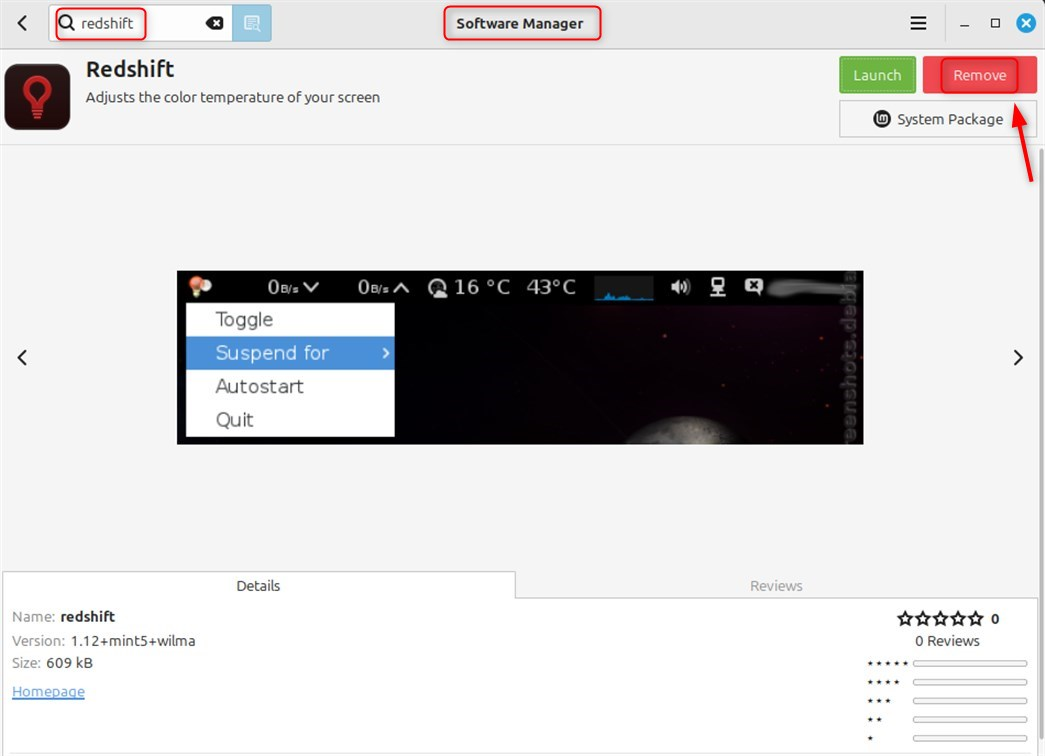
You can then confirm that Software Manager will uninstall the package, and the Remove button will switch to Install, confirming Redshift has been uninstalled.
Conclusion
As for installing Redshift on Linux Mint 22, start by accessing the Software Manager from the application menu, and then search for Redshift. You can either install Redshift for the command line or Redshift GTK, which has a system tray icon. After selecting a package, click install, and input your user password when prompted to authorize the installation. Post installation, launching Redshift from the application menu allows it to set the screen color temperature based on the time of day automatically.

Karim Buzdar holds a degree in telecommunication engineering and holds several sysadmin certifications including CCNA RS, SCP, and ACE. As an IT engineer and technical author, he writes for various websites.