VMware is a well-known hypervisor that provides virtualization. Virtualization software establishes an abstraction layer over computer hardware, allowing a single computer’s physical elements to be separated into several virtual machines (VMs).
Even though it is running on a part of the actual underlying computer hardware, each virtual machine runs independently on its own operating system.
This instructional guides demonstrates how you can install VMware on Linux Mint 20.
Step 1: Update the system and Install dependencies
Before you can proceed with the installation, update your Linux mint system.
$ sudo apt update
Next, be sure to install all the dependencies for the installation of VMWare to proceed without a hitch.
$ sudo apt install build-essential gcc wget linux-headers-generic linux-headers-$(uname -r)
With the package index refreshed and dependencies installed, we can now get along with the actual installation.
Step 2: Download and install VMware workstation
Next, download the latest version of VMware workstation using the following wget command. By the time of going live, the latest version of VMWare workstation is 16.2.1.
First navigate into the/tmp directory as shown:
$ cd /tmp
Using the wget command, download the VMwareinstallation file
$ wget --user-agent="Mozilla/5.0 (X11; Linux x86_64; rv:75.0) Gecko/20100101 Firefox/75.0" https://www.vmware.com/go/getWorkstation-linux

Step 3: Install VMware Workstation
With the installation file downloaded, make it executable using the chmod command
$ chmod +x getWorkstation-linux
Next, run the binary installer to begin the installation process:
$ sudo ./getWorkstation-linux
Once the installation is done, you will get a notification on your terminal that everything went okay and that the installation was a success.

Step 4: Launch VMWare Workstation
To launch VMWare go to your applications menu and search for VMWare. Click on the VMware icon to launch it
This fires up a setup wizard as shown which will enable you to complete the installation.
Agree to the end-user license agreement and click next to continue:

Next, select yes and click next if you want to enable updates on startup:

The next step asks whether you want to join VMWare Customer Experience Program(CEIP) which provides information to help provide better products and services. Select yes if you wish to join.

VMWare is built for commercial and non-commercial use. Since we are using it on our system, select non-commercial use in this step and click Finish to finalize the process.

VMWare will now be ready for use.
Step 5: Create a new virtual machine using VMWare
Now that VMWare is installed and set up on our machine, we can start creating a virtual machine. To start off, click on Create New virtual machine:

Next, select use ISO image and go to the location where it is stored on your machine. Here, I am using the ubuntu 20.04 iso image. Then, select the operating system that will run on the virtual machine. Click Next.

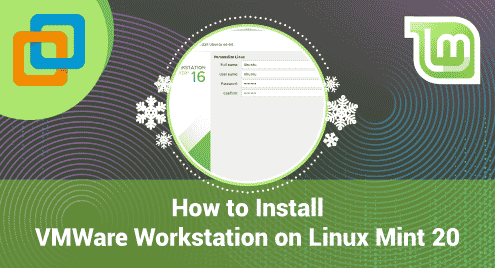
Then provide a username and password for your virtual machine.

Thereafter, name your virtual machine and specify the location where it will store its contents.

On the next screen, specify the virtual machine disk size.

After that, double-check all of the options and make any required changes before clicking Finish.

You have successfully created a virtual machine.

Karim Buzdar holds a degree in telecommunication engineering and holds several sysadmin certifications including CCNA RS, SCP, and ACE. As an IT engineer and technical author, he writes for various websites.


