User needs an automated tool to manage the project or application dependencies. Yarn is the most popular secure and reliable JavaScript package and dependency management tool. It is an open-source and fast package manager that keeps the cache of each downloaded package and you can again use this package when it is required without downloading the package again. Yarn checks the integrity of each package before its code execution. The main feature of yarn is its efficiency so that this tool works offline as well as in the network.
This tutorial will provide you a complete guide on how to install the Yarn dependency package manager on LinuxMint 20 distribution. If you want to search how to install Yarn on Ubuntu 20.04 system then use this highlighted link.
Yarn installation on Linux Mint 20
Yarn is not present in the default official LinuxMint repository. However, this package manager can install it by including an external official yarn repository to your system. For yarn installation using its official repository, perform the below-given provided steps:
Step 1: Install Curl
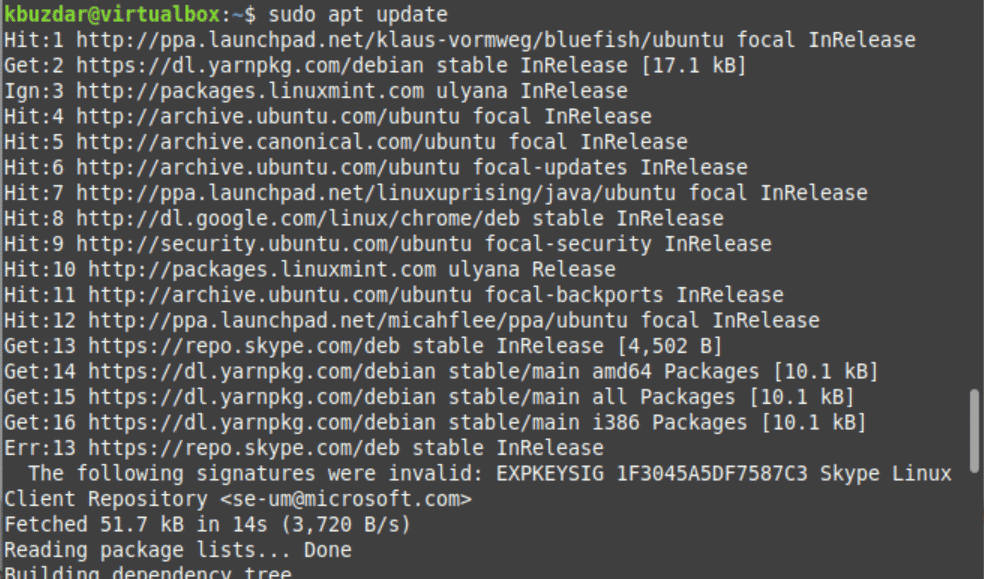
First, open the terminal from your system’s taskbar. Now, by running the following command update the apt-cache:
$ sudo apt update
Curl comes pre-installed on LinuxMint 20 distribution. However, if curl utility is not installed on your LinuxMint system then, you can easily install by executing the below-mentioned command:
$ sudo apt install curl

Step 2: Import the official yarn repository’s GPG key
Now, import or add the Yarn repository’s GPG key on your system by running the below-given command:
$ curl -sS https://dl.yarnpkg.com/debian/pubkey.gpg | sudo apt-key add -

In case of successful completion, the ‘OK’ message will display on the terminal its meaning that the key is imported successfully.
Step 3: Include Yarn repository
Enable and add the official yarn repository by using the below-mentioned command:
$ echo "deb https://dl.yarnpkg.com/debian/ stable main" |
sudo tee /etc/apt/sources.list.d/yarn.list

Step 4: Install Yarn
Again, update the apt packages cache and type the following command to install the yarn on LinuxMint 20:
$ sudo apt update

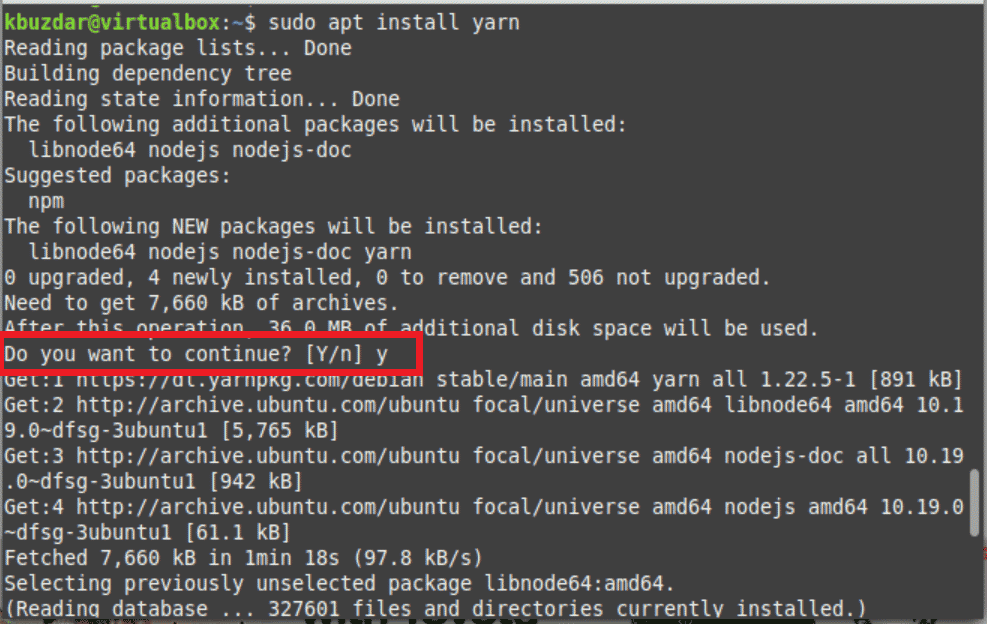
$ sudo apt install yarn

Now, the user confirmation dialog prompts you to enter ‘y’ and then press ‘Enter’ to confirm the installation of yarn packages on your system. The yarn packages including NodeJS will install on your system. If you don’t need to install the NodeJS package then, install yarn using an alternate command as follows:
$ sudo apt install --no-install-recommends yarn

The above-mentioned command installs the all yarn packages without installing NodeJS on your system.
Step 5: Verify yarn Installation
Verify the yarn installation by displaying the installed version on the terminal window:
$ yarn --version

As you can see in the above screenshot, the yarn version 1.22.5 has been installed on this system.
Uninstall Yarn packages from Linux Mint 20
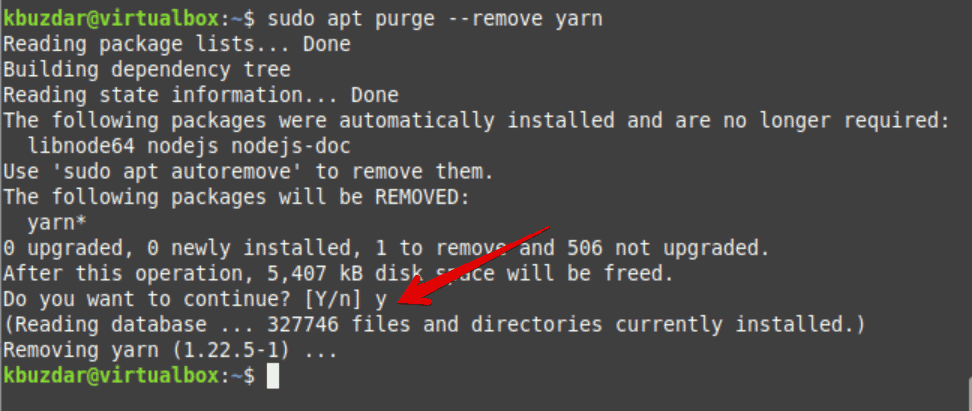
You don’t need the yarn application on your system and want to uninstall it from your system then, using the following command you can completely remove the yarn packages from your Linux Mint or Ubuntu system:
$ sudo apt purge --remove yarn

To continue the uninstallation of yarn press ‘Y’ and then hit ‘Enter’.
Conclusion
We explained in this tutorial how to install yarn on Linux Mint 20 distribution using the command line method. This tool is a good dependency package manager that is very helpful for experienced developers as well as for learners. We also mentioned how to uninstall the yarn tool from LinuxMint 20 distro.


