Introduction:
Ghostscript is a software tool that can be used to change the resolution of PDFs depending upon the output devices to which these PDFs are sent. For example, this tool is capable of rendering PDFs that are suitable for monitor screens as well as the ones that are good for printers. Today, we will show you the method of using Ghostscript to change the resolution of a PDF on a Linux Mint 20 system.
Using Ghostscript to Change the Resolution of a PDF on Linux Mint 20:
You can use the Ghostscript tool to change the resolution of a PDF on a Linux Mint 20 system in the following manner:
Step # 1: Install Ghostscript on Linux Mint 20:
For using the Ghostscript tool to change the resolution of a PDF on a Linux system, you first need to have this tool installed on your system which can be done by running the command shown below:
$ sudo apt install ghostscript
![]()
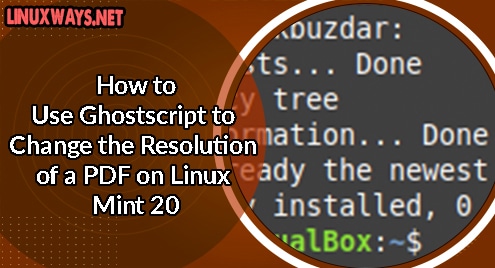
In some of the Linux distributions, Ghostscript is installed by default on them. The same was the case with us as you can see from the following image:

Step # 2: Find out a PDF whose Resolution you want to change using Ghostscript:
After ensuring that Ghostscript is installed on your Linux Mint 20 system, you need to locate a PDF whose resolution you want to change with this tool. We had a sample PDF named EditedPDF.pdf located in our Home directory whose resolution we wished to change. This PDF in its actual resolution is shown in the image below:

Step # 3: Use Ghostscript to change the Resolution of the Desired PDF:
Now, you need to execute the following command to change the resolution of the desired PDF with Ghostscript on your Linux Mint 20 system:
$ gs –sDEVICE=pdfwrite –dCompatibilityLevel=1.4 –dPDFSETTINGS=/screen \ -dNOPAUSE –dQUIET –dBATCH –sOutputFile=NewFile.pdf EditedPDF.pdf
In this command, you need to replace NewFile.pdf with the name of the output file that you want to create with a changed resolution and EditedPDf.pdf with the target file whose resolution you want to change with Ghostscript. Moreover, instead of using the /screen option for changing the resolution of your PDF, you can also explore other options by running the command “$ gs -h” in your Linux terminal.

After executing this command successfully, you will not see any message on your terminal as shown in the image below:

Step # 4: Compare the Compressed PDF with the Actual One:
You can simply compare the resolution of the compressed PDF with the actual one by opening this newly created file. In our case, this compressed PDF was also created in the Home directory of our Linux Mint 20 system. You can see from the following image that the resolution of this newly created PDF is slightly different from the original PDF shown in the second step of this method.

Conclusion:
When you will follow this tutorial, you will not only be able to install Ghostscript on your Linux system but also to use it for changing the resolutions of your desired PDFs.

Karim Buzdar holds a degree in telecommunication engineering and holds several sysadmin certifications including CCNA RS, SCP, and ACE. As an IT engineer and technical author, he writes for various websites.


