Introduction:
Geary is a free and open-source email client for the Linux-based systems. It acts as a good alternative for the Thunderbird email client. Geary was developed back in 2012. Today, we will see how we can install this email client on our Linux Mint 20 system.
Method of Installing Geary on Linux Mint 20:
For installing Geary on your Linux Mint 20 system, you will have to perform the following steps:
Step # 1: Perform a System Update on your Linux Mint 20 System:
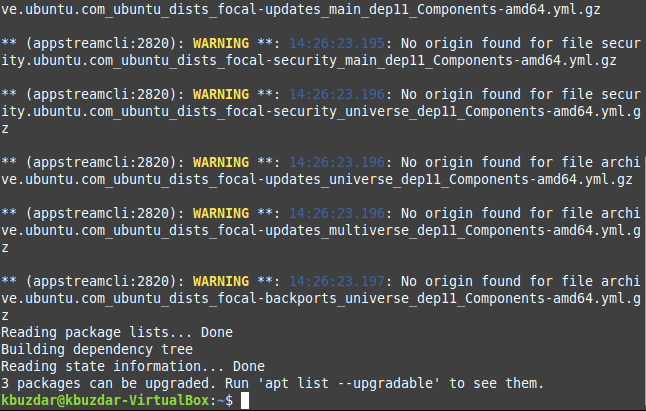
First, you need to update your Linux system with this command:
$ sudo apt update
![]()
After updating your system, you can install Geary on your Linux system.

Step # 2: Install Geary on your Linux Mint 20 System:
Geary can be installed on Linux Mint 20 with the command shown below:
$ sudo apt install geary
![]()
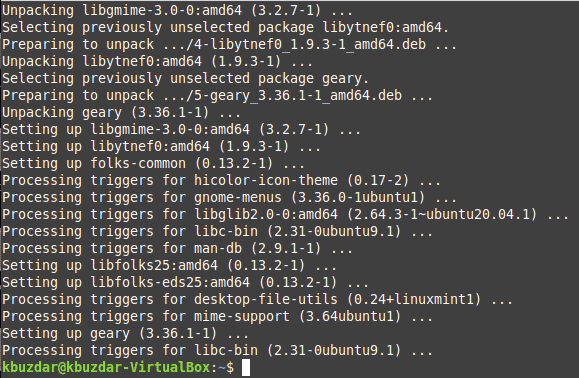
The installation of Geary will take a few moments to complete and the messages shown in the following image will indicate its completion:

Step # 3: Verify the Installation of Geary on your Linux Mint 20 System:
You can confirm the installation of Geary by checking out its version with the command shown below:
$ geary --version
![]()
The version of Geary installed on our system is shown in the following image. This also indicates that Geary has been successfully installed on our Linux system.

Removing Geary from Linux Mint 20:
If you want to remove the Geary email client from your Linux system, then you will have to execute the command shown below:
$ sudo apt-get purge --autoremove geary
![]()
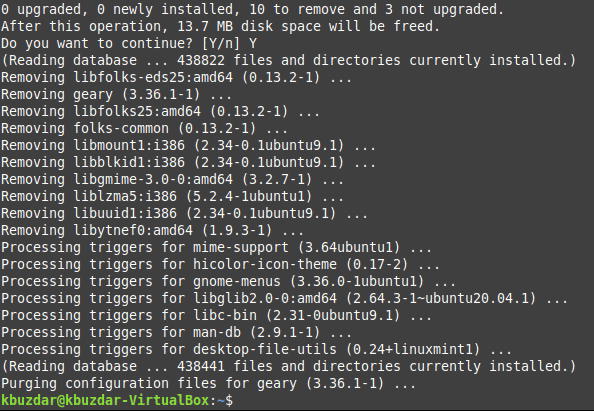
This one-liner command will remove Geary along with its configuration files and all the additional packages and dependencies as shown in the following image:

Conclusion:
You can see from today’s tutorial how easy it is to install Geary on a Linux Mint 20 system. However, if you do not want to use this email client anymore, then you can remove it from your Linux system all the more conveniently.


