Git is a popular version control system used in modern software development. It allows multiple developers to contribute to the same project at the same time while tracking changes, revisions, and contributions. It helps with managing large projects efficiently. Git repositories are hosted on sites like Github and Bitbucket.
This post will show you how to use two different approaches to install Git on RockyLinux 8.
Install Git from the AppStream
Git is available in Rocky Linux default repositories. The simplest option is to install git from the App stream default repository. The version in the default repository, however, may not be the latest release of git. You should compile and build git from source to obtain the latest version.
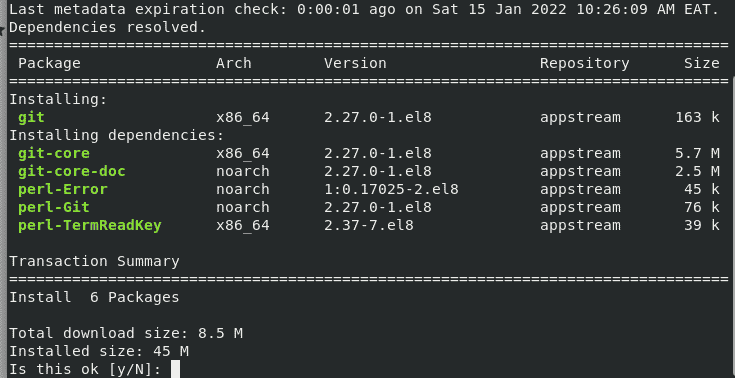
To install git via appstream run:
$ sudo dnf install git

Then, type y and press enter to proceed with the git installation.
Check the version of git installed with the command:
$ git --version

Install Git from Source
If you wish to install the most recent release of Git you need to compile and build it from source. This will not be maintained by your package manager. First, install the essential Git requirements for RockyLinux 8. Execute the command:
$ sudo dnf install gettext-devel curl-devel expat-devel openssl-devel perl-CPAN perl-devel zlib-devel unzip cmake gcc make -y
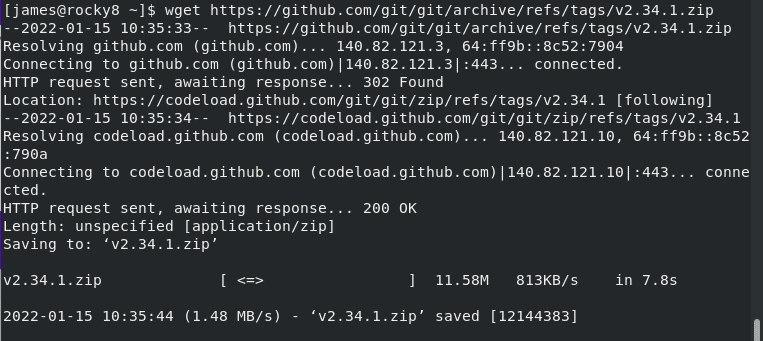
Then, download the latest release of Git from the official site. At the time of writing this guide, version 2.34.1 is the latest stable release. Run the following wget command:
$ wget https://github.com/git/git/archive/refs/tags/v2.34.1.zip

Next, extract the contents of the git archive file:
$ sudo unzip v2.34.1.zip
Then, navigate into the directory:
$ cd git-2.34.1
Now, execute the commands below to install git:
$ sudo make prefix=/usr/local all
$ sudo make prefix=/usr/local install
Set up Git
In this step we will configure git so that your commit messages contain the correct information. Use the git config command to configure git for the first time. Provide your name and email address as follows:
First, set up your username globally as shown:
$ git config --global user.name "YOUR-NAME"
Similarly, configure your email as shown:
$ git config --global user.email "YOUR-EMAIL"
To verify that your name and email have been configured:
$ git config --list

Git is now successfully installed and configured in Rocky Linux 8. You can now host and collaborate on your projects more efficiently.


