LAMP is a popular hosting stack widely used by developers to test-run and host websites at every stage of website development. It comprises Apache Web Server, MySQL/MariaDB database server and PHP scripting language. In this topic, we focus on installing LAMP on Rocky Linux 8.4.
Step 1: Install Apache web server
Firstly, we will begin with the installation of Apache web server as the first component of the LAMP stack. To achieve this, launch your browser and run the command.
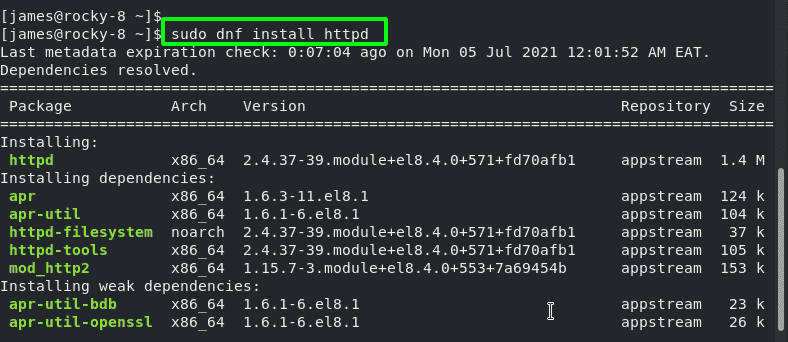
$ sudo dnf install httpd
The command installs the Apache httpd package alongside other dependencies as provided in the screenshot below.
Next, be sure to enable Apache web server to start every time the system is started or booted.
$ sudo systemctl enable httpd
Once enabled, start the Apache systemd service.
$ sudo systemctl start httpd

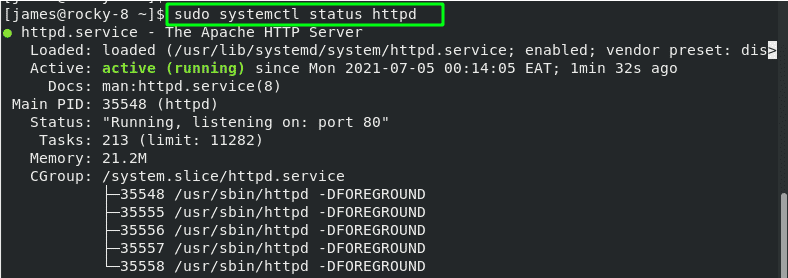
To be cocksure that Apache is running on Rocky Linux 8, issue the command:
$ sudo systemctl status httpd
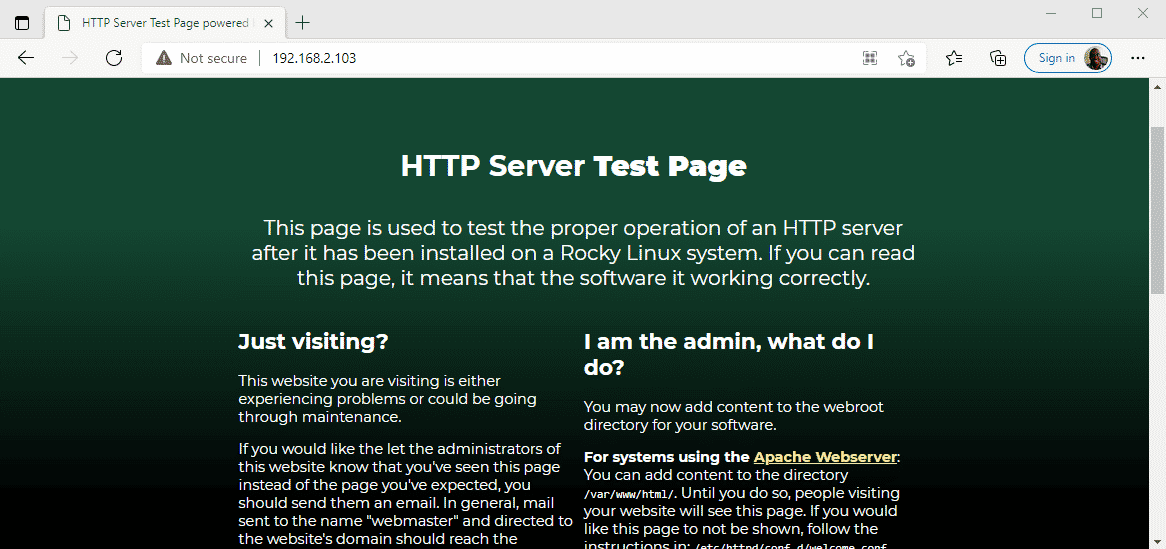
You can also verify on a web browser by browsing your server’s IP address or domain name.
http://server-IP
This displays the Apache HTTP test page, and this indicates that the webserver has been successfully installed.
Step 2: Install MariaDB database engine
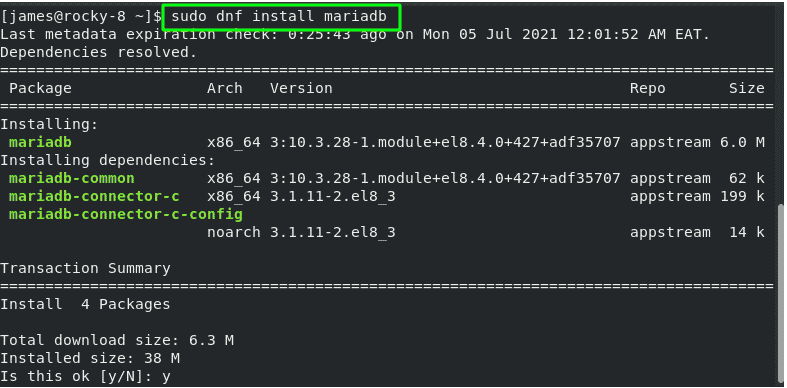
Once the Apache web server is in place, the next course of action is to install a database engine, in this case MariaDB server. The AppStream repos for Rocky Linux provide MariaDB 10.3 by the time of writing the tutorial. To install MariaDB, run the command:
$ sudo dnf install mariadb-server mariadb
Once installed, enable MariaDB on boot time as shown.
$ sudo systemctl enable --now mariadb
Then start the service.
$ sudo systemctl start mariadb

To confirm MariaDB service is active and running, invoke the command:
$ sudo systemctl status mariadb
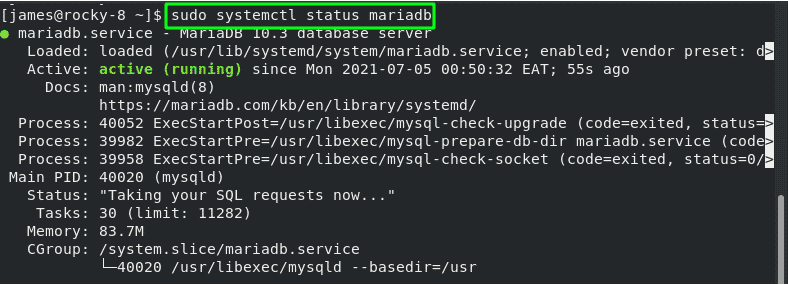
The default settings for MariaDB are weak and present security loopholes that can easily be exploited by hackers and unauthorized users. Therefore, additional steps must be taken to fortify the security of the database server.
To achieve this, run the script shown.
$ sudo mysql_secure_installation
Since we haven’t yet set the root password, we will hit ENTER upon where we will be required to set the root password. Setting the root password is recommended as it ensures that no one can log into the root user without authorization.
Therefore, set the root account.
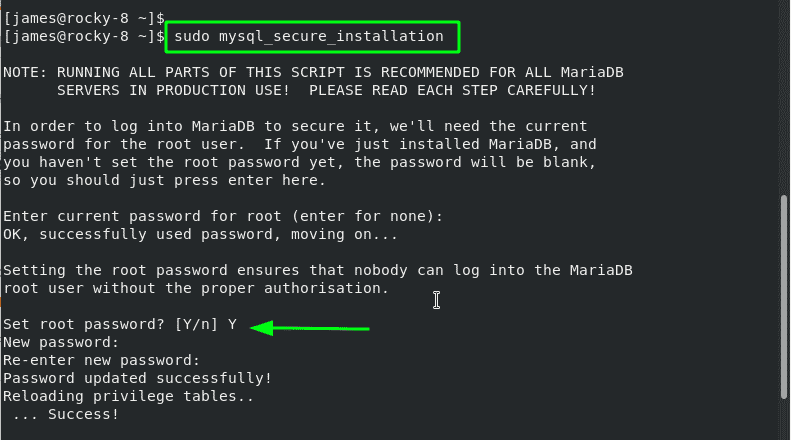
For the remaining prompts, type in ‘Y’ to secure MariaDB to the recommended standards. This purges the anonymous users , disallows remote root login and gets rid of the test database which is not required in a production database.
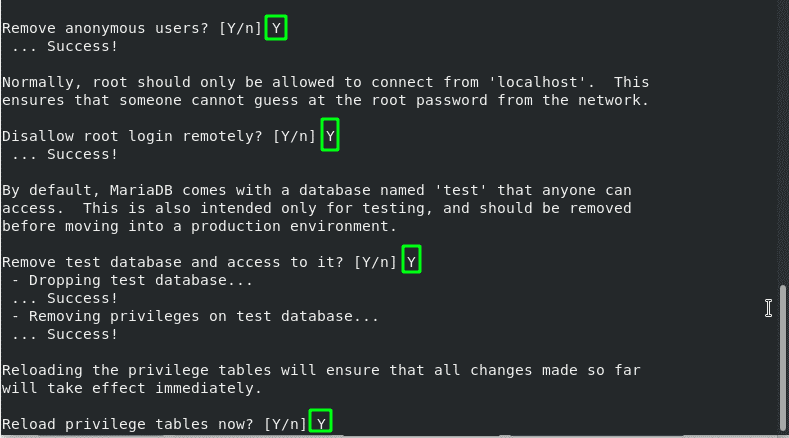
MariaDB database is now fully configured and secure.
Step 3: Install PHP
The last component of the LAMP stack that we are going to install is PHP. Rocky Linux AppStream provides multiple versions as shown.
$ sudo dnf module list php
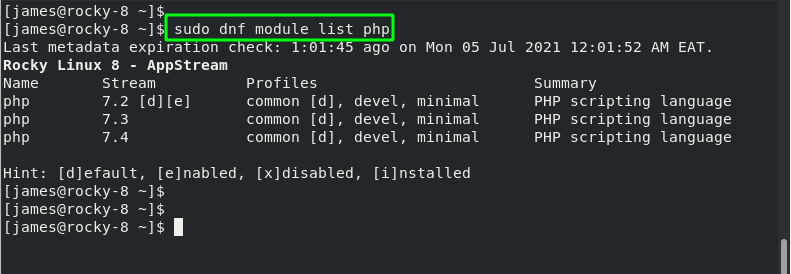
From the output, we can see that the default module is PHP 7.2. To install the latest module from the repository, perform a reset first.
$ sudo dnf module list reset php
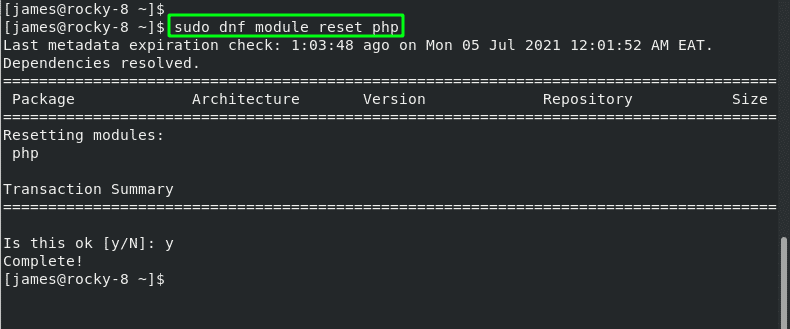
Now, you can install your preferred PHP version. For instance, to install PHP 7.4, run the command.
$ sudo dnf module install php:7.4

To confirm PHP is installed, run the command
$ php -v
Alternatively, you can verify the version installed by creating a test PHP file in the /var/www/html path.
$ sudo vim /var/www/html/info.php
Add the configuration below
<?php

phpinfo();

?>
Finally, head over to your browser and browse the URL below
http://server-ip/info.php
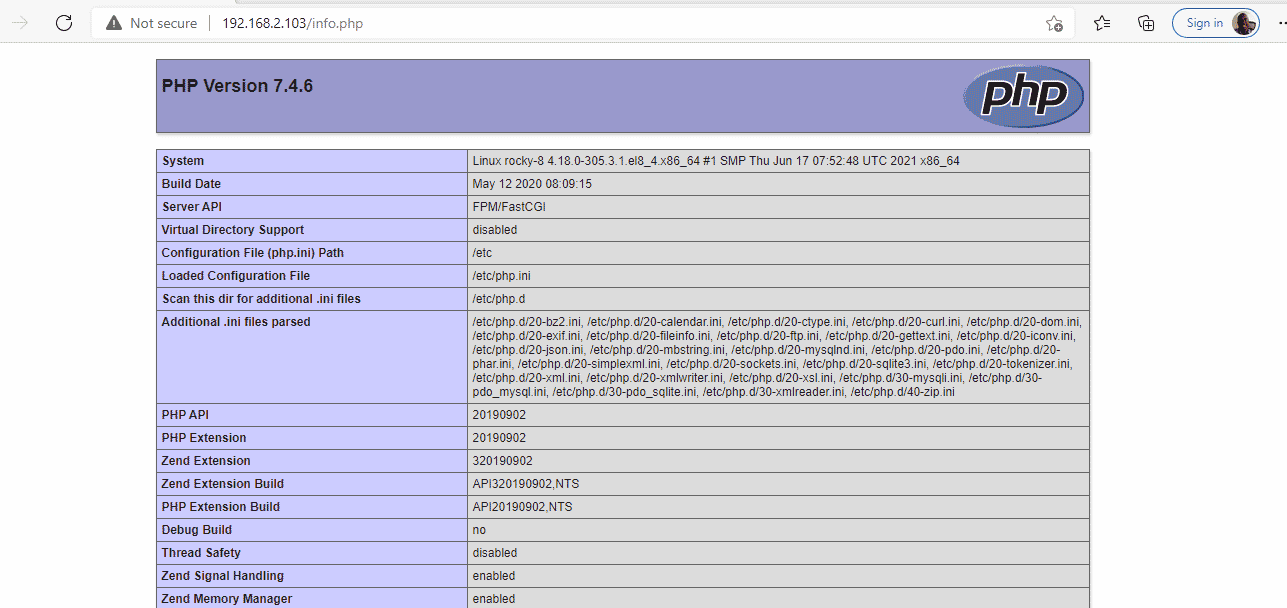
This displays the following PHP page indicating the version installed and other detailed information such as the system architecture, build date, and PHP extensions.
You can now remove the test PHP file.
$ sudo rm -f /var/www/html/info.php
And there you go! We have successfully installed LAMP stack on Rocky Linux 8.4. You can now proceed to test or host your website and applications.
