If you are not a regular and frequent user of the Windows or Linux operating systems, you might have no idea about the dual booting of two different types of operating systems. You might have known about the use of Oracle Virtual Box to install the different Linux systems within the Windows operating system by dynamically allocating some space to each. Virtualization is quite different from the dual booting as the “dual-booting” lets you use a different operating system without interrupting the other. In such kind of situation, both operating systems are independent of how the other is working or using the resources. Within this guide, we will show you a way to dual boot the Ubuntu 22.04 Linux system alongside the Windows 11 system.
Download the Ubuntu 22.04 ISO Image
Open your favorite browser like Google Chrome or Mozilla Firefox and search for Ubuntu’s official website. Navigate towards its “Download” menu to see the available latest Ubuntu desktop or server versions. Try to download version “22.04” Ubuntu Desktop using the “22.04 LTS” green button.
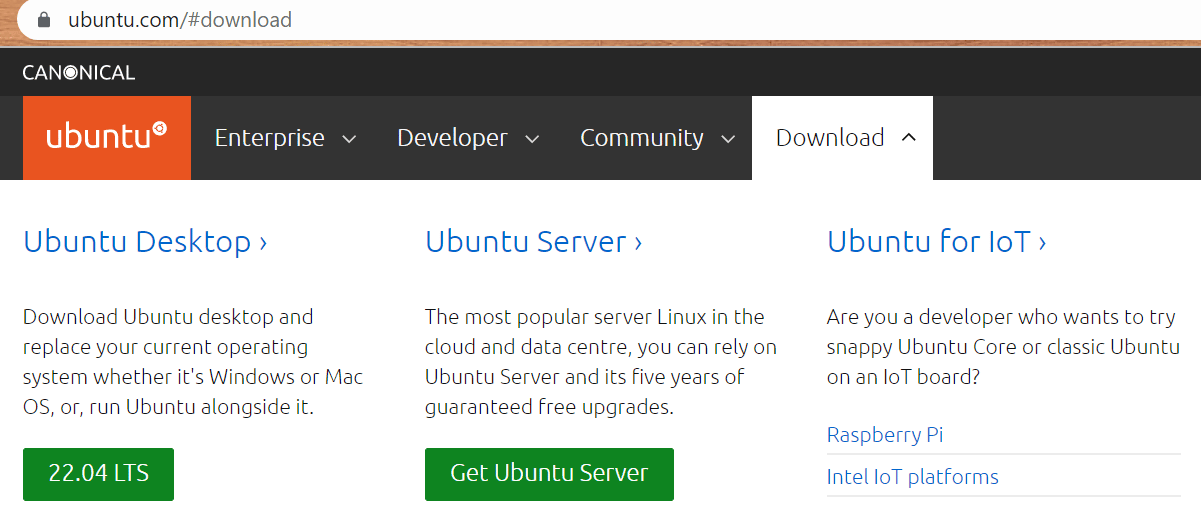
The Windows system will start downloading its ISO file without any delay.

Download Rufus
While the ISO image of the Ubuntu’s latest version is downloading, we will do some other chores like downloading the “Rufus” tool to create a bootable. Search for the “Rufus.ie/en/” in the new tab of your browser and you will have the latest versions of Rufus displayed under the “Download” menu option. Choose the most recent version to download on your system.
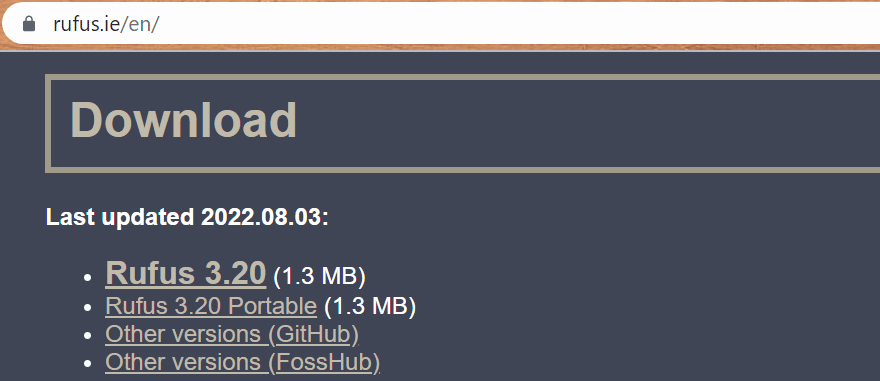
You will observe the quick download of “Rufus” on your Windows 11 system.

Create a Partition
Now, you have to open the “Disk Management” utility from your Windows 11 system by searching it on the search bar of a desktop screen. The following window will appear with your already available and in-use drives listed in it. It shows the basic information regarding each hard drive like the total size, free space, file system, and status. You need to create an unallocated memory space separately from any of the drives listed in the following:
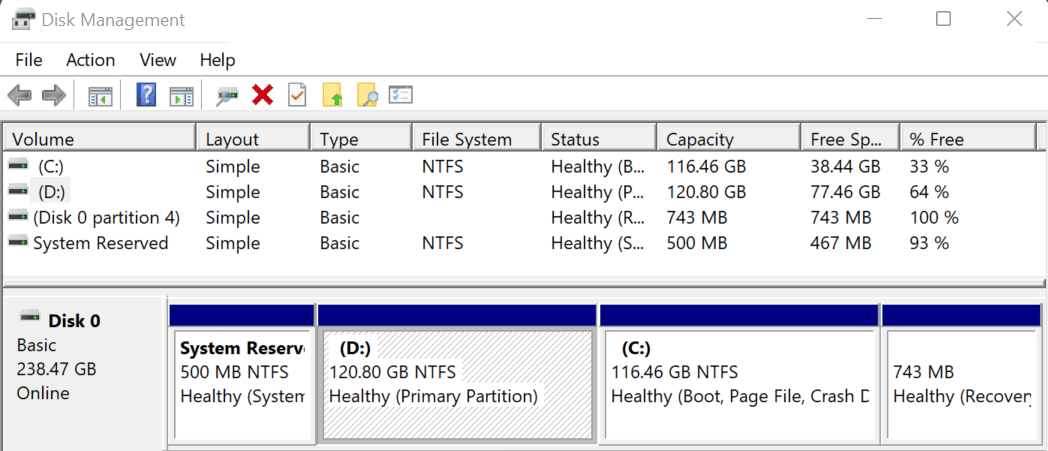
As our “D” drive contains a lot of free space, we will use it to shrink its volume. Right-click on it and tap on the “Shrink Volume” option. It will display you the total memory available for shrinking. You can choose according to your need, followed by the “Shrink” button. A minimum of 50 GB is required to install Ubuntu alongside Windows 11.
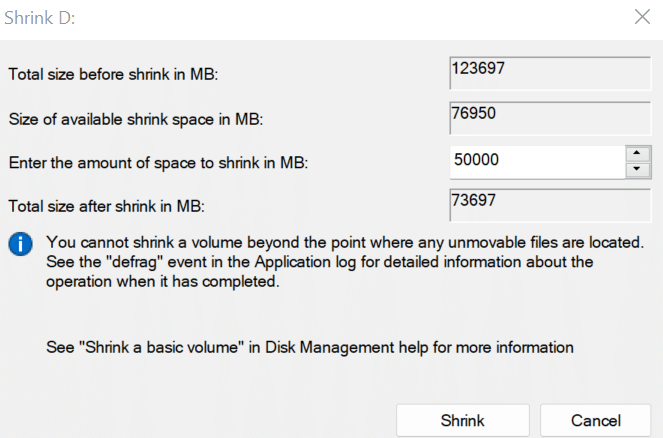
After a few seconds, the unallocated space is generated successfully.

Use Rufus to Create Bootable
Open the folder where you downloaded the “Rufus” tool and open it with the “Run as Administrator” option.
![]()
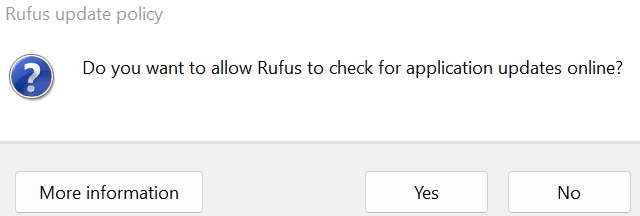
Tap “Yes” upon encountering the shown question.
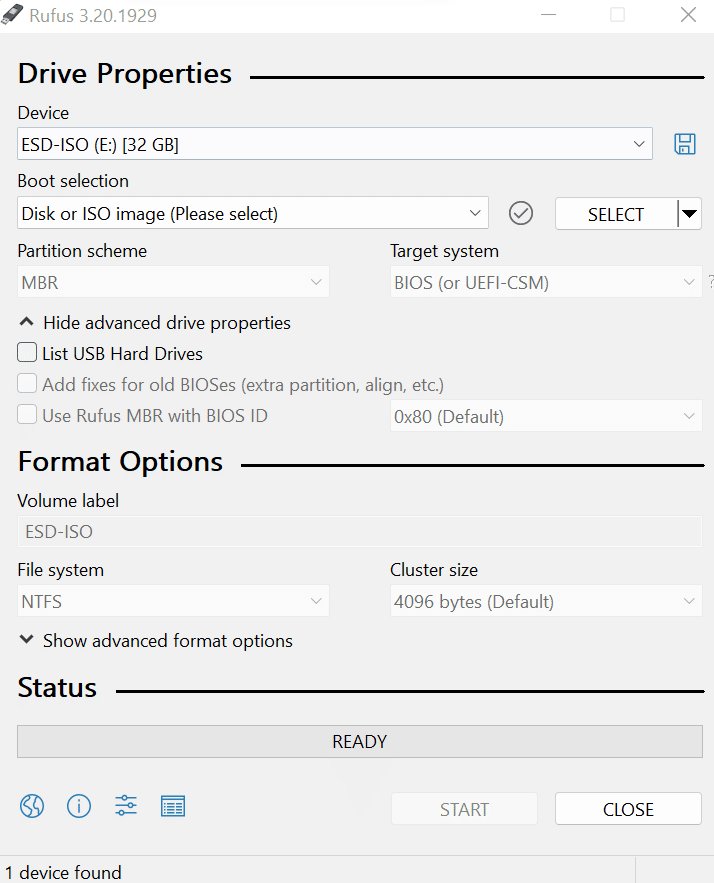
The “Rufus” tool is opened to choose the drive properties. Tap on the “SELECT” button to continue selecting the ISO image of Ubuntu 22.04 from your Windows system to create a bootable in your USB drive.
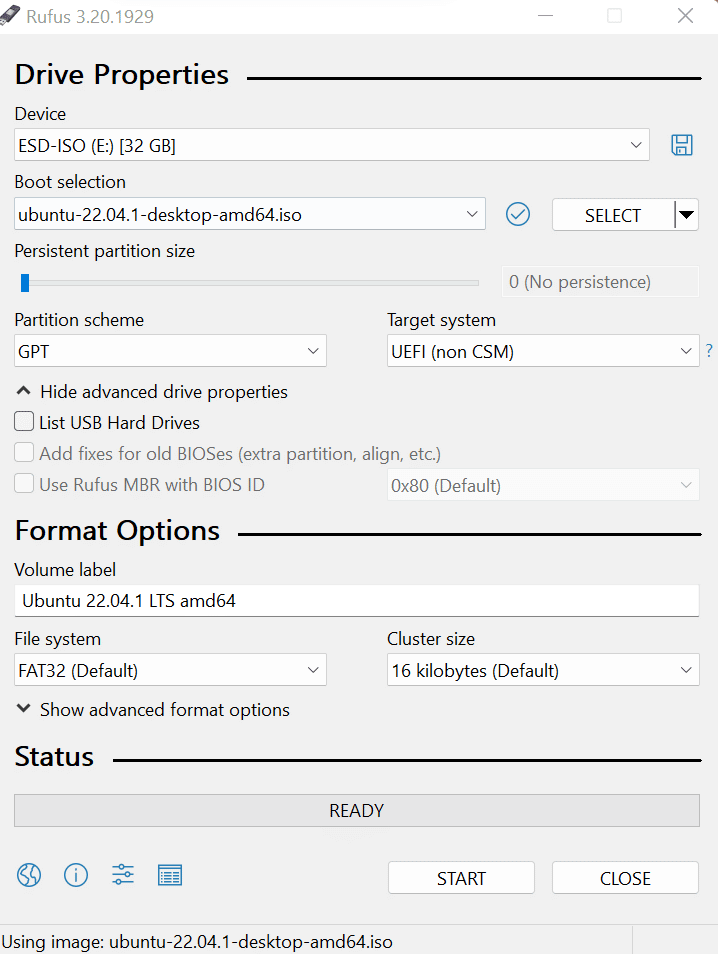
After selecting the ISO image of Ubuntu 22.04, select “GPT” from the partition scheme option. Continue with the default option by using the “START” button.
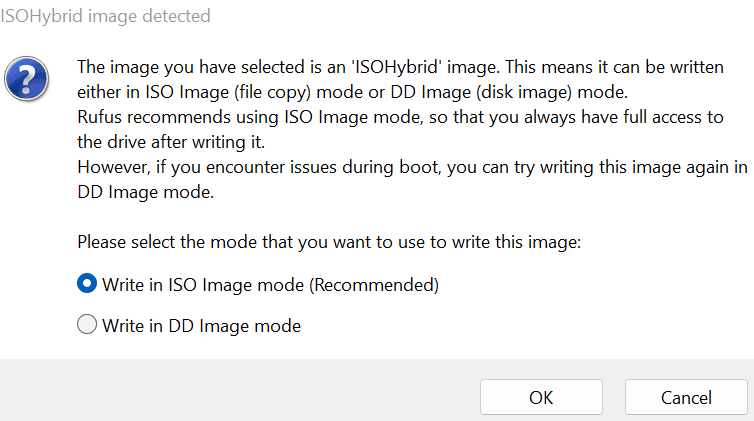
It asks you to select the recommended mode to write the data, i.e. ISO Image Mode. Press the “OK” button to proceed.
A warning dialog appears on your screen, displaying that the USB will be formatted. Press the “OK” button to move forward.
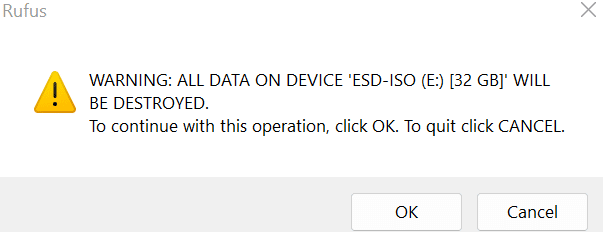
The USB drive starts to format.

After a while, a status bar shows that the ISO files are copied to a USB drive.

When your USB bootable is ready, the green progress bar displays a “READY” status.

Reboot
While your USB drive is plugged in, restart your system again and press the “ESC” key to open the Boot menu. Select the “USB” option to set it as the priority for boot. The GRUB MENU is opened. Choose the “Try or Install Ubuntu” option from the list to continue the installation of Ubuntu 22.04 alongside Windows 11. After some loading, you will be redirected to the “Install” window. Press the “Install Ubuntu” button to start the configuration.
Install Ubuntu 22.04
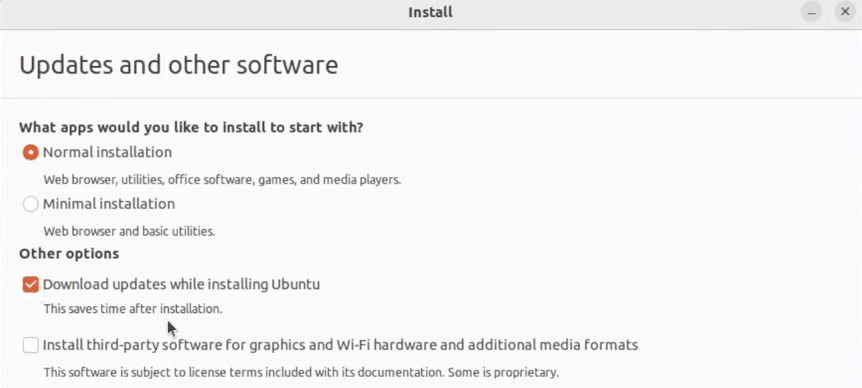
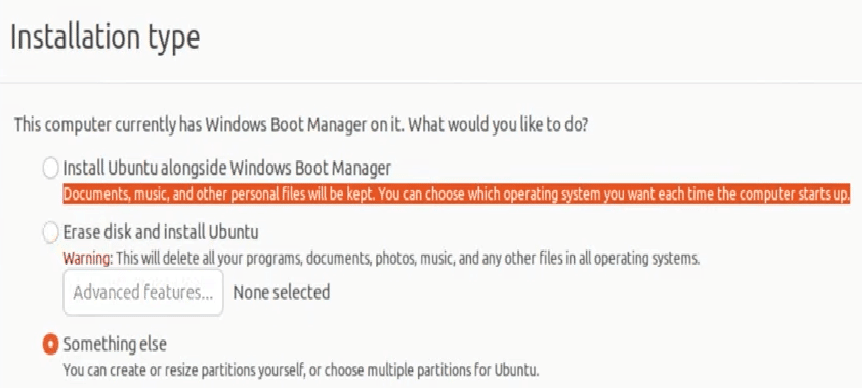
After some simple steps, choose the “Normal Installation” radio option to continue the installation process. Within the “Installation type” screen, choose “something else” followed by the “Continue” button.
Create Partitions
You will see a list of drives that are in use, free, and unused. Choose “free space” and create new partitions within it. Then, use the “Install Now” button to write the changes to the disks.
- / 12 GB
- /home 12 GB
- /swap 3 GB
Now, create your root user for your Ubuntu 22.04 system to be installed. Add your username and provide your password for security reasons. Continue with the process by providing the minor details that are required for Ubuntu 22.04 installation. After a while, the Ubuntu latest version starts to get the required files from the system to configure it fully without a delay. While it is completing the process of installation, you can do your daily chores. It might take up to 1 hour depending on your system’s speed.
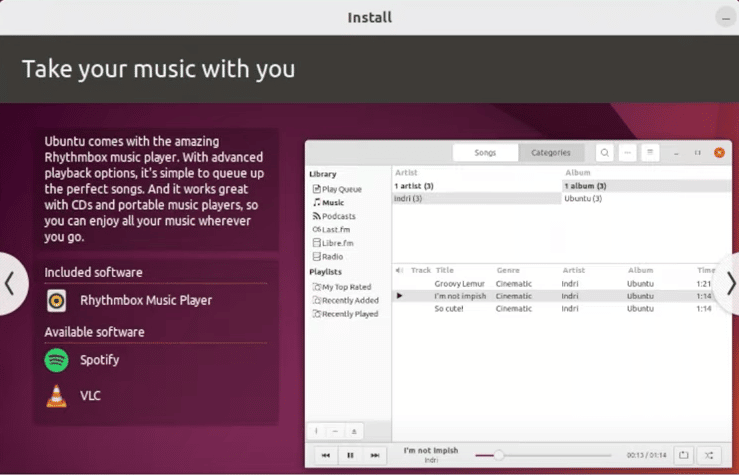
After your installation is completed, it shows you another dialog screen that gives you the information regarding the completion of this process. It would ask you to either test the installed system or restart your system via the “Restart Now” button.

When your system starts to reboot, remove the USB drive from the system plug and press the “ENTER” key. Now, you will be displayed with the boot options – Windows or Ubuntu. You can select either one of these to start using Ubuntu alongside Windows 11.
Conclusion
To clear out the method of dual booting, we tried the Rufus tool to create a USB boot for Ubuntu 22.04 ISO Image. After downloading the latest Ubuntu 22.04 version, we created a new unallocated partition in our Windows 11 system and rebooted our system from a USB drive. After the successful installation of Ubuntu 22.04 alongside the Windows 11 system, our system is now able to run the Ubuntu 22.04 or the Windows 10 operating system from the same end without affecting the other operating system.
