Android Studio is Google’s officially supported Development Environment (IDE) for building Android apps. Based on IntelliJIDEA’s powerful code editor and developer tools, it allows to develop apps for Android-based phones, tablets, TV, etc. This guide explains how to install Android Studio on Ubuntu OS.
To install Android Studio on Ubuntu, there are following three ways:
- Installation via tarball
- Installation via repository
- Installation via snap
Requirements:
You will require:
- Ubuntu OS
- A user with root or sudo access
Note: I will be demonstrating the procedure on Ubuntu 20.04 LTS (Focal Fossa).
Method # 1 Installing Android Studio via tarball
In this method, we will show you the installation of Android Studio using the tarball. Follow these steps for the installation procedure:
1. Download the Android studio tar.gz package using the command below in the Terminal:
$ wget https://redirector.gvt1.com/edgedl/android/studio/ide-zips/4.1.2.0/android-studio-ide-201.7042882-linux.tar.gz
2. Once the package is downloaded, extract it using the command below:
$ tar -xf android-studio-ide-201.7042882-linux.tar.gz
3. Then navigate to the extracted folder and run the install script as follows:
$ cd android-studio/bin
$ ./studio.sh
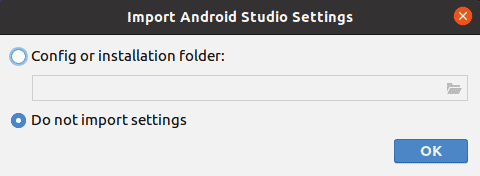
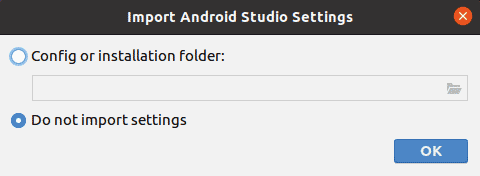
After running the script, the following window will pop up.
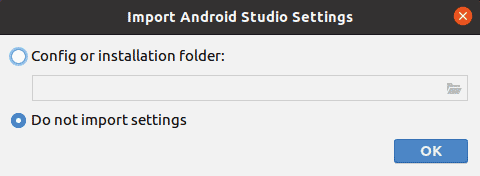
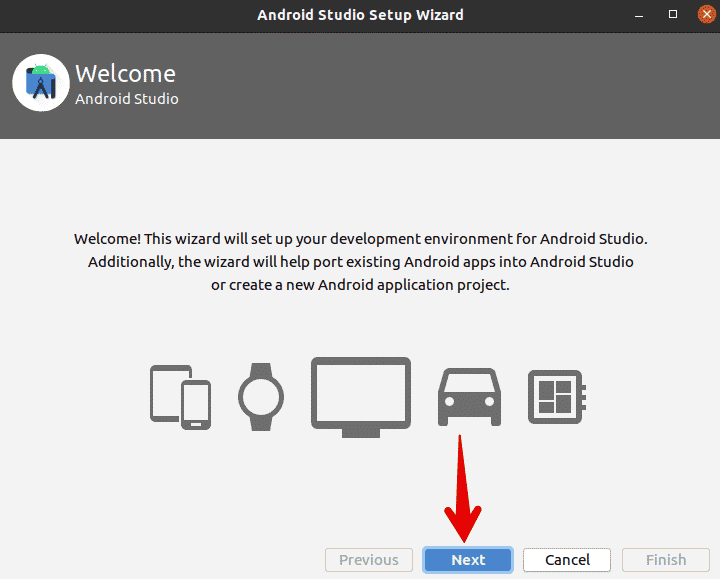
4. Choose the Do not import settings radio button in the above window and click OK. After that, the following Welcome wizard will show up. Click Next.
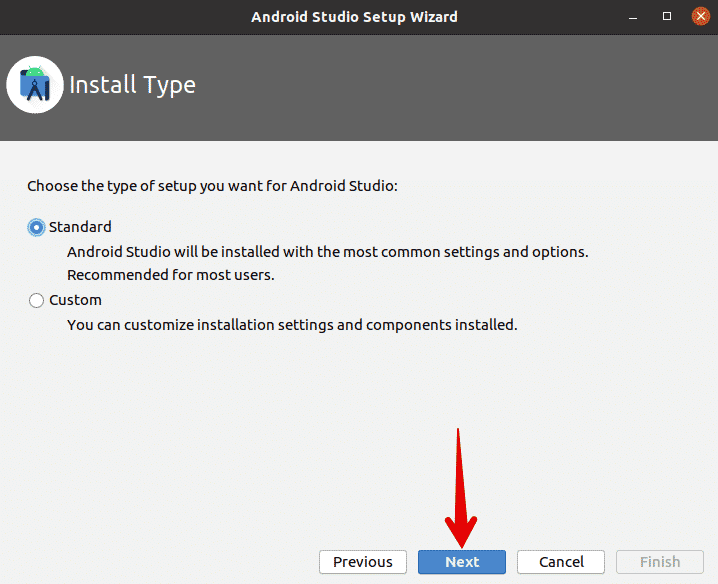
5. When the following window appears, choose Standard as Android Studio setup and click Next.
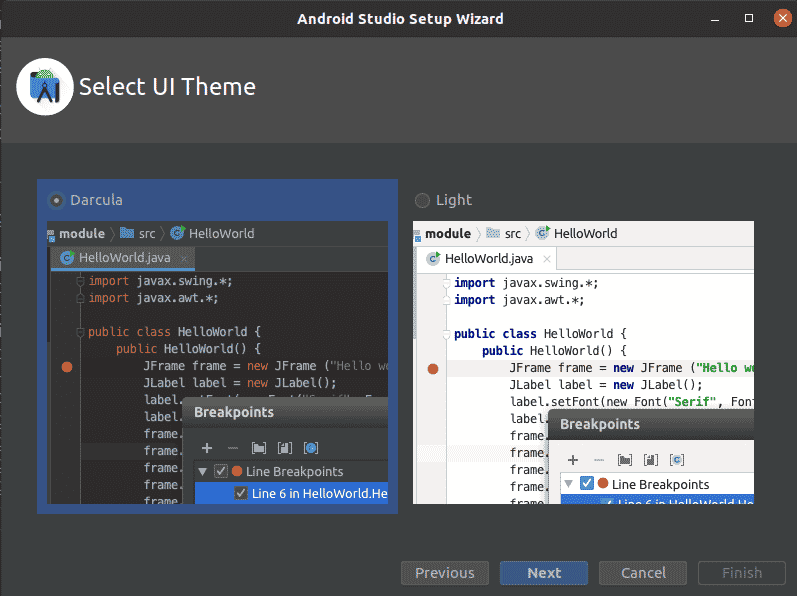
6. Then based on your preferences, select Darcula or Light UI theme and click Next.
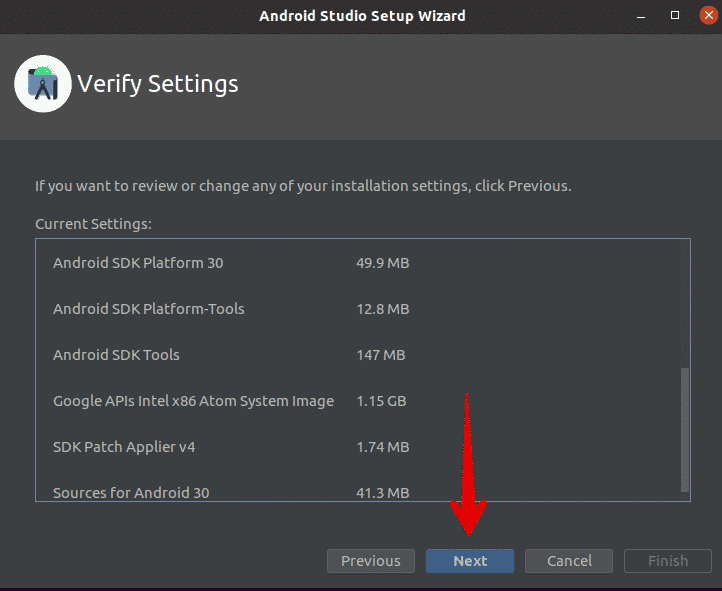
7. Then you will be presented with the following window to review the settings. If you want to make any changes in the settings, click Previous, otherwise click Next.
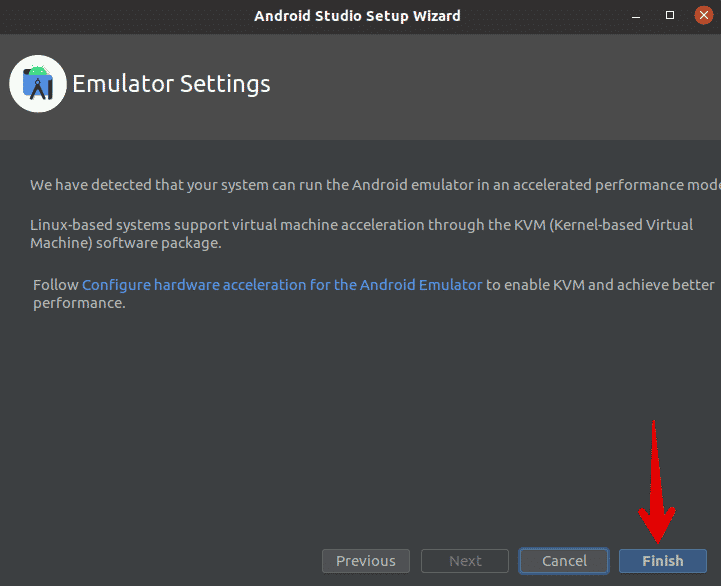
8. Then click Finish.
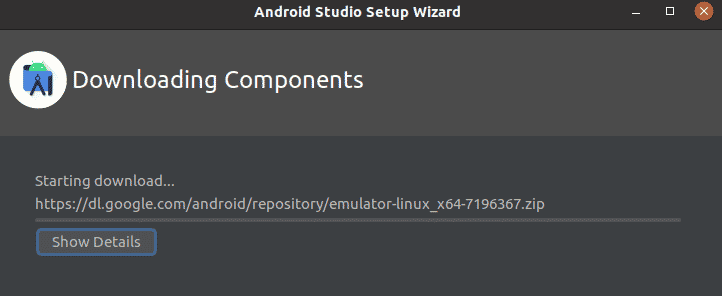
9. Now, the downloading of components will be started on your system. Based upon the internet speed, it may take little time.
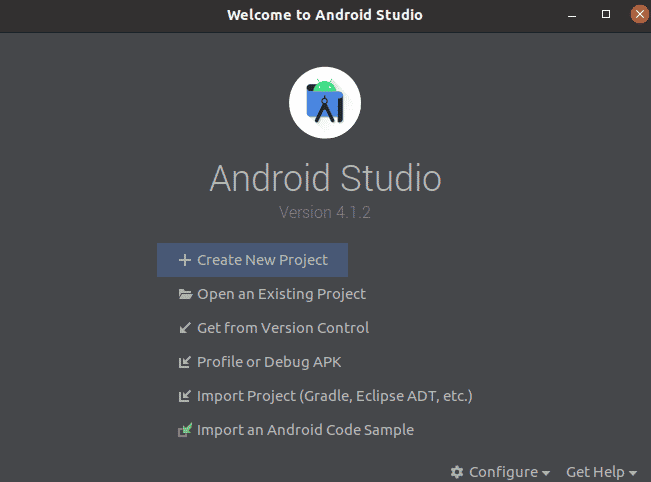
Once the download is completed, the following window will show up on the screen.
Method #2 Installing Android Studio via repository
Android Studio can also be installed via its repository. Follow these steps for the installation procedure:
1. To install Android Studio, you will first need to add its repository. Use the below command to do so:
$ sudo add-apt-repository ppa:maarten-fonville/android-studio
Enter sudo password. Then press Enter to continue the procedure.

2. After adding the repository, update the repository index using this command:
$ sudo apt update
3. Then to install Android Studio, use this command:
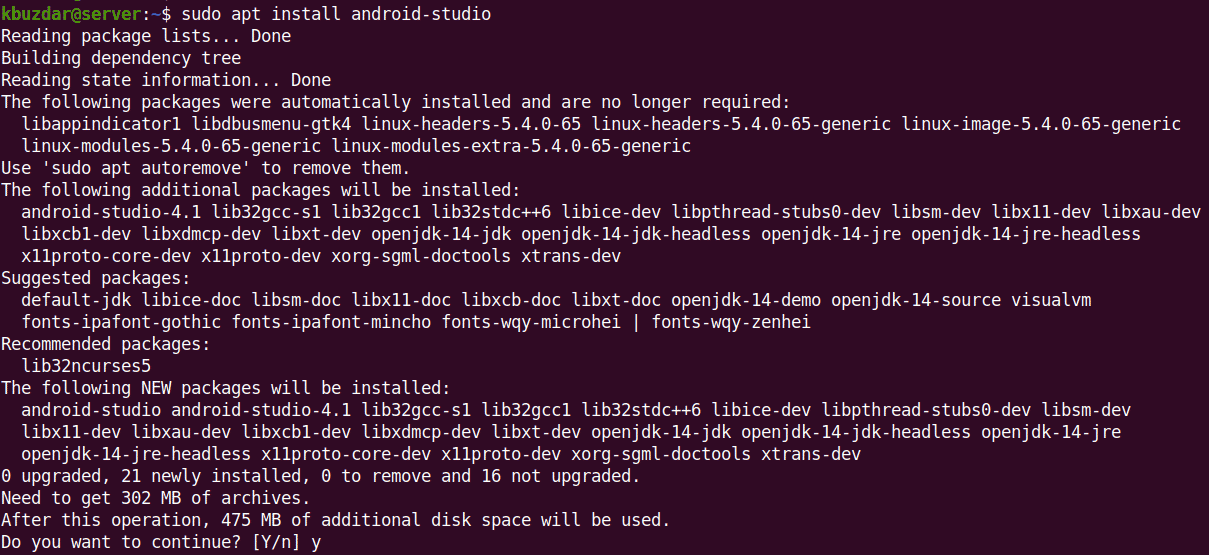
$ sudo apt install android-studio
If asked for continuation, hit y to continue.
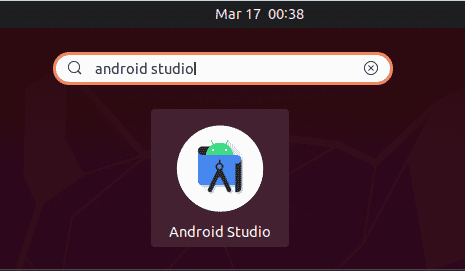
Once the installation is completed, hit the super key and type android studio in the search area. When the icon for the Android Studio application appears, click it to launch.
After opening the Android Studio application, the below window will appear. To complete the remaining procedure, follow the step 4 to step 8 described in the first method.
Method# 3 Installing Android Studio via snap
Another way to install Android Studio is using the snap application. Follow these steps for the installation procedure via snap:
1. First, check if snapd is installed on your machine. Use the command below to do this:
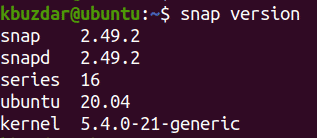
$ snap version
You will see a similar output if it is installed:
If it is missing from your machine, use the command below to install it:
$ sudo apt install snapd
Provide the sudo password.
2. To install Android Studio snap package, use the command below:
$ sudo snap install android-studio --classic
Once installed, the following output will appear.

Once the installation is completed, hit the super key and type android studio in the search area. When the icon for the Android Studio application appears, click it to launch it.
After opening the Android Studio application, the below window will appear. To complete the remaining procedure, follow the step 4 to step 8 described in the first method.
Remove Android Studio
If you no longer require Android Studio on your machine, you can remove it easily using the following methods.
If you have installed Android Studio via tarball, then use the commands below to remove it:
$ sudo rm -r Android*
$ sudo rm -r .android/
$ sudo rm -r android-studio/
$ sudo rm /usr/share/applications/android-studio.desktop
If you have installed Android Studio via repository, then use the command below to remove it:
$ sudo apt remove android-studio
If you have installed Android Studio via its snap package, then use the command below to remove it:
$ sudo snap remove android-studio --classic
That is all there is to it! In this post, we described how to install Android Studio using three different methods. Depending on your choice, you can use any method for the installation of Android studio. In the end, we have also described how to remove Android Studio in case you don’t need it anymore.


