There are multiple email clients that you can leverage and configure your email account on Linux. Some of the widely used email clients include Thunderbird, Evolution, and KMail. Geary is another handy and easy-to-use email client that lets you conveniently set up your email account. It is completely free and open-source is currently developed and maintained by the GNOME project.
Before we dive in and install Geary, here are some of the prominent features provided by the email client.
- Support for a wide range of email providers such as Gmail, Yahoo, and Outlook.com, and other IMAP servers including Zimbra and Dovecot.
- Modern, neat, and user-friendly interface that is easy to navigate.
- Fully-featured HTML mail composer.
- Desktop notification for new emails.
- Provides a conversation view of emails.
- Supports the ability to answer directly in conversations or in a separate window.
- Supports the creation of a custom signature.
Without much further ado, let get our hands dirty and start the installation of Geary.
Step 1: Installing Geary email client
Geary is quite easy to install and configure. To start off, refresh the package lists as follows.
$ sudo apt update
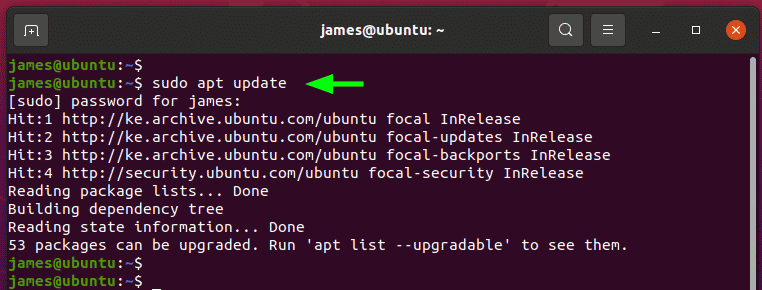
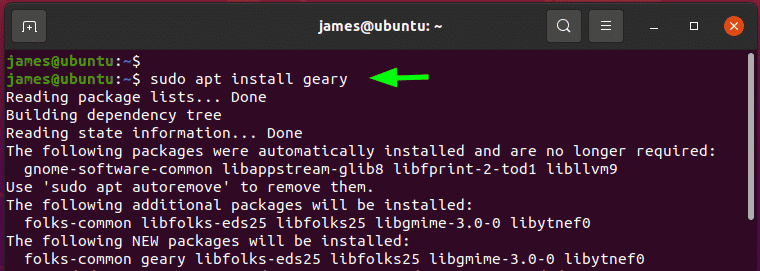
Once done, install Geary email client as follows:
$ sudo apt install geary
This install Geary alongside other new packages and dependencies that will be required by Geary.
Step 2: Launch and configure Geary email client
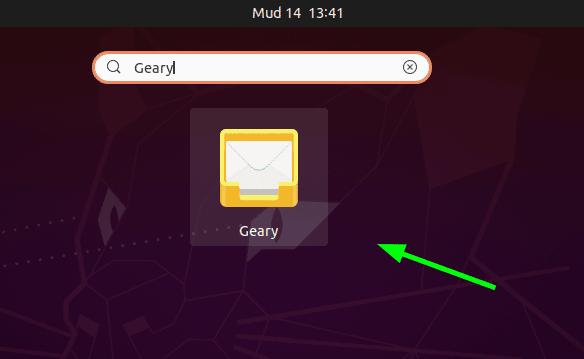
Once installed, launch Geary by clicking on the ‘Activities’ tab and searching for Geary as shown. Then click on the Geary icon to launch it.
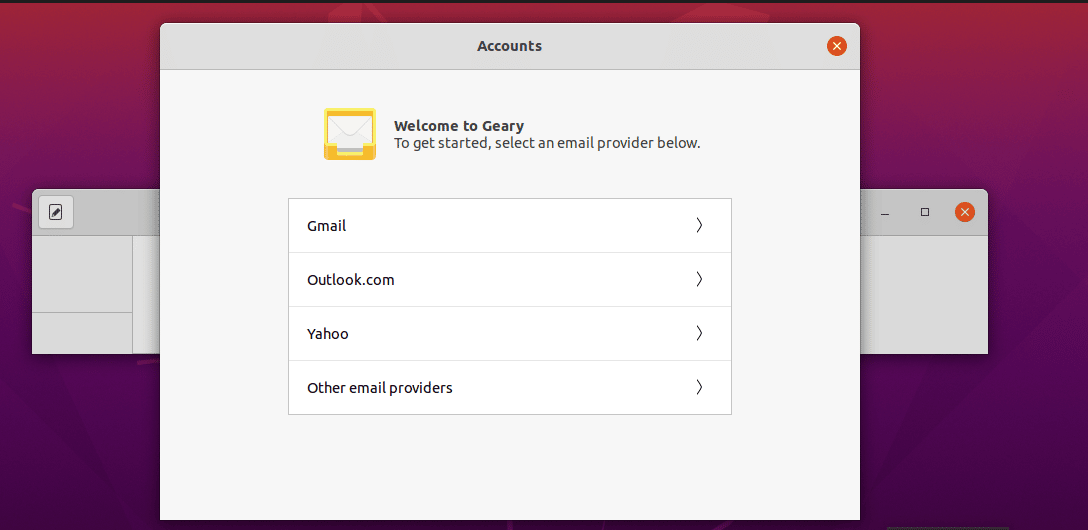
The Geary User Interface will pop up as shonw below prompting you to select and email provider. Here, you will be presented with a wide array of option including Gmail, OUtlook, and Yahoo plus you get to define other providers of your choice.
For demonstration purposes, I have chosen to configure my account with Gmail.
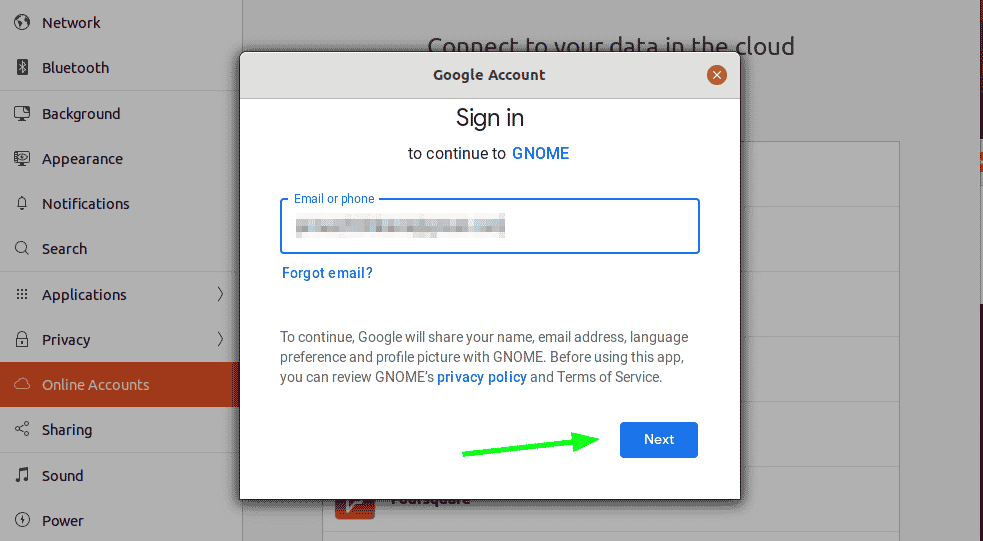
Key in your email address or phone number that you use to authenticate with your Gmail account. Click on ‘Next’ to continue with the setup.
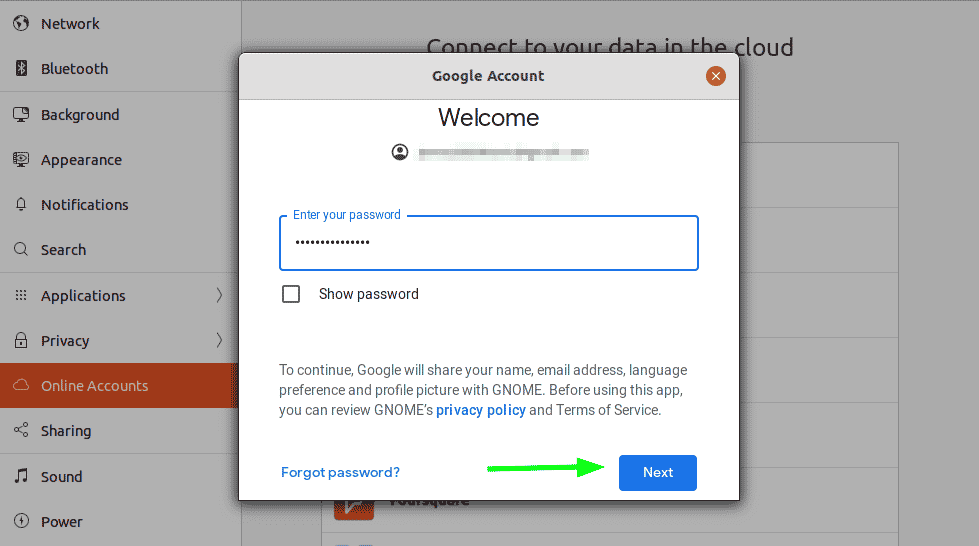
Next, provide your Gmail password and hit ‘Next’.
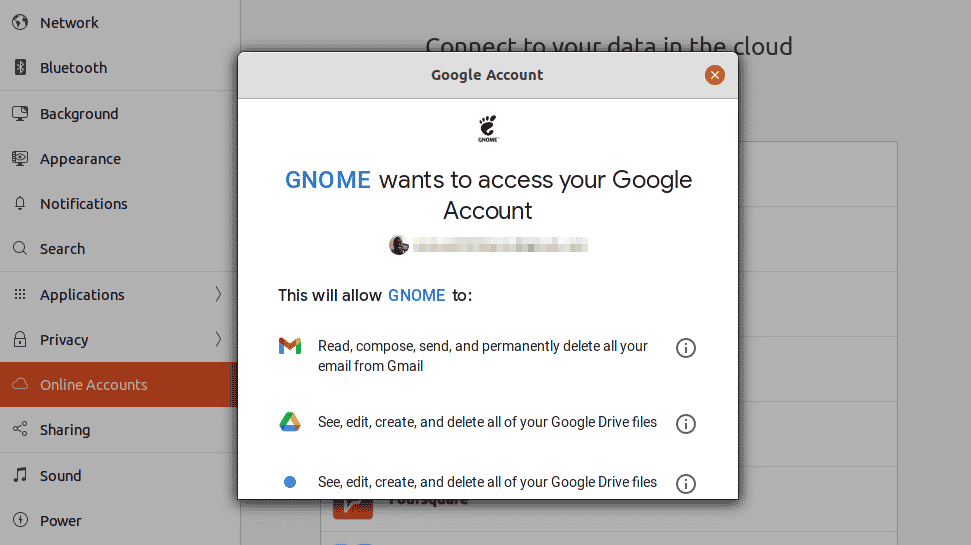
Next, grant the GNOME utility access to manage your email account including reading, composing ,deleting, and accessing your Google Drive files.
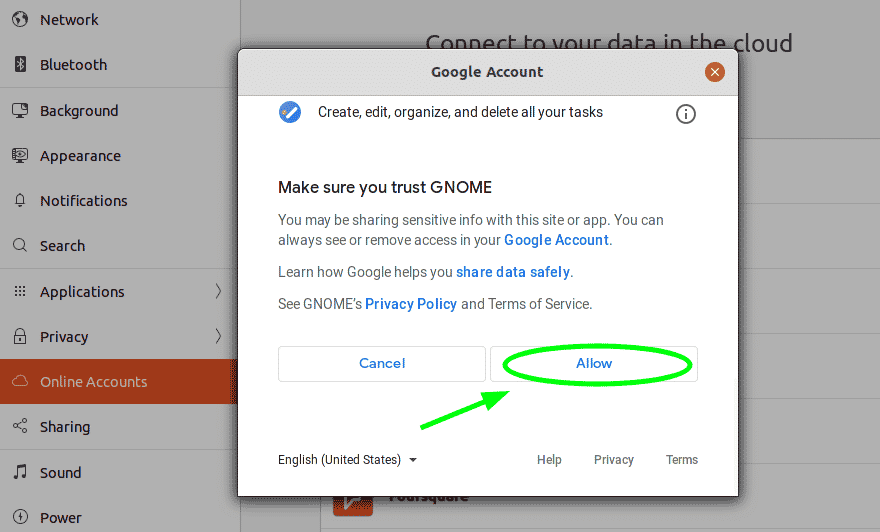
Then Click ‘Allow’.
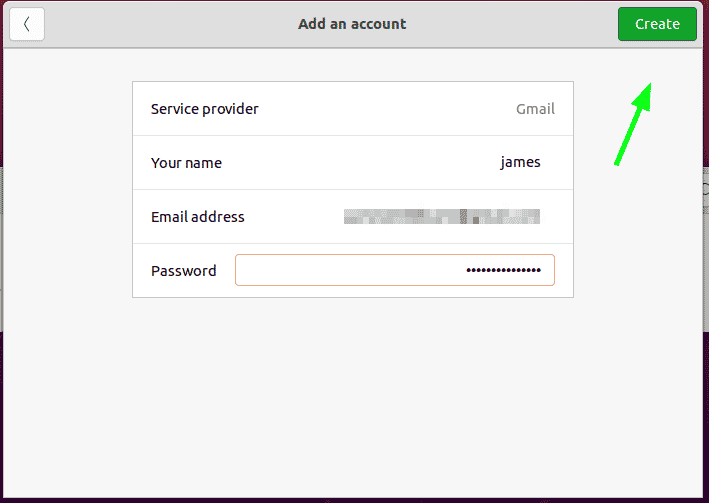
Next, provide your username Gmail address and password and finally click on the ‘Create’ button to finalize creating your account on the Geary email client.
Thereafter, Geary will load all your email messages. From here, you can begin managing your email conversations. You can see that there’s a striking resemblance between Geary UI and that of Gmail – which makes it even more intuitive and friendly to use and navigate.
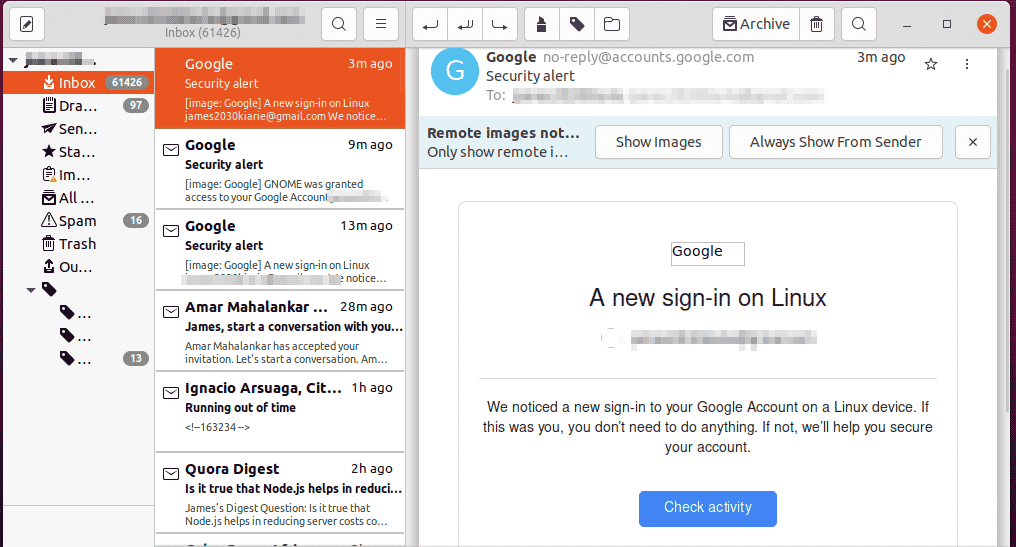
We have successfully installed and configured the Geary email client on Ubuntu 20.04.


