Introduction
Snort is a useful open source to protect against network intrusion on the system also known as NIDS. Over a specific network interface, Snort can monitor packet data sent and received.
Using signature-based detection and protocol analysis technologies NIDS can detect threats that target weaknesses and vulnerabilities in your system. Once you have installed and configured it correctly, NIDS software can identify different types of attacks and suspicions.
Here we will guide you on how to install Snort on Ubuntu 20.04 as we go through below.
Step 1 – Update the system
Run the apt command to update:
$ sudo apt update
Output:

Step 2 – Install required libraries
Run the following command:
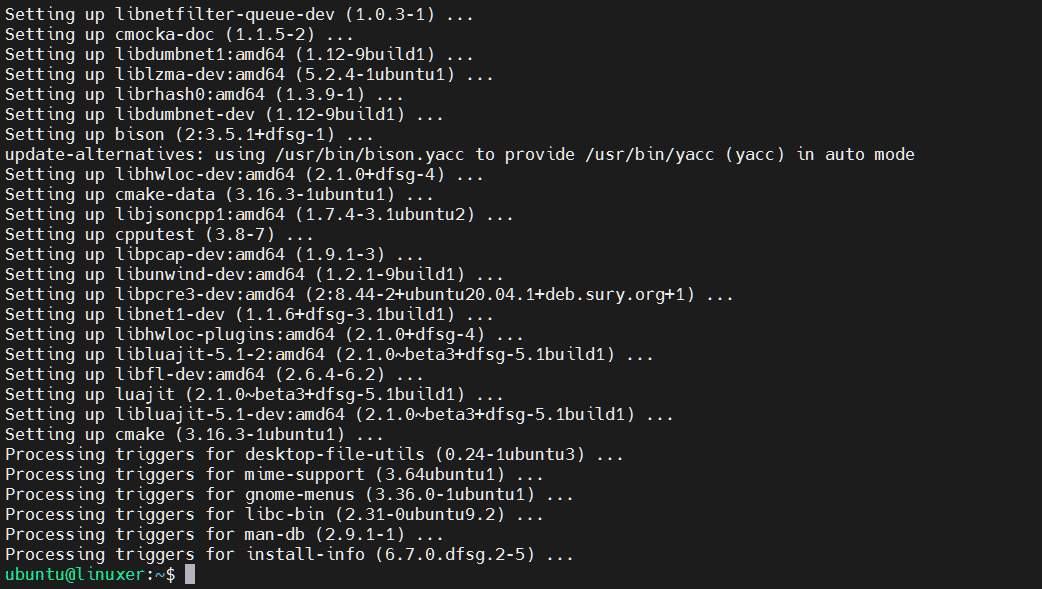
$ sudo apt-get install build-essential libpcap-dev libpcre3-dev libnet1-dev zlib1g-dev luajit hwloc libdnet-dev libdumbnet-dev bison flex liblzma-dev openssl libssl-dev pkg-config libhwloc-dev cmake cpputest libsqlite3-dev uuid-dev libcmocka-dev libnetfilter-queue-dev libmnl-dev autotools-dev libluajit-5.1-dev libunwind-dev
Output:

After completing the installation. create a directory containing the compilation and source files for Snort:
$ mkdir snort-source-files
$ cd snort-source-files
Then install LibDAQ:
$ git clone https://github.com/snort3/libdaq.git
Output:

Run the following commands:
$ cd libdaq
$ ./bootstrap
$ ./configure
$ make
$ sudo make install
Then install Tcmalloc:
$ cd ../
$ wget https://github.com/gperftools/gperftools/releases/download/gperftools-2.9.1/gperftools-2.9.1.tar.gz
$ tar xzf gperftools-2.9.1.tar.gz
$ cd gperftools-2.9.1/
$ ./configure
$ make
$ sudo make install
Step 3 – Installing Snort 3
1. Run the following commands:
$ cd ../
$ git clone git://github.com/snortadmin/snort3.git
Output: 
2. Navigate to the snort3 directory
$ cd snort3/
3. Configure and enable tcmalloc
$ ./configure_cmake.sh --prefix=/usr/local --enable-tcmalloc
4. Navigate to the build directory to compile and install Snort 3
$ cd build
$ make
$ sudo make install
5. Update shared libraries
$ sudo ldconfig
6. Create a symlink for /usr/sbin/snort, run the command:
$ sudo ln -s /usr/local/bin/snort /usr/sbin/snort
7. Check if the installation was successful
$ snort -V
Output: 
Conclusion
The article above has shown you how to install Snort on Ubuntu 20.04.
Thanks for reading!


