The “apt-get” command manages the packages in Ubuntu by retrieving information about those packages. The “apt-get” simplifies the installation, handling, deletion, and overall management of libraries and packages. This article discusses the apt-get command to install packages in Ubuntu.
How to Use Apt-Get to Install Programs in Ubuntu From the Terminal?
The apt-get is a simplified way to download and install packages or programs from official repositories with ease. To install programs in Ubuntu using the “apt-get” command, follow the steps below.
Step 1: Open Terminal
Start the terminal by clicking on the “Show Applications” icon at the bottom left of the home screen:

The Applications Menu Open and you will see the Search Bar. Click on it and type the application you want to search for. In our case, we will search for “Terminal”:

Click on the Terminal to Open it:

The shortcut key “ctrl+alt+t” can also be utilized to open the Terminal:

Step 2: Update Existing Packages
Once the Terminal is opened, update the existing packages before installing a new package using the command:
This will update the existing Ubuntu packages:

Upgrade the packages that are updated using the command:

Step 3: Search for Packages
The “apt-cache” command searches for packages. To use the “apt-cache” command, the search command is used with it as well as the package name to be searched:
In our case, to search for the “blender” application, the “apt search” command will be:
The packages containing the keyword “blender” will be listed in the Terminal:

Step 4: Install the Package using Apt-Get
The Packages in Ubuntu can be installed using the “apt-get” command with “install” followed by the package name to be installed. Once the desired package is searched using the “apt-cache search” command, the package can be installed using the command:
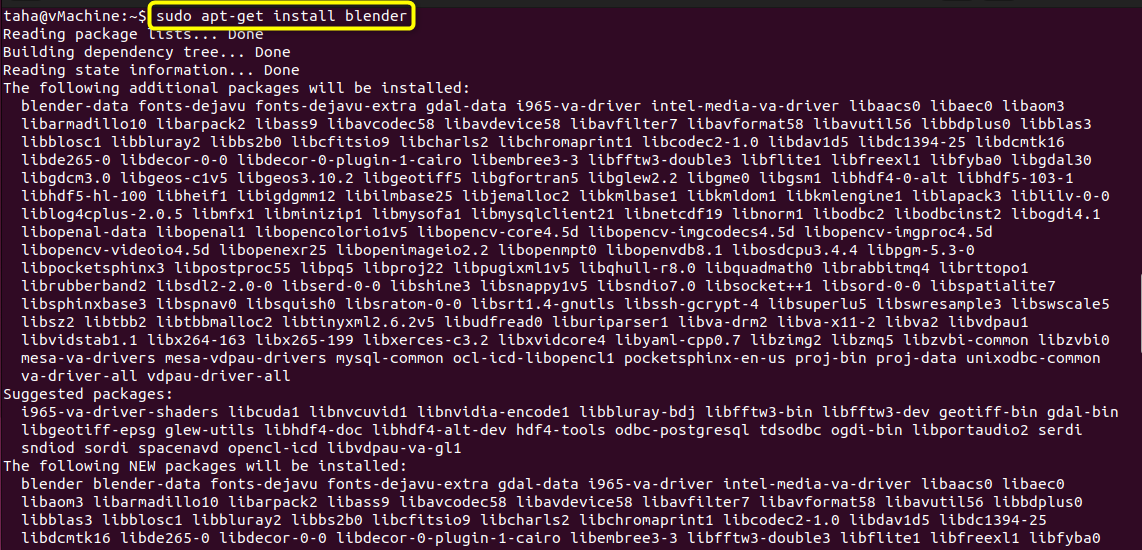
In our case, we previously searched for the “blender” package and among those packages to download and install the “blender” package, the command used will be:
The Blender package will start downloading, wait for the completion:

Step 5: Verify Package Installation
The packages installed can be verified using the “dpkg” command in Ubuntu. To display all the packages installed in Ubuntu, use the command:
All the packages will be listed in the Terminal:

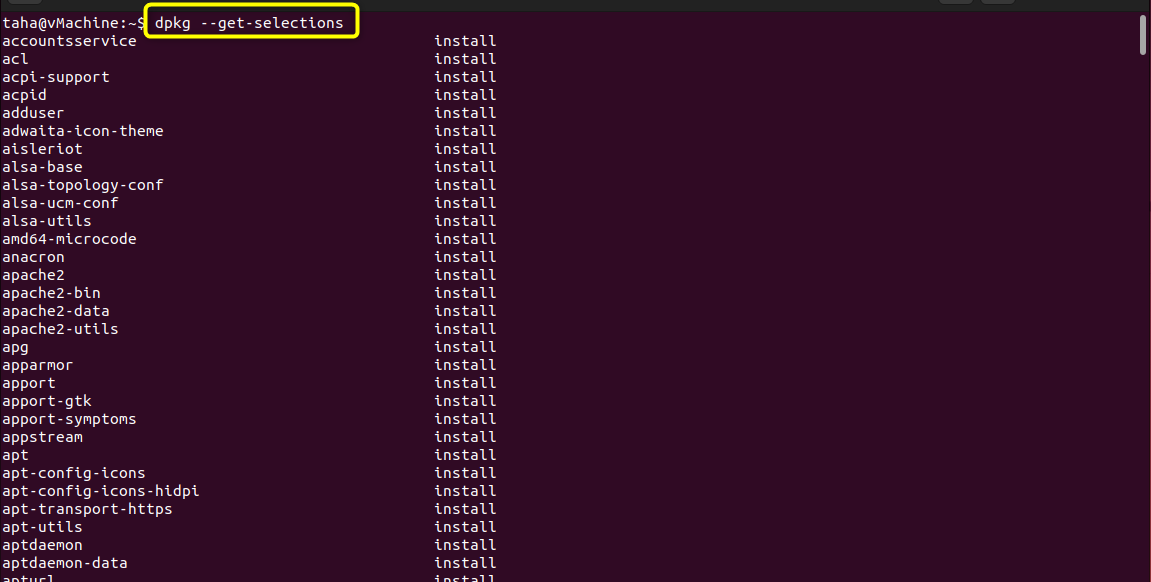
The “dpkg” command with “–get-selections” is also a useful way to list all the installed packages in Ubuntu using the command:
All the Installed packages will be listed:

You can also filter for a specific package using the “grep” command along with the “dpkg” command. To find a specific installed package, the command used is:
In our case, as we installed “blender” previously, we will use the “grep” command to search for the blender packages:
The blender packages installed will be returned to the terminal:

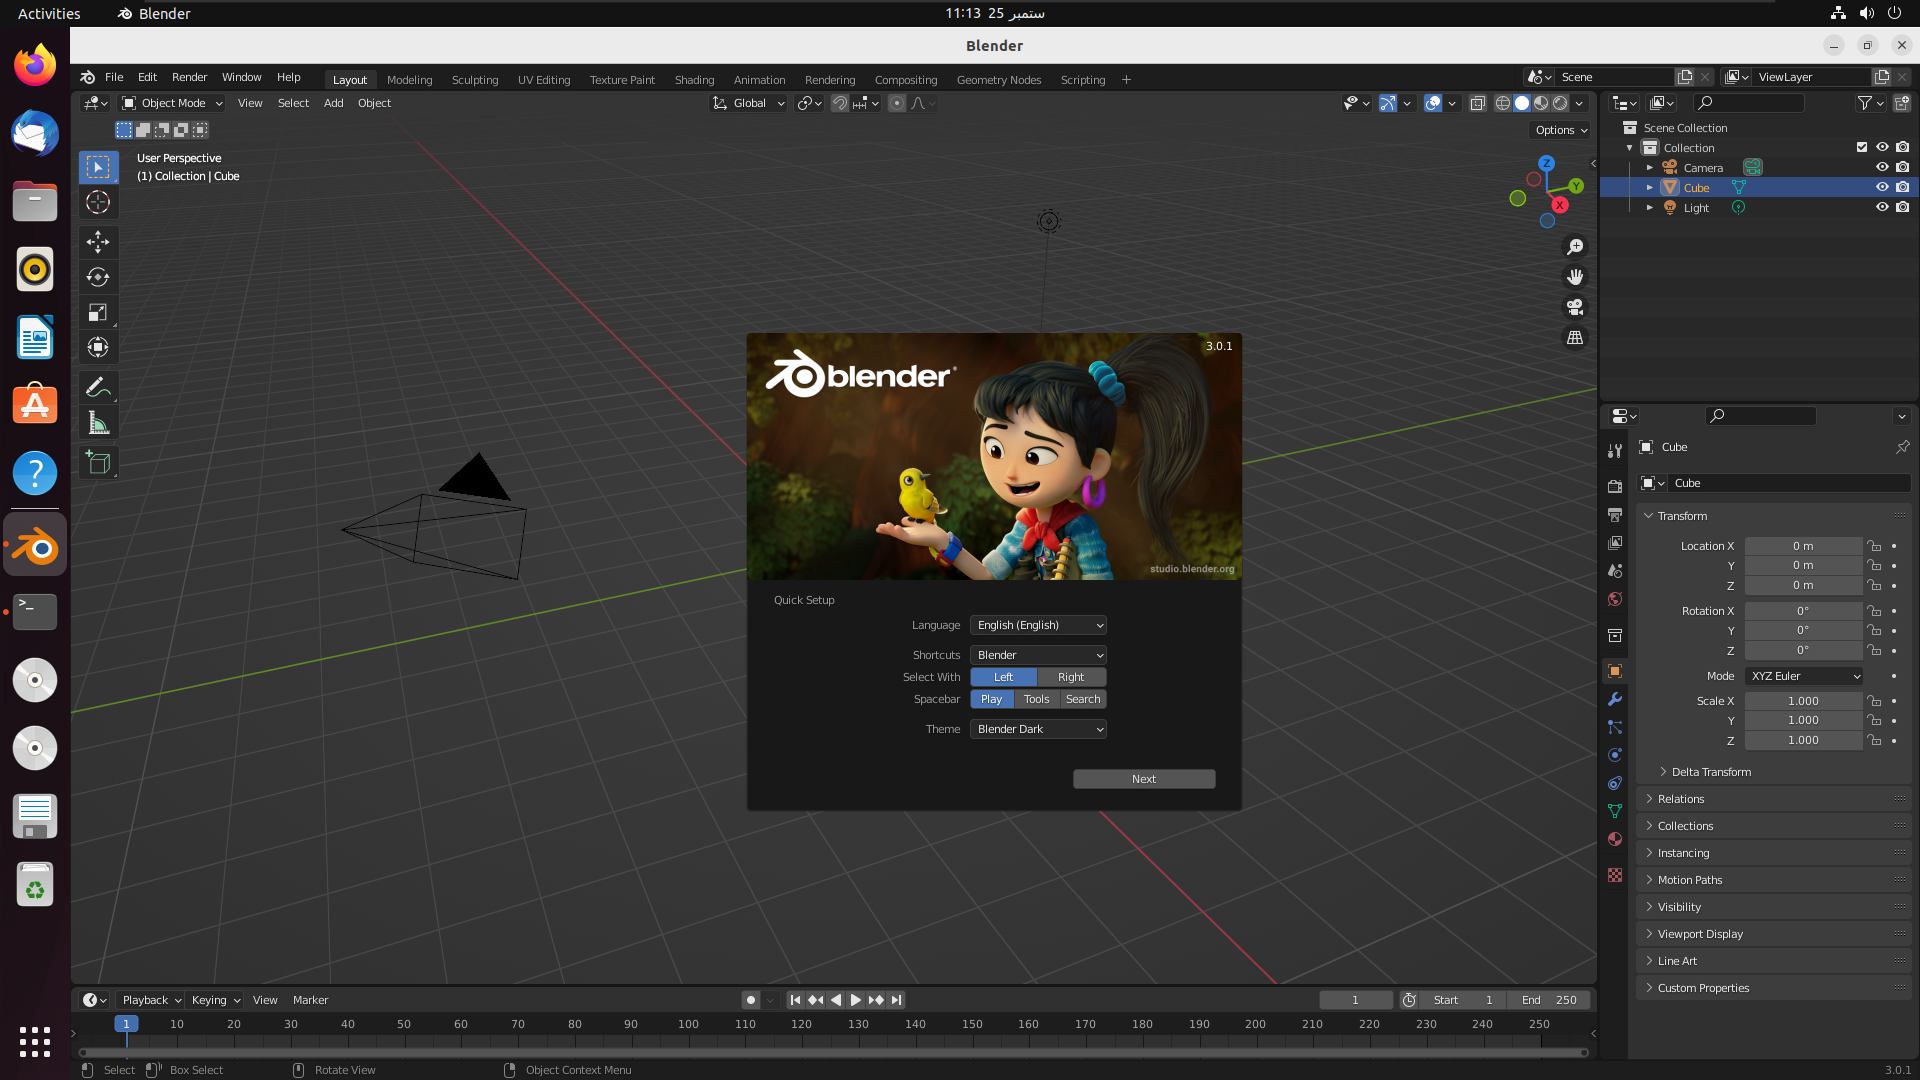
Thus the packages are installed. You can also verify by launching the application either by searching for the application through the GUI or opening it directly from the terminal using the name of the application. In our case, we will type “blender” in the terminal and hit “Enter” to launch the application:

If the application launches it verifies the installation of the packages:

Bonus Step 1: Uninstalling Package
The packages installed can also be uninstalled when required using the terminal. When the package is no longer required, it can be uninstalled:
In our case, to remove or uninstall Blender from our system, we will use the command:
This will uninstall the blender packages and ask for confirmation. Enter “Y” to continue uninstalling:

Bonus Step 2: Cleaning System after Uninstalling
It is good to clean up the Ubuntu system ensuring no files are left behind after uninstalling a package using the command:
This will clean the system and if any packages are left after deleting or uninstalling, will be removed:

Conclusion
The apt-get command can be used to search for a specific package and then install those packages using the install command with “apt-get”. The “apt-get” command also removes or uninstalls the packages from the Ubuntu system as well as auto cleans after removing packages. This article explained the procedure to use the apt-get command for various purposes.


