Anaconda is a widely-used, open-source distribution of the Python programming language. It aids in the processing of large-scale data, scientific computations, and predictive analysis. When Anaconda is installed, it comes with over 250 data science packages. Furthermore, the Anaconda repository contains over 7500 open-source packages that can be installed individually after installing Anaconda on your system.
If you are working on any machine learning or data science project then this is a great environment to use. It consists of many useful python and R libraries that you might require in your project.
This article will take you through the installation of Anaconda on CentOS 8.
Step 1: Install Packages for Anaconda Navigator
Anaconda Navigator provides a simple graphical user interface for launching applications and managing packages in a conda environment. If you wish to use a GUI after installing Anaconda on your system, install the following packages. Run:
$ sudo dnf install libXcomposite libXcursor libXi libXtst libXrandr alsa-lib mesa-libEGL libXdamage mesa-libGL libXScrnSaver
Step 2: Download Anaconda
Download the Anaconda installer from the official site using the terminal. At the time of writing this article, the current stable version of Anaconda is 2021.05. Run the following wget command to download the latest version of the anaconda installer:
$ wget -P /tmp https://repo.anaconda.com/archive/Anaconda3-2021.05-Linux-x86_64.sh
Step 3: Check Download Integrity
In this step, you can check the integrity of the anaconda installer. Run the following command to validate the script’s integrity using the SHA-256 checksum.
$ sha256sum /tmp/Anaconda3-2021.05-Linux-x86_64.sh
The terminal will display the following output:

Verify the output against the sha256 hash column value in the Anaconda with Python 3 page.

The two digits should match meaning the installer we have downloaded is authentic.
Step 4: Install Anaconda
To begin the installation of Anaconda on CentOS 8 execute the command:
$ bash /tmp/Anaconda3-2020.02-Linux-x86_64.sh
You should see the output shown below prompting you to review the license agreement to proceed with the installation process. Press enter.

Following that, you will be asked to agree to license terms. Scroll down to review the license agreement. Then, type yes to agree to the license terms and conditions.

Next, you’ll be required to select the installation location. To use the default installation directory press Enter to proceed.

Once the installation process is done, you will be prompted to run the conda init command to initialize Anaconda. This modifies the PATH environment variable, allowing Anaconda to run from any directory on your computer. To proceed, type yes.

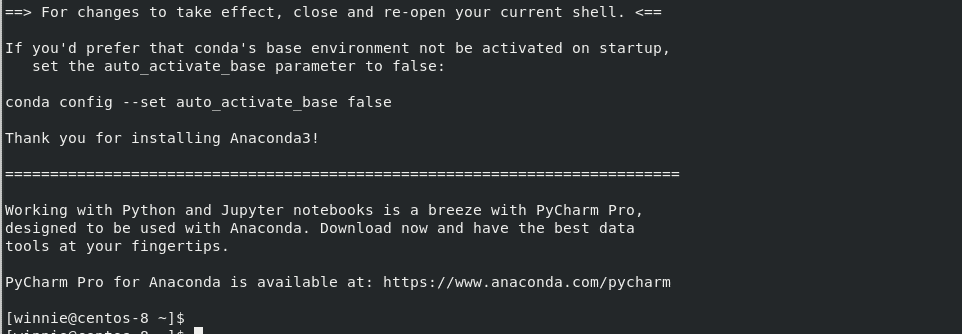
If the installation is complete, the output is as shown below:

Finally, activate the Anaconda installation by either closing and re-opening your current shell or loading the new PATH environment into the current shell as shown:
$ source ~/ .bashrc
Step 5: Verify Anaconda Installation
To verify if Anaconda is successfully installed on CentOS 8. Run the command:
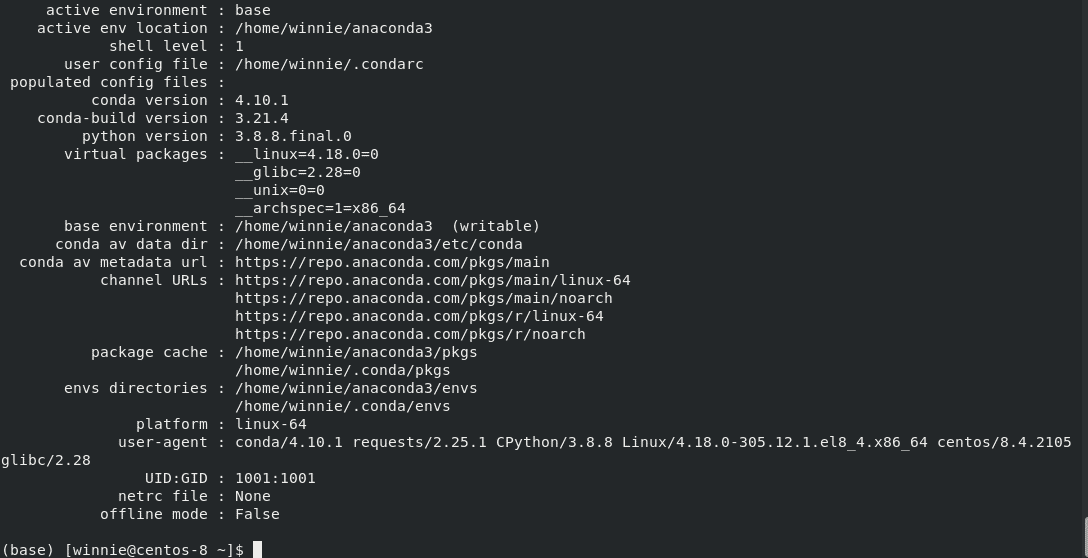
$ conda info

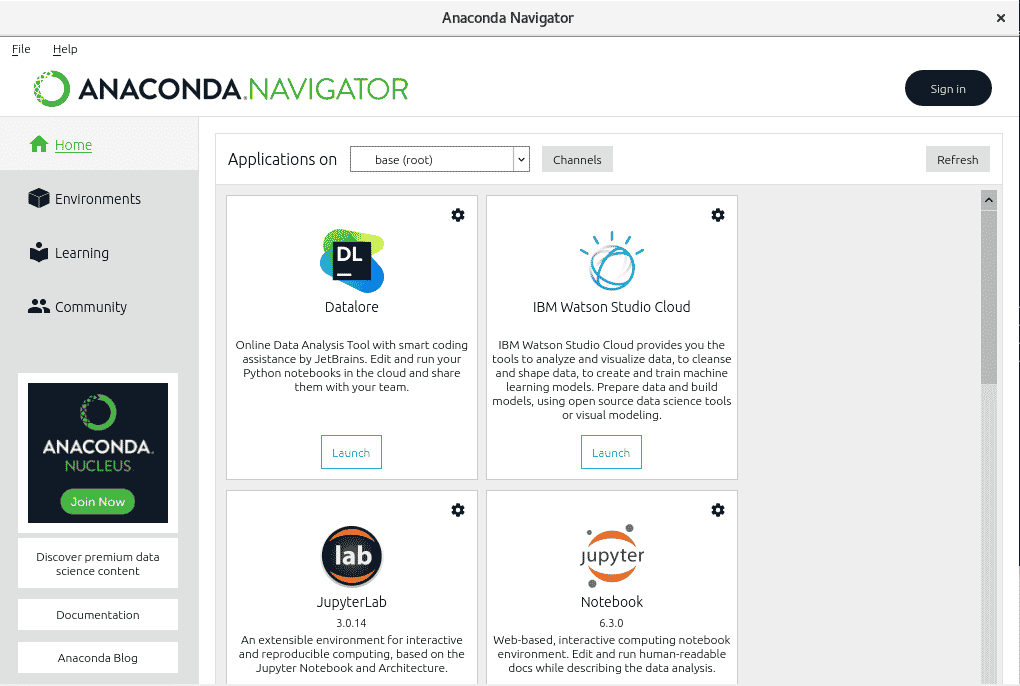
Information about Anaconda will be displayed on the terminal. Anaconda is now successfully installed on CentOS 8. To open the navigator GUI page, run the command:
$ anaconda-navigator

Step 6: Updating Anaconda
You can regularly update conda and all packages associated with it as shown:
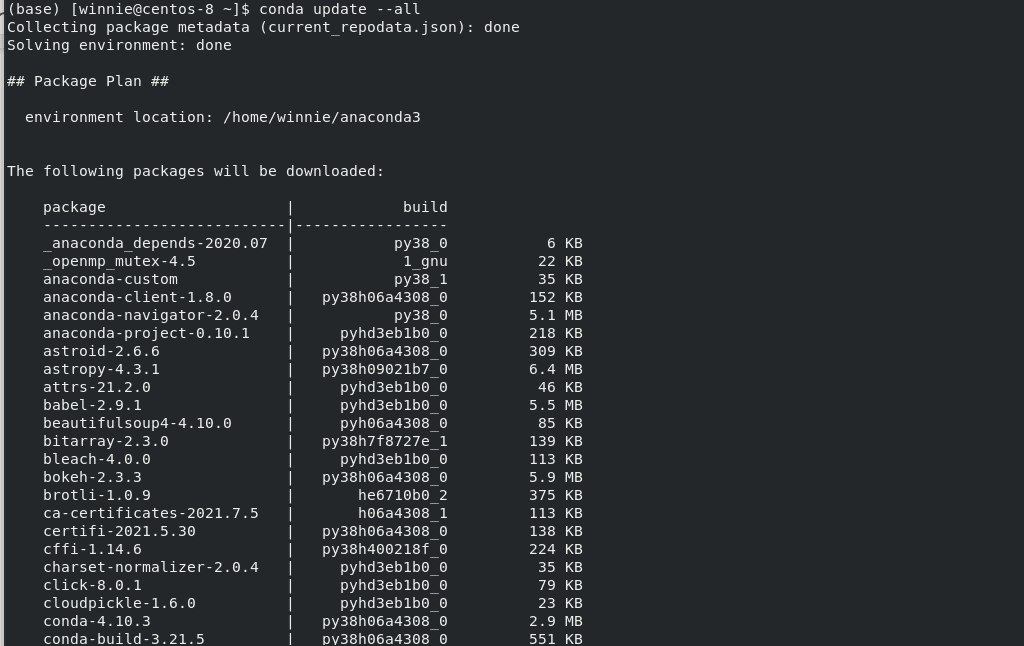
$ conda update --all

If there are any available updates, a list of the packages to be updated will be displayed on the terminal.
Conclusion
That’s how you install Anaconda on your CentOS system. You can now start building your machine learning projects.


