Gradle is a flexible and powerful application used for building Java projects. It combines the best features of Maven and Ant. Gradle uses a dynamic object-oriented programming language and Groovy for the Java platform to build scripts and define the projects.
We will show you in this article how to install the latest Gradle release on CentOS 8. For this purpose, we will download the latest version of Gradle from their official Gradle releases website, and then we will use this downloaded binary file for installation.
Prerequisites
- Install the required packages such as JDK 8 on your system.
- Run all commands with sudo privileges.
Open the terminal window and then perform the following different steps to install Gradle on your CentOS system:
Step 1: Install the OpenJDK on CentOS 8
The OpenJDK is the required package for Gradle installation. Java is already installed on our system. However, you can install the OpenJDK latest package on your system by running the following command:
$ sudo yum install java-1.8.0-openjdk-devel
Once the installation of Java is completed, verify the installation by displaying the installed version by using the below-mentioned command:
$ java -version
The following output appears on the terminal window:

Step 2: Download the Gradle
The latest available version of Gradle v6.8.3 is available for installation at the time of writing this article. But, verify the latest available version before installing Gradle on your system by using this website URL. Download the binary file of Gradle by using the following ‘wget’ command:
$ wget https://services.gradle.org/distributions/gradle-6.8.3-bin.zip -P /tmp
The binary file will be downloaded in the /temp directory of your system.
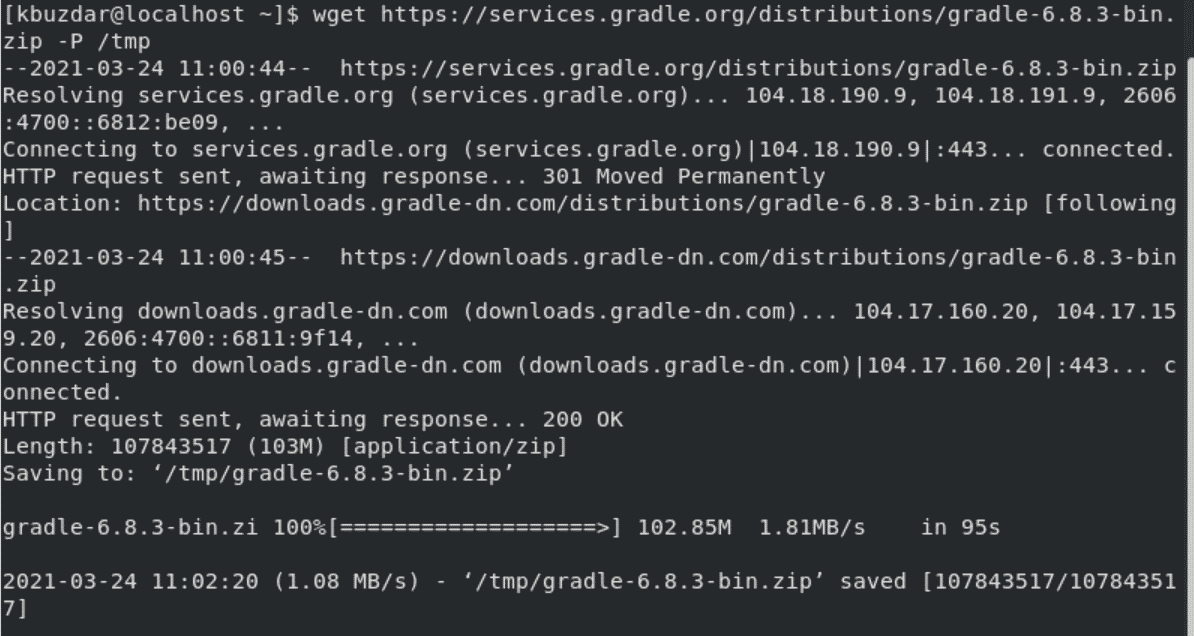
Once the Gradle latest version is downloaded on your system, extract the zip file by running the below-mentioned command:
$ sudo unzip -d /opt/gradle /tmp/gradle-*.zip
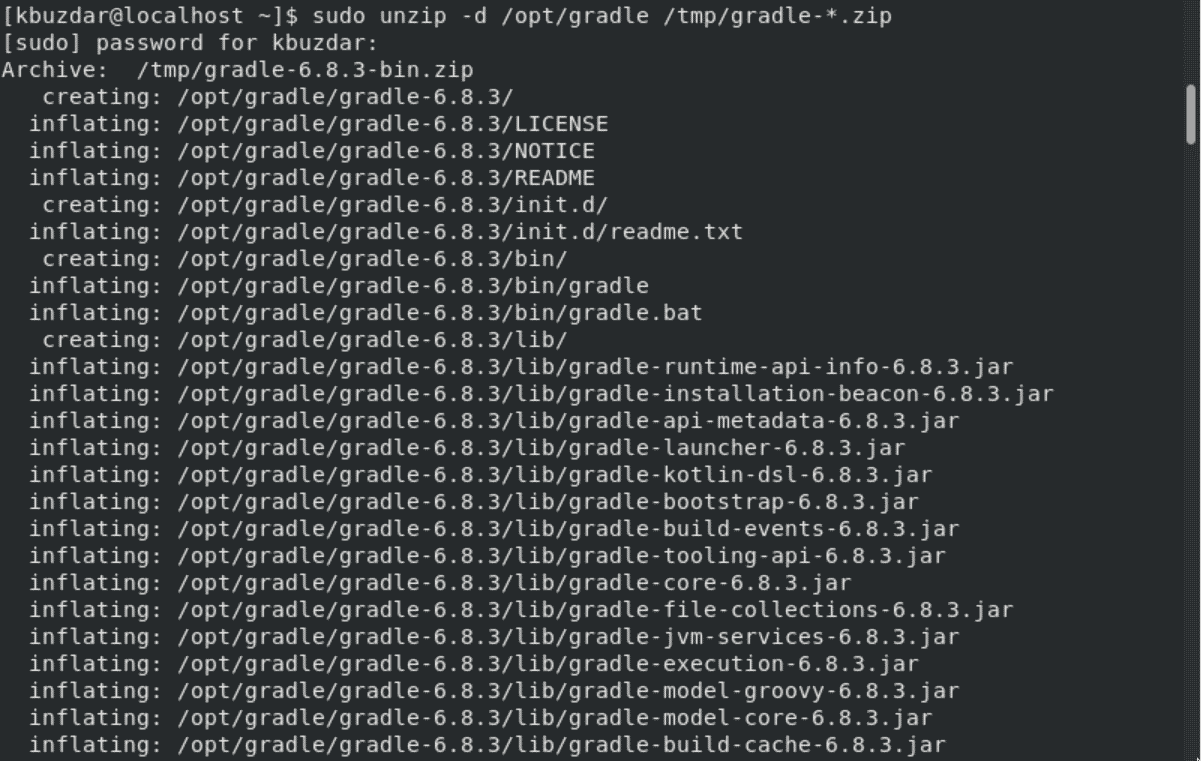
Once the extraction process is completed, verify it by using the following command:
$ ls /opt/gradle/gradle-*
The following output should display on the terminal:

Step 3: Configure the Environment Variables for Gradle
Now, add the following configuration in the ‘gradle.sh’ file by using the below-given command:
$ sudo nano /etc/profile.d/gradle.sh
Paste the following lines in this file:
export GRADLE_HOME=/opt/gradle/gradle-6.8.3
export PATH=${GRADLE_HOME}/bin:${PATH}

Now, save this script using ‘Ctrl+O’ and exit from this file using the ‘Ctrl+X’.
Convert this script into an executable format by running the following command:
$ sudo chmod +x /etc/profile.d/gradle.sh

Now, load the entire configuration by using the following ‘source’ command:
$ source /etc/profile.d/gradle.sh

Step 4: Verification of Gradle installation
Either, to verify the installation process completed properly or not, use the following command to display the Gradle installed version:
$ gradle -v
The gradle version should display on the terminal, which is shown in the following screenshot:
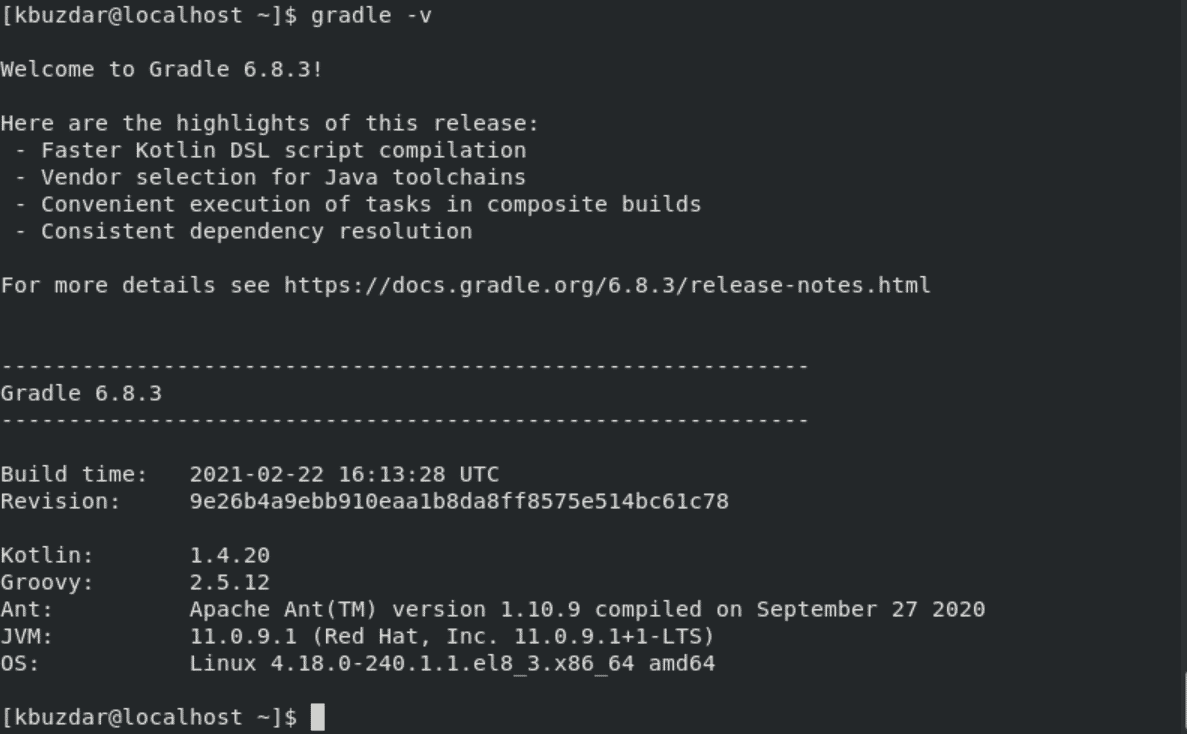
Now, Gradle installation is completed on the CentOS 8 system. You can start and use it on your system.
Conclusion
We have shown in this article how to install the latest Gradle version on CentOS 8 system. We have also defined how to set up the environment variable in the Gradle configuration file. To learn about how you can get started with Gradle visit the official documentation Gradle page through the internet source. Let us know about your problems related to this article.


