Hello and welcome to our new article on an important Antivirus software that we are going to discuss about its importance and the detailed installation steps on a Linux system. Antivirus software protects your system from malicious software by blocking them and alerting you in case it found any malicious file on your system.
The antivirus software that we are going to deploy in this article is McAfee Endpoint Security using its standalone package. McAfee itself is an American global computer security software company having multiple products providing number one security services. Among its several other products, McAfee Endpoint Security (ENS) is its latest Antivirus Product that provides its best protection, strong effectiveness, and alerting against threats. Mcafee ENS is not only the replacement of McAfee VSE (Virus Scan Enterprise) but it’s a complete security solution integrated with extensible security features to protect your end systems supporting Linux, MAC and Windows Operating systems.
Prerequisites:
In this guide we are going to install McAfee ENS Standalone on a Linux System with CentOS 7 installed. The prereqs for this article is to have System running Linux OS with sufficient right to install the required packages.
Step 1: System Update
Login to your system and run the below command to update your system with the latest security patches available.
# yum update -y
Step 2: Download McAfee ENS Packages
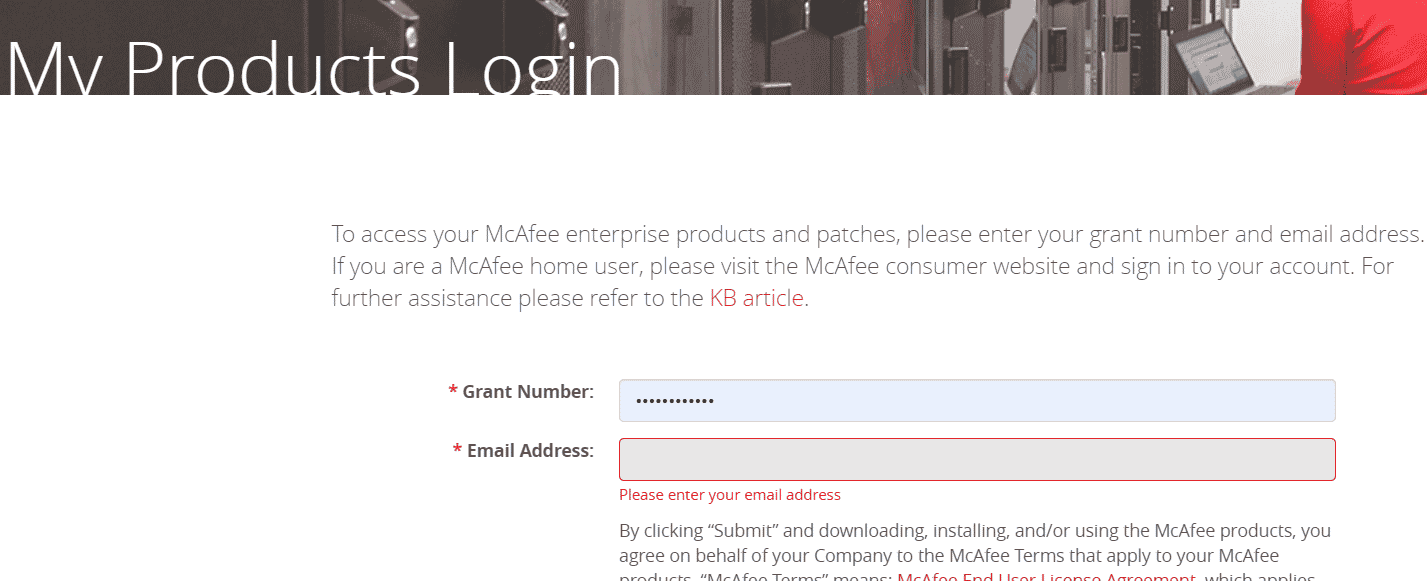
Open up the Official McAfee Web link and login using your grant number to download the required product versions.

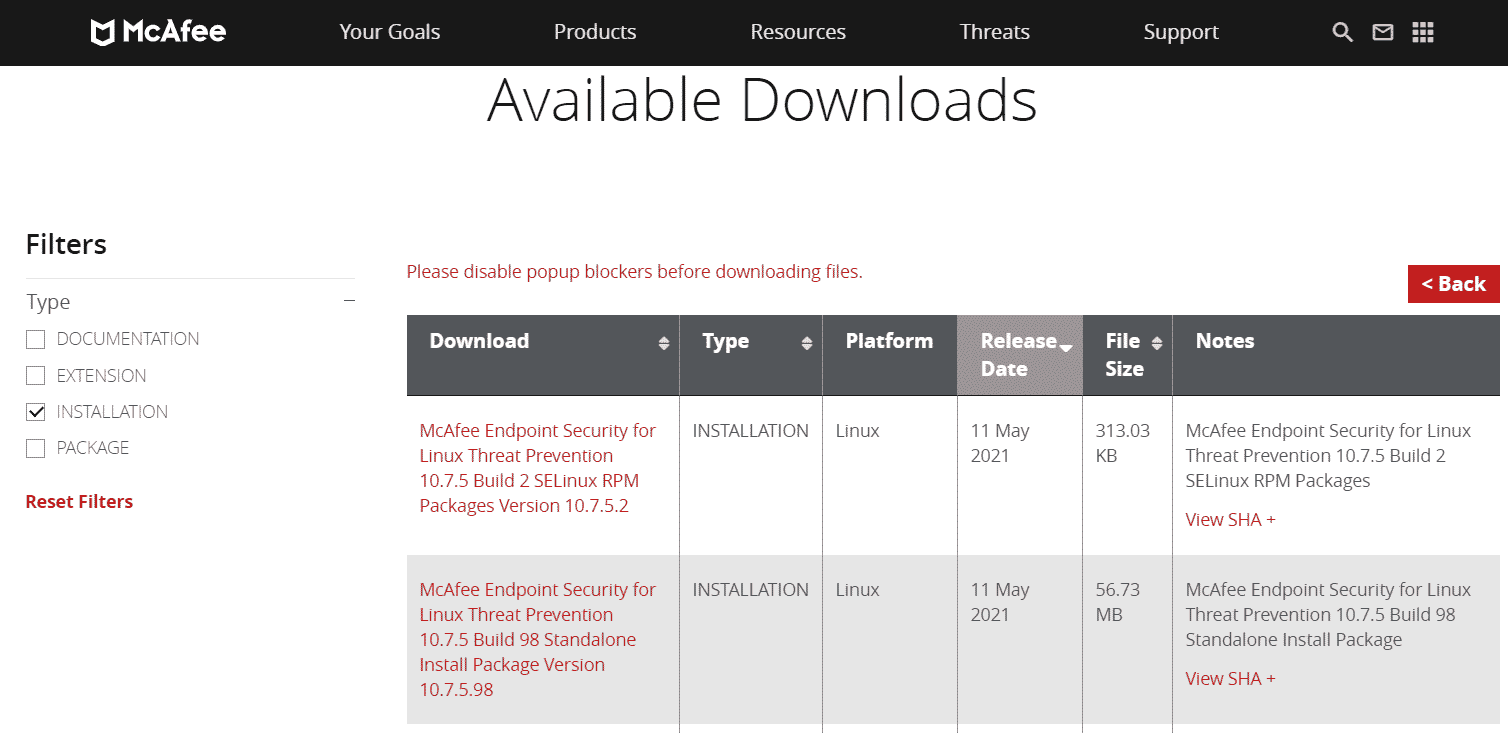
Once you have got the Grant Number to Login to Mcafee, point to the Downloads button and select for the McAfee Agent for Linux package and McAfee Endpoint Security Threat Prevention for Linux Standalone packages as shown below.

Once you have downloaded both the packages then upload them to your Linux server where you want to install the setup.
Step 3: Install McAfee Agent
After getting the required packages, let’s start with McAfee Agent installation which is the prerequisite of McAfee ENS.
Extract the archive using the following ‘unzip’ command.
# unzip MA571LNX.zip

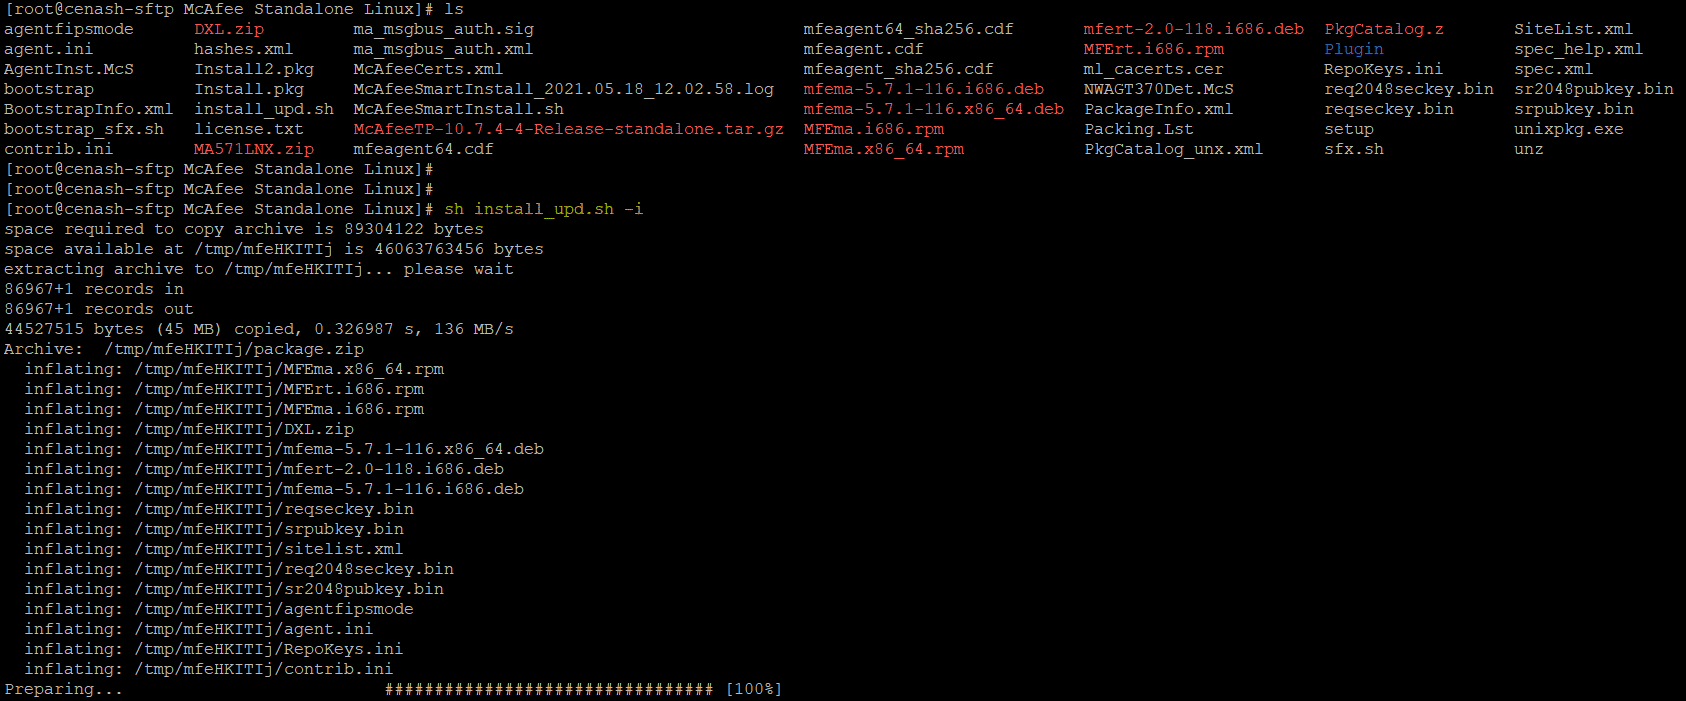
After extracting the archive, use the below command to install it on your system.
# sh install_upd.sh -i

Step 4: Check McAfee Agent Status
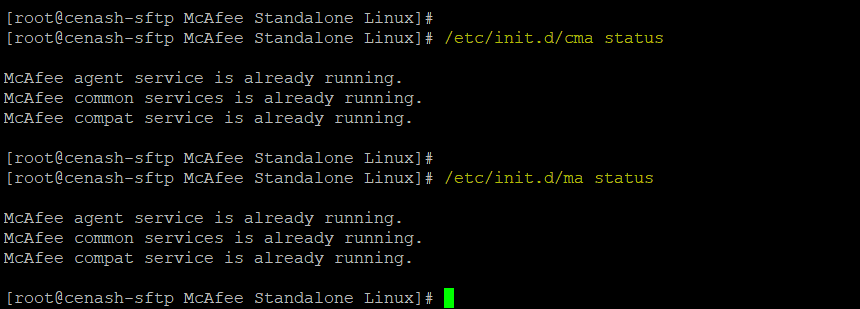
Once the installation is complete, run the commands below to check the McAfee Agent Status.
# /etc/init.d/cma status
# /etc/init.d/ma status

Step 5: Install McAfee ENSL Threat Prevention
After we have McAfee Agent installed and running, now are going to install Mcafee ENS Threat Prevention package on our system.
To do so extract the McAfee ENS Threat Prevention package for standalone system and run the command to install it.
# tar –zxvf McAfeeTP-10.7.4-4-Release-standalone.tar.gz
# ./install-mfetp.sh silent

To check the McAfee ENS TP status use below command.
# systemctl status status mfetpd

Step 6: Working with On-Access Scan
Now, we have both our packages installed and running, lets check the status of On-Access Scan whether its enabled or disabled.
First change your directory path to the /bin folder of Mcafee Threat Prevention and then run the command to check its current state.
# cd /opt/McAfee/ens/tp/bin
# ./mfetpcli –getwoasconfig -summary

Here you can see the status of On-Access Scan whether its Enabled or Disabled.
In order to Enable or disable the On-Access scan you can use below commands.
To Enable On-Access Scan:
# ./mfetpcli –setoasglobalconfig –oas on
To Disable On-Access Scan:
# ./mfetpcli –setoasglobalconfig –oas off
To monitor logs for the On-Access Scanning activities run the command below to enable it first.
# /opt/McAfee/ens/tp/bin/mfetpcli --oasactivitylog enable

Use below command to read the logs.
# cat /var/McAfee/ens/log/tp/mfetpdactivity.log | tee ENSLScanningFiles.txt
Step 7: Exclude Directory from On Access Scan:
On-Access Scan is a part of McAfee Security Suite, which scan files in real-time to protect your systems but that may slow down your system. This happens when a large amount of data being written mainly on the database servers.
In that case you may exclude those particular files or directories by using the below command.
# cd /opt/McAfee/ns/tp/bin
# ./mfetpcli --setoasprofileconfig --profile standard --addexclusionrw --excludepaths /data/,/usr/pgsql-11/ --excludesubfolder
Here is an example we have excluded “/data” and “/usr/pgsql-11” directories to be excluded along with its sub directories but you may change as per your own directory structure and requirements.
After running the exclude command, make sure to restart ‘mfetpd’ services.
# systemctl restart mfetpd

Uninstalling McAfee Agent and McAfee Threat Prevention:
In case you need to uninstall McAfee agent and threat prevention from your system, you may use the following commands to do that.
# /opt/McAfee/ens/tp/scripts/uninstall-mfetp.sh
# /opt/McAfee/agent/scripts/uninstall.sh
Conclusion:
In this article we have covered the detailed steps to install and setup McAfee ENS Threat Prevention Standalone setup on a Linux system. McAfee is one of the best and most useful Antivirus product which is being used in the market. I hope you have found this article much helpful to make your system secure using the McAfee Antivirus.


