Mono is a cross-platform framework that is used for developing and operating various applications based on some additional specified standards. It supports .net frameworks and standard API as well as .net desktop APIs. it is an open-source and free implementation of the .net framework.
We will discuss in this article, how to install Mono and how to use this platform on CentOs 8.
Prerequisites
You should have sudo command or root privileges.
Launch the terminal from the left sidebar of your desktop Activities section and then implement the following steps:
Installing of Mono on CentOS 8
This method is recommended and the very easiest solution to install Mono from its official repository on CentOS 8. It is a simple method and takes less time for installation. So, you need to implement the below-mentioned steps for Mono’s installation on CentOS 8:
Step 1: Import repository’s GPG key
Import the GPG key of Mono’s repository on your CentOS 8 system by using the below-mentioned command:
$ sudo rpm --import 'http://pool.sks-keyservers.net/pks/lookup?op=get&search=0x3fa7e0328081bff6a14da29aa6a19b38d3d831ef'
None statement shows in output on the terminal, when you execute the above command as follows:

Step 2: Add Mono’s Repository on CentOS 8
Use the following command to include the Mono’s repository to your CentOS 8 system:
$ sudo dnf config-manager --add-repo https://download.mono-project.com/repo/centos8-stable.repo
After implementing the above-mentioned command, the following result appears on the terminal window:

Step 3: Mono Installation on CentOS 8
Once the Mono’s repository is included and enabled, the following command you can use to install the Mono on CentOS 8 system:
$ sudo dnf install mono-complete
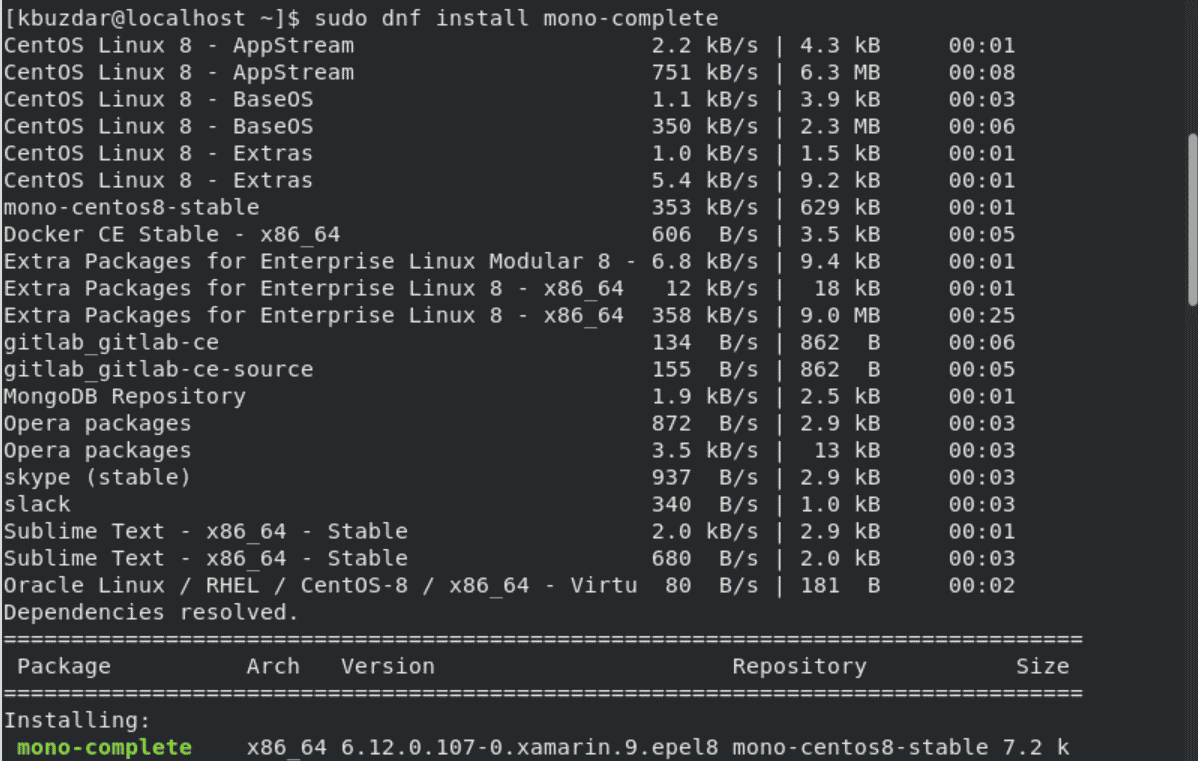
Press ‘y’ to confirm the remaining installation process.
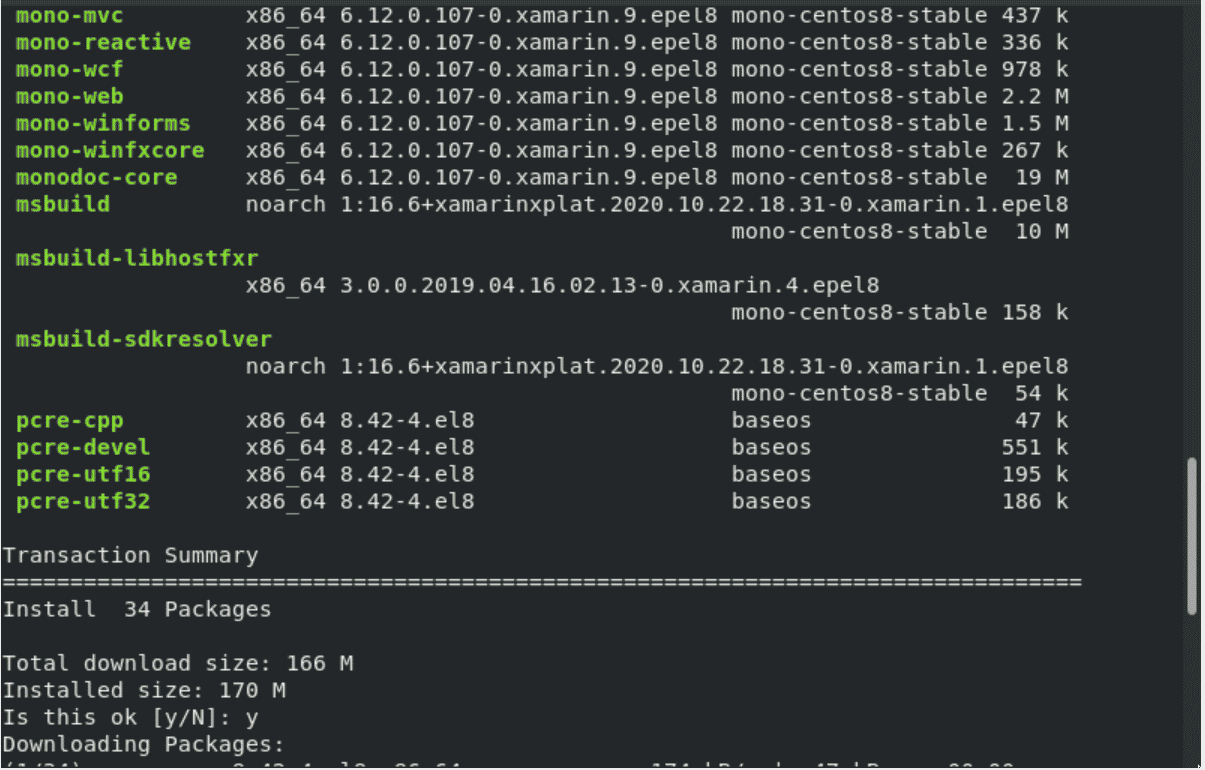
In the above command, mono-complete is a meta-package through which you can install all required Mono’s runtime development tools and libraries.
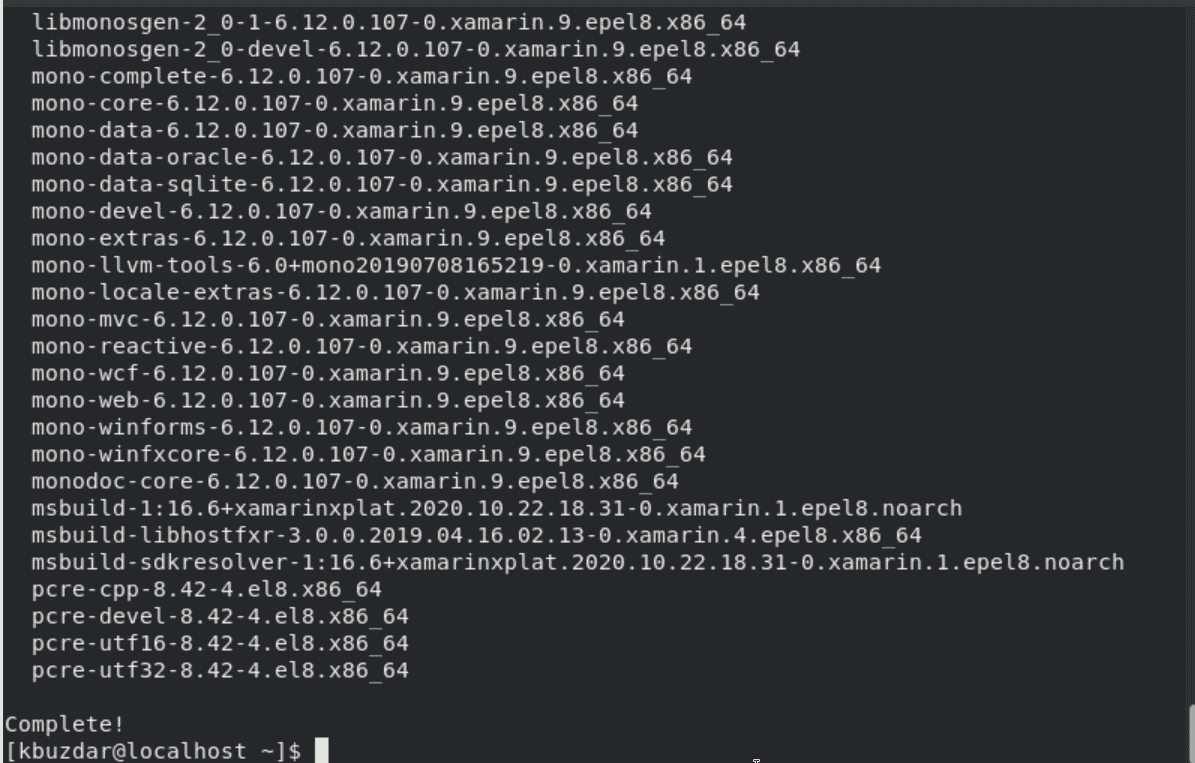
Step 4: Check installed version
To verify the Mono installation on CentOS 8 system, use the following command to display the installed version:
$ mono --version
The following output displays on the terminal with the installed version details:
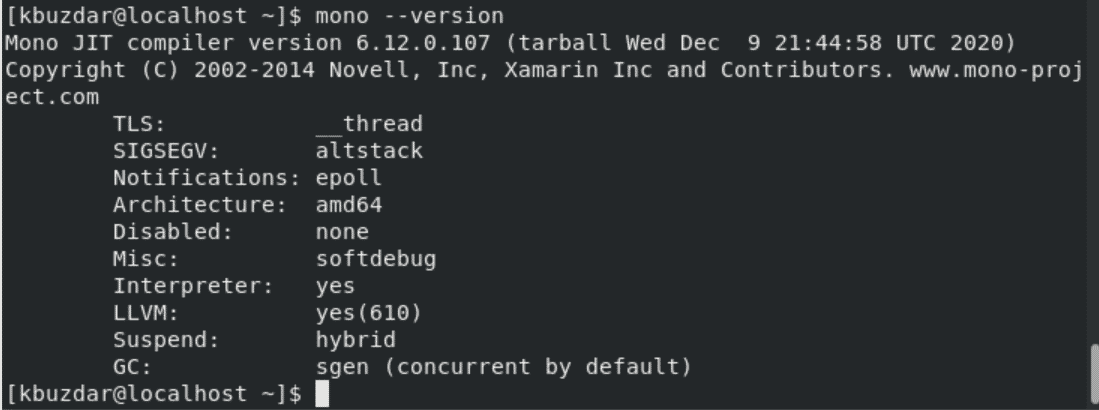
Now, you have been completed the Mono’s installation on your CentOS 8 system. You can use and start Mono on your system.
How to work with Mono?
To test that all installations have been completed in the correct way. You need to build a test program to test the working of the Mono tool. For this purpose, create a testprogram.cs file by using any text editor. Here, we have created testprogram.cs file using the nano text editor.
$ sudo nano testprogram.cs
Now, paste the following source code in this file:
using System;

public class testprogram

{

    public static void Main(string[] args)

    {

        Console.WriteLine ("This is My Test Program!");

    }

}
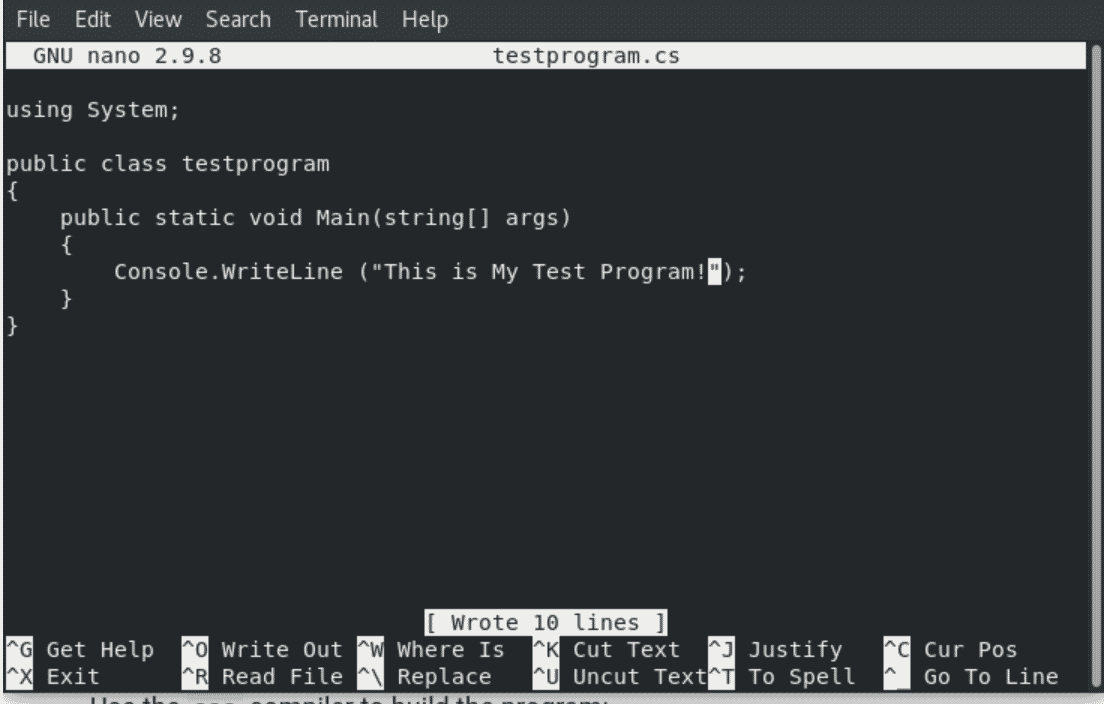
Now, compile the testprogram.cs by using the ‘csc’ compiler as follows:
$ csc testprogram.cs
The above command creates an executable file ‘testprogram.exe’.

Run the above test program by executing the following command:
$ mono testprogram.exe
The following output message shows on the terminal after executing the above command:

Uninstall or remove Mono from CentOS 8
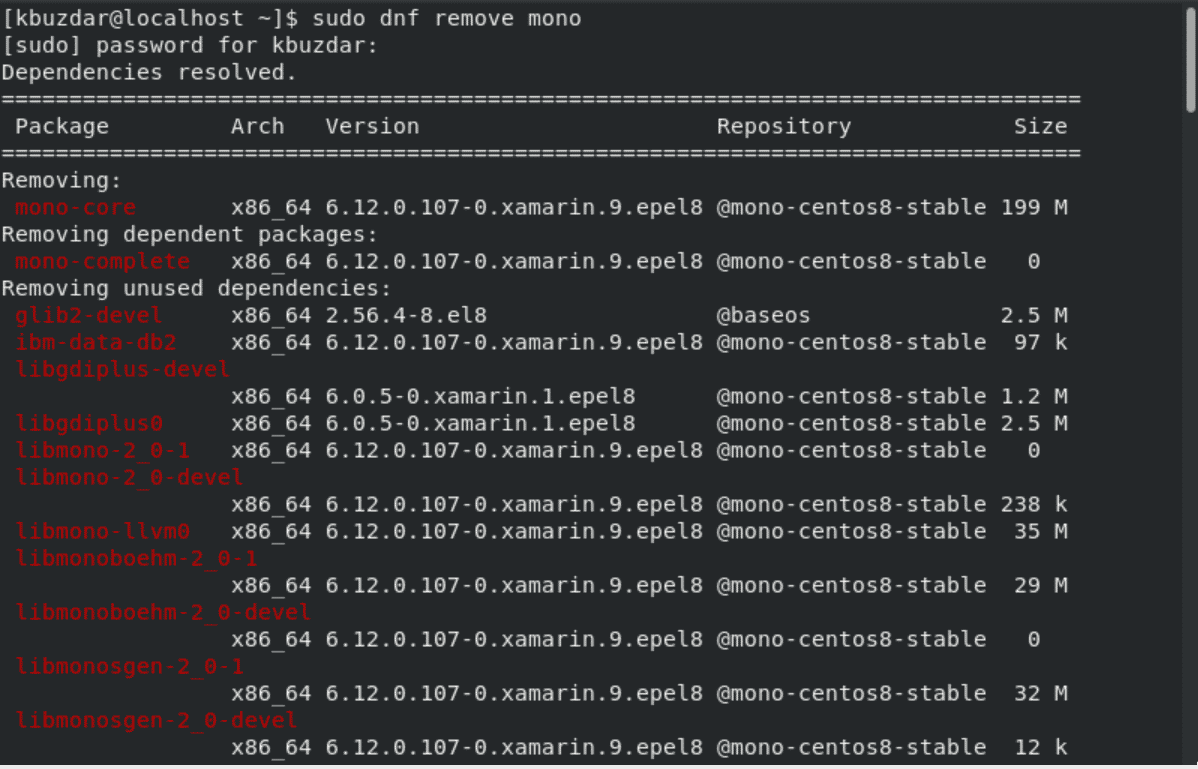
Mono can be uninstalled from your system by running the below-given command:
$ sudo dnf remove mono
Conclusion
Congratulations! Mono is installed successfully. We have studied in this article how to install the latest stable version from the Mono official repository. Moreover, we learned how to use Mono on CentOS 8 system. Please give me your suggestions through comments in case of any problem.

