Terminalizer is one of the highly customizable CLI tool. It is an open source and cross platform tool. It is widely used because of its customization feature that records the terminal session task and used to make animated GIF images too. It has many other features such as changing background fonts, title, color, editing frames, adding watermarks and many more.
In this article, we are going to install Terminalizer on Ubuntu 20.04 LTS. Steps involved for the installation are discussed below.
Installation of Node.js and npm
To install terminalizer, first install Node.js by following the below command:
Lets update the system first with command:
$ sudo apt update
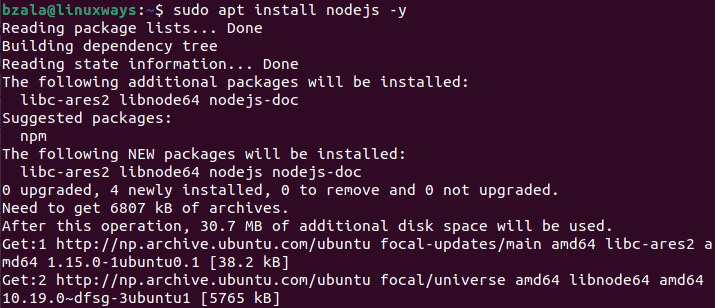
Then install the node.js from the ubuntu repositories with the below command:
$ sudo apt install nodejs -y
Output:
To verify the installation of Node.js, run the command as below:
$ nodejs --version

Now, install npm that is the package manager for Node.js
$ sudo apt install npm
To verify the installation of node.js, run the command as below:
$ npm --version

Installation of terminalizer
To install the terminalizer, run the following command:
$ sudo npm install -g terminalizer
In the higher version of Node.js, there might be a failure of installation. In such a case, let’s install the developer tools to compile the C++ add-ons.
$ sudo apt install build-essential
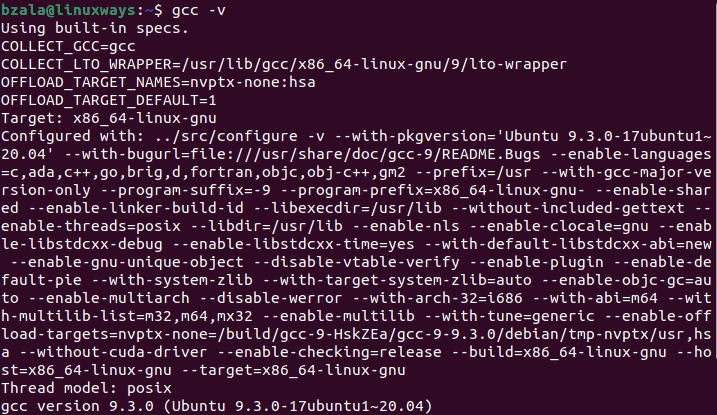
To verify the installation of development tools, run the following command:
$ gcc -v
$ make -v

Using the terminalizer
To use terminalizer, First run the test file in the current directory with the following command:
$ terminalizer record test
Output:

After executing the command, you will see the output as shown in the above screenshot. You can run some commands then press ctrl+D to save the recording as a YAML file. Here, it is recorded as test.yml.
![]()
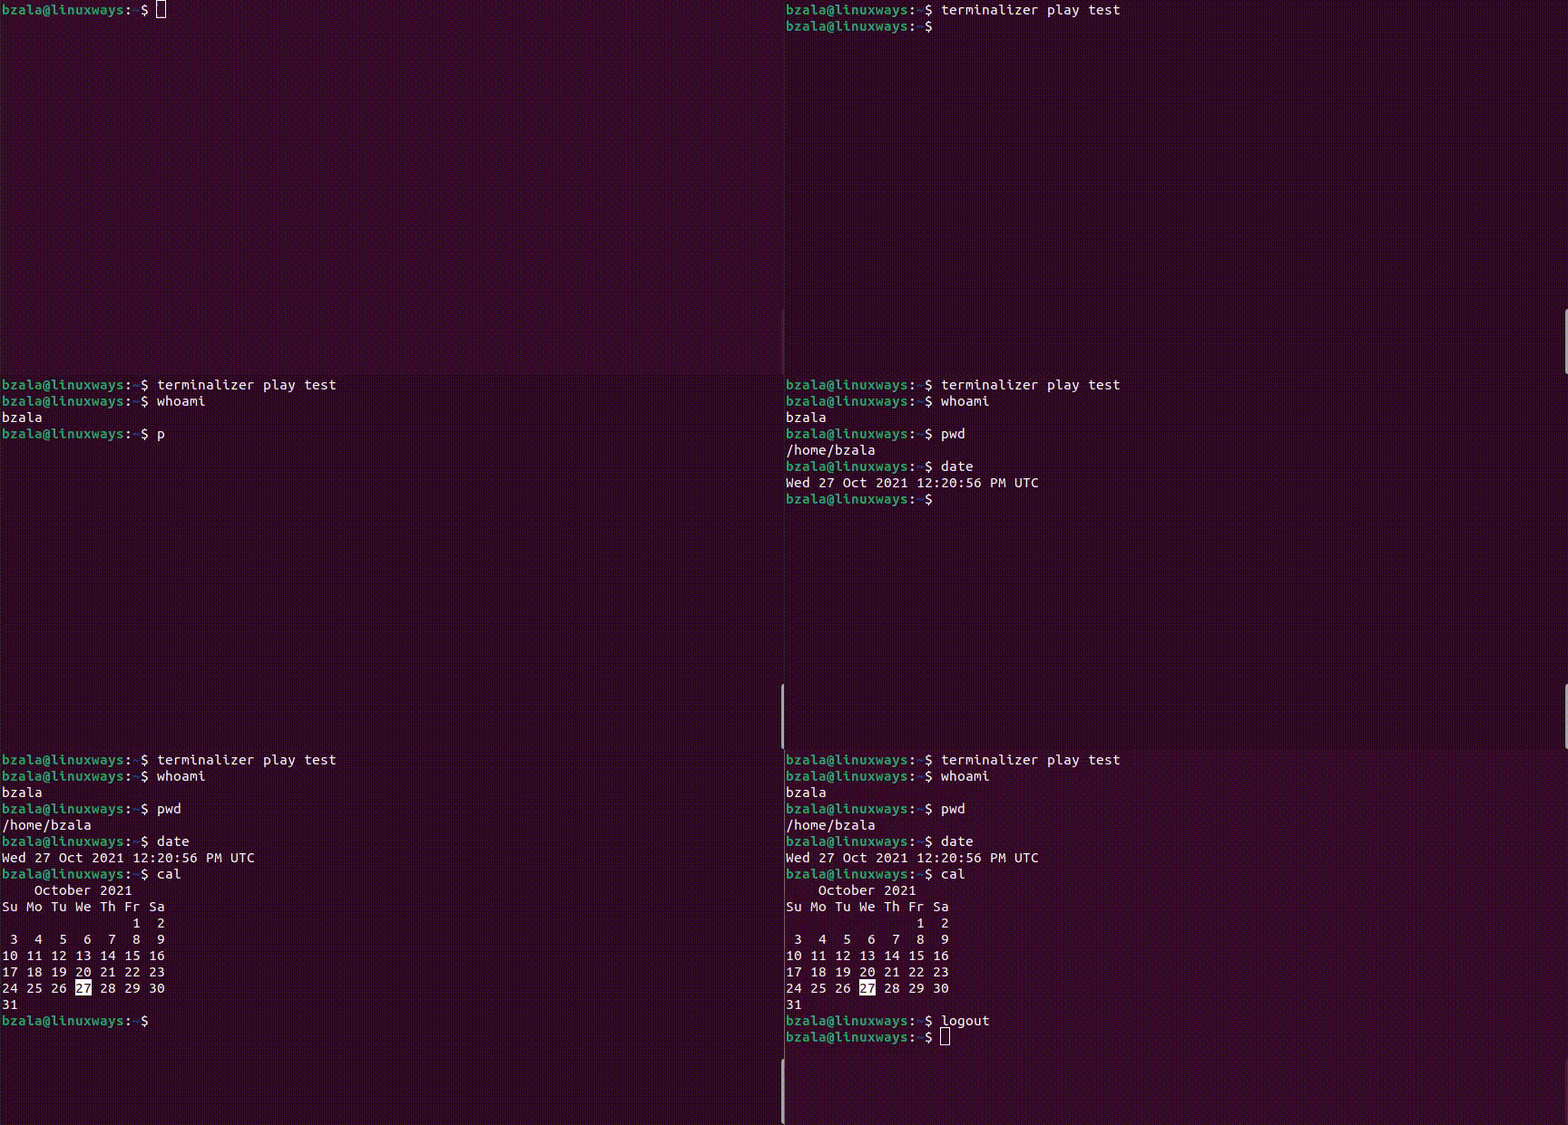
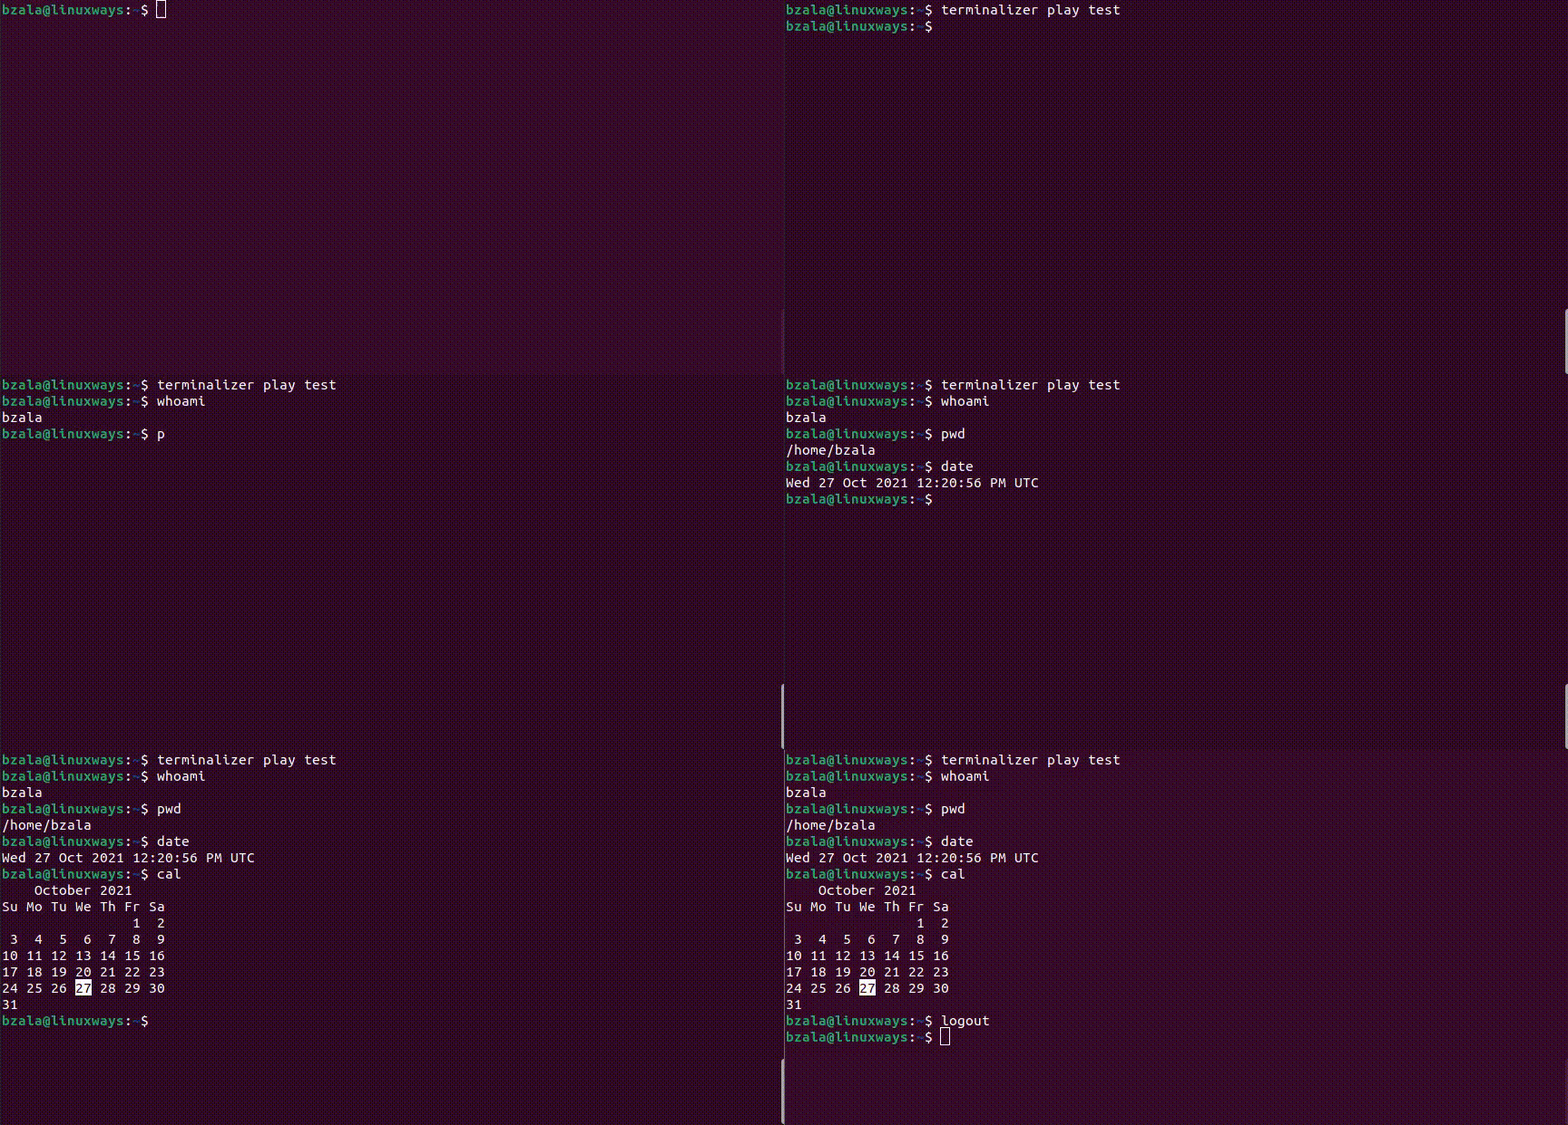
Now, you can play the recording by running the below command that shows all the history of the command running on that session.
$ terminalizer play test
Output:
Creating animated Gif
You can create a animated Gif of the terminal session with the following command:
Here, we are trying to create a animated Gif for our terminal session with file name test.yml
$ sudo terminalizer render test
Output:
Animated Gif image that is created with the above command can be found on this location.

You will get the animated gif with the program default settings for our terminal session of the test file.
Conclusion
In this article, we learn to install and use the terminalizer which helps to record the terminal session and create an animated Gif. Thank you!
