JDK 17 is finally out and was released on 14, September 2021 with lots of new features on the table. It is the latest LTS version of OpenJDK by the time of publishing this tutorial. So, how do we get OpenJDK 17 on Debian?
Let’s find out.
Install Java from OpenJDK using the APT package manager
This is the easiest approach to installing Java on your system. OpenJDK ( Open Java Development Kit ) is an opensource and free implementation of Java SE ( Standard Edition ). It provides a number of components including the Java Runtime Environment ( JRE ), Java compiler, Java Class Library, and the Java Virtual Machine.
To install OpenJDK 17, follow the steps outlined below.
Step 1: Update the package lists on Debian 11
We kick-start the installation of Java 17 by, first, upgrading all the packages as follows.
$ sudo apt update
$ sudo apt upgrade
Excellent, the next step is to install OpenJDK 17, so follow the next few steps.
Step 2: Install OPenJDK 17 on Debian 11
Once all packages are in the latest versions, proceed and install OpenJDK 17 as follows
$ sudo apt install openjdk-17-jre openjdk-17-jdk
This installs all the OPenJDK packages, libraries and dependencies. Once completed, go ahead and confirm that OpenJDK 17 is installed.
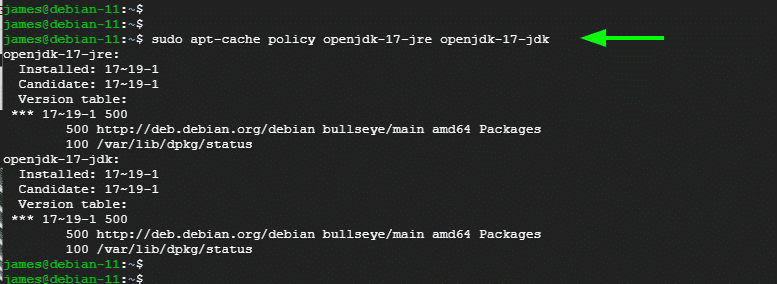
$ sudo apt-cache policy openjdk-17-jre openjdk-17-jdk
You should get some output similar to what we have below.
Additionally, confirm that Java is installed as shown
$ java --version

Manually install Java 17 from a Tarball file
The other way of installing OpenJDK 17 is by manually installing it from a Tarball file. This method gives you more freedom and flexibility to determine where it is installed.
To manually install OpenJDK 17, follow the steps below.
Step 1: Install dependencies
First off, install a few dependencies that will be needed during the manual installation as shown.
$ sudo apt install libc-i386 libc6-x32 curl -y

Step 2: Download OpenJDK 11 tarball file
Next, visit the Oracle Downloads page and grab the OpenJDK 17 tarball file.
$ curl -O https://download.oracle.com/java/17/latest/jdk-17_linux-x64_bin.tar.gz

When the download is complete, Extract the compressed file.
$ tar -xvf jdk-17_linux-x64_bin.tar.gz

Step 3: Configure and install Java 17
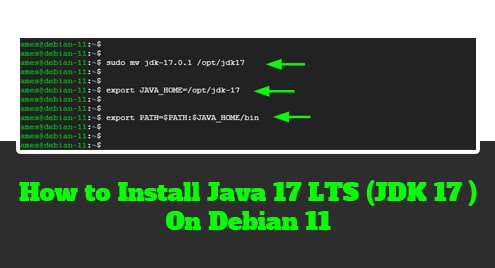
To install Java 17, move the JDK folder to the /opt/ path and give it an easy and convenient name. Here, we have renamed it jdk17.
$ sudo mv jdk-17.0.1 /opt/jdk17
Finally, define the environment variables using the export command.
$ export JAVA_HOME=/opt/jdk-17
$ export PATH=$PATH:$JAVA_HOME/bin

Double-check the version of Java installed using the command:
$ java --version

Wonderful, Java 17 is successfully installed on your server.
Conclusion
Given the two methods that we have outlined, you can seamlessly install the latest OpenJDK, and by extension Java 17 – by the time of writing this guide – on your Debian 11 instance.
