What is Git?
Git is a free and open-source distributed version control system. It tracks all the changes in source code during software development. It holds the capacity and ability to handle both small and large projects with high speed and efficiency.
In today’s guide, we will show you how to install Git on our system with the help of a few simple commands. We have used Manjaro Linux 20 as our operating system to demonstrate the installation process. It is a free and open-source distribution of Linux based on Arch. Manjaro is one of the most efficient, reliable, and popular distributions of the Linux family. It is widely used by both beginners as well as experts due to its top-notch performance and ease of use. The tech community highly recommends this Linux distro to be used as a daily driver.
Let’s get started!
Installation Guide:
Following are the steps involved in installing git on Manjaro Linux 20:
Step 1: Update your system
Before we begin installing git on our machine, let’s first update our system. It can be done by running the following command:
sudo pacman -Syu
![]()
Since you are using the command with sudo, you will be prompted to provide your root password. Once the password is accepted, the system will begin to update. It can take anywhere from 5 to 15 minutes. So be patient.
Step 2: Install git:
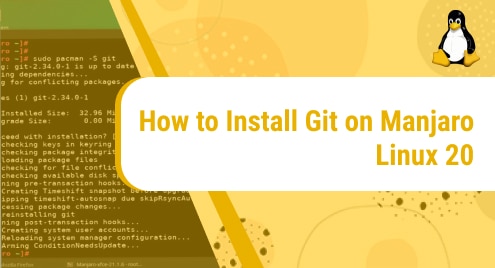
Once the system is completely updated, we can move on to our next step which is installing git on our system. This can be done by running the following command:
sudo pacman -S git
![]()
Step 3: Verify installation:
Now that we have successfully installed git, let’s verify it. We can do that by checking its version. If in the output we get a version number, that means the application is installed without any error.
git --version
![]()
Terminal returned us the following output:
![]()
We have installed Git 2.35.1 on our Manjaro machine.
Step 4: Configure Global username
Now that we are done with installing and verifying Git, let’s move on to the part where we configure git on our system. In this step, we will set the global username for Git. It can be done by following the command syntax mentioned below. Make sure to replace the name.
git config --global user.name "Mary"
![]()
Step 5: Configure Global email
Like we configured a global username, we also need to configure a global email. It can be done by following the command syntax as shown below. Again, make sure to replace the email.
git config --global user.email "mary@gmail.com"
![]()
Step 6: Check configuration
To see if the changes have been configured properly, go to the. gitconfig file. We have used nano editor to open the file. This file holds the global username and email. If you want to configure a new global username or email, you can also do that by simply replacing the previous name and email in this file.
nano ~/.gitconfig
![]()
This is how the file contents will appear:

If you have made it this far in the tutorial without running into any error, congratulations! You have now installed and configured git on your system. Now you can start using it to track your projects.
In this tutorial, we thoroughly explored how to install git on Manjaro Linux. We were able to install it by using a few easy-to-follow one-line commands. We also saw how we can configure global username and email to use git. After this, you will be able to push and pull projects from your local repository to remote repository and vice versa.
We hope you liked our tutorial and found it helpful.
To see how you can install git on Ubuntu 20.04, check out:
https://linuxways.net/ubuntu/how-to-install-git-on-ubuntu-20-04/

Karim Buzdar holds a degree in telecommunication engineering and holds several sysadmin certifications including CCNA RS, SCP, and ACE. As an IT engineer and technical author, he writes for various websites.