What is Visual Studio Code?
Before we begin, let’s discuss what is Visual Studio Code? It is a platform created by Microsoft for Linux, macOS, and Windows. It supports features like syntax highlighting, debugging, intelligent code completion, snippets code refactoring, and embedded Git. You can also customize it by changing the theme and adding extensions that add additional functionality.
You can use it for many programming languages such as Node.js, Go, Java, Python, C++, and JavaScript.
What is Manjaro Linux?
It is a free, available to all, arch-based operating system that belongs to the Linux family. It is a popular distribution followed by many for their daily tasks. It is an amazing, user-friendly distribution to begin with if you are new to Linux. Manjaro is popularly used in tech circles and appreciated for its smooth and fast performance.
In this document, you will get to know how to install Visual Studio Code on your machine. The Operating System on which we are installing Visual Studio Code is Manjaro Linux.
Let’s begin the process!
Installation Guide:
Followings are the steps that we will follow to carry out the installation:
Step 1: Snapd Installation
The very first step towards installing Visual Studio will be to have Snapd on our system. We will install it using the following command:
sudo pacman -S snapd
![]()
Snaps are a distro-independent way for packaging and distributing Linux software. What it means is that software that is not compatible with current system libraries will still work when packaged as a Snap.
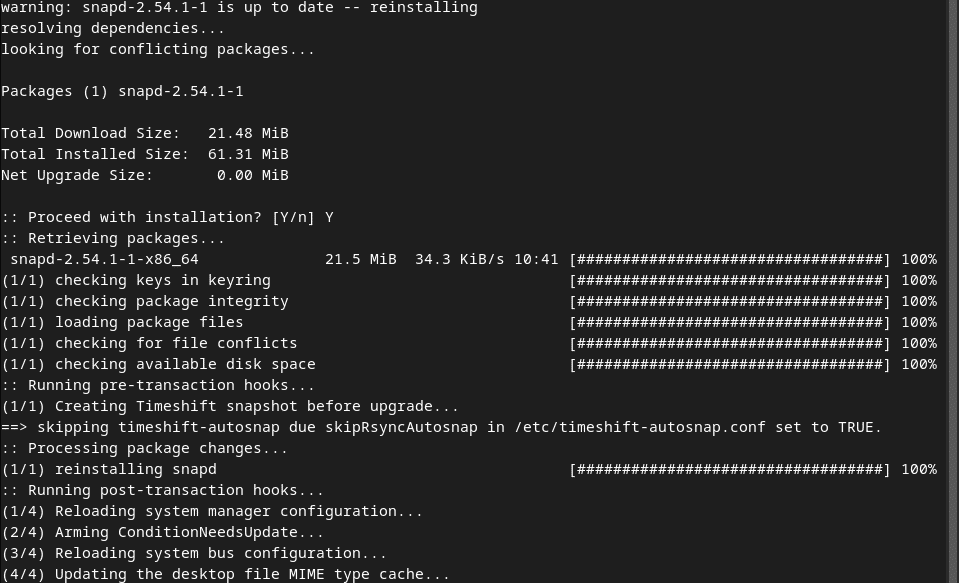
After running the command, you will be asked for the sudo password. After the password is accepted, the downloading will begin. The whole process usually takes somewhere between 10 to 15 minutes, all depending on your system.
![]()
Step 2: Enable Snapd Socket
Our next step will be to enable the main snap communication socket. It will be done when we run the following command:
sudo systemctl enable --now snapd.socket
![]()
Step 3: Create a link between /var/lib/snapd/snap and /snap
In this step, we will enable classic snap support by creating a symbolic link between /var/lib/snapd/snap and /snap. To do that run the command mentioned below:
sudo ln -s /var/lib/snapd/snap /snap
![]()
After giving the command, you will be asked to give the sudo password. After that, the link will be created and you will receive the confirmation as shown below.

To ensure that the snaps’ paths are updated correctly, either reboot your system or log out and then log in.
Step 4: Visual Studio Installation
Now finally we will install Visual Studio Code by running the command given below. The downloading will take around 5 minutes or more.
sudo snap install code --classic
![]()
Step 5: Verify Visual Studio Code’s Installation
The next step is to verify the installation. Although, you will get a confirmation once the installation process is all done, as shown in the snapshot below. But let’s also verify by checking if the app exists in our system now or not.

![]()
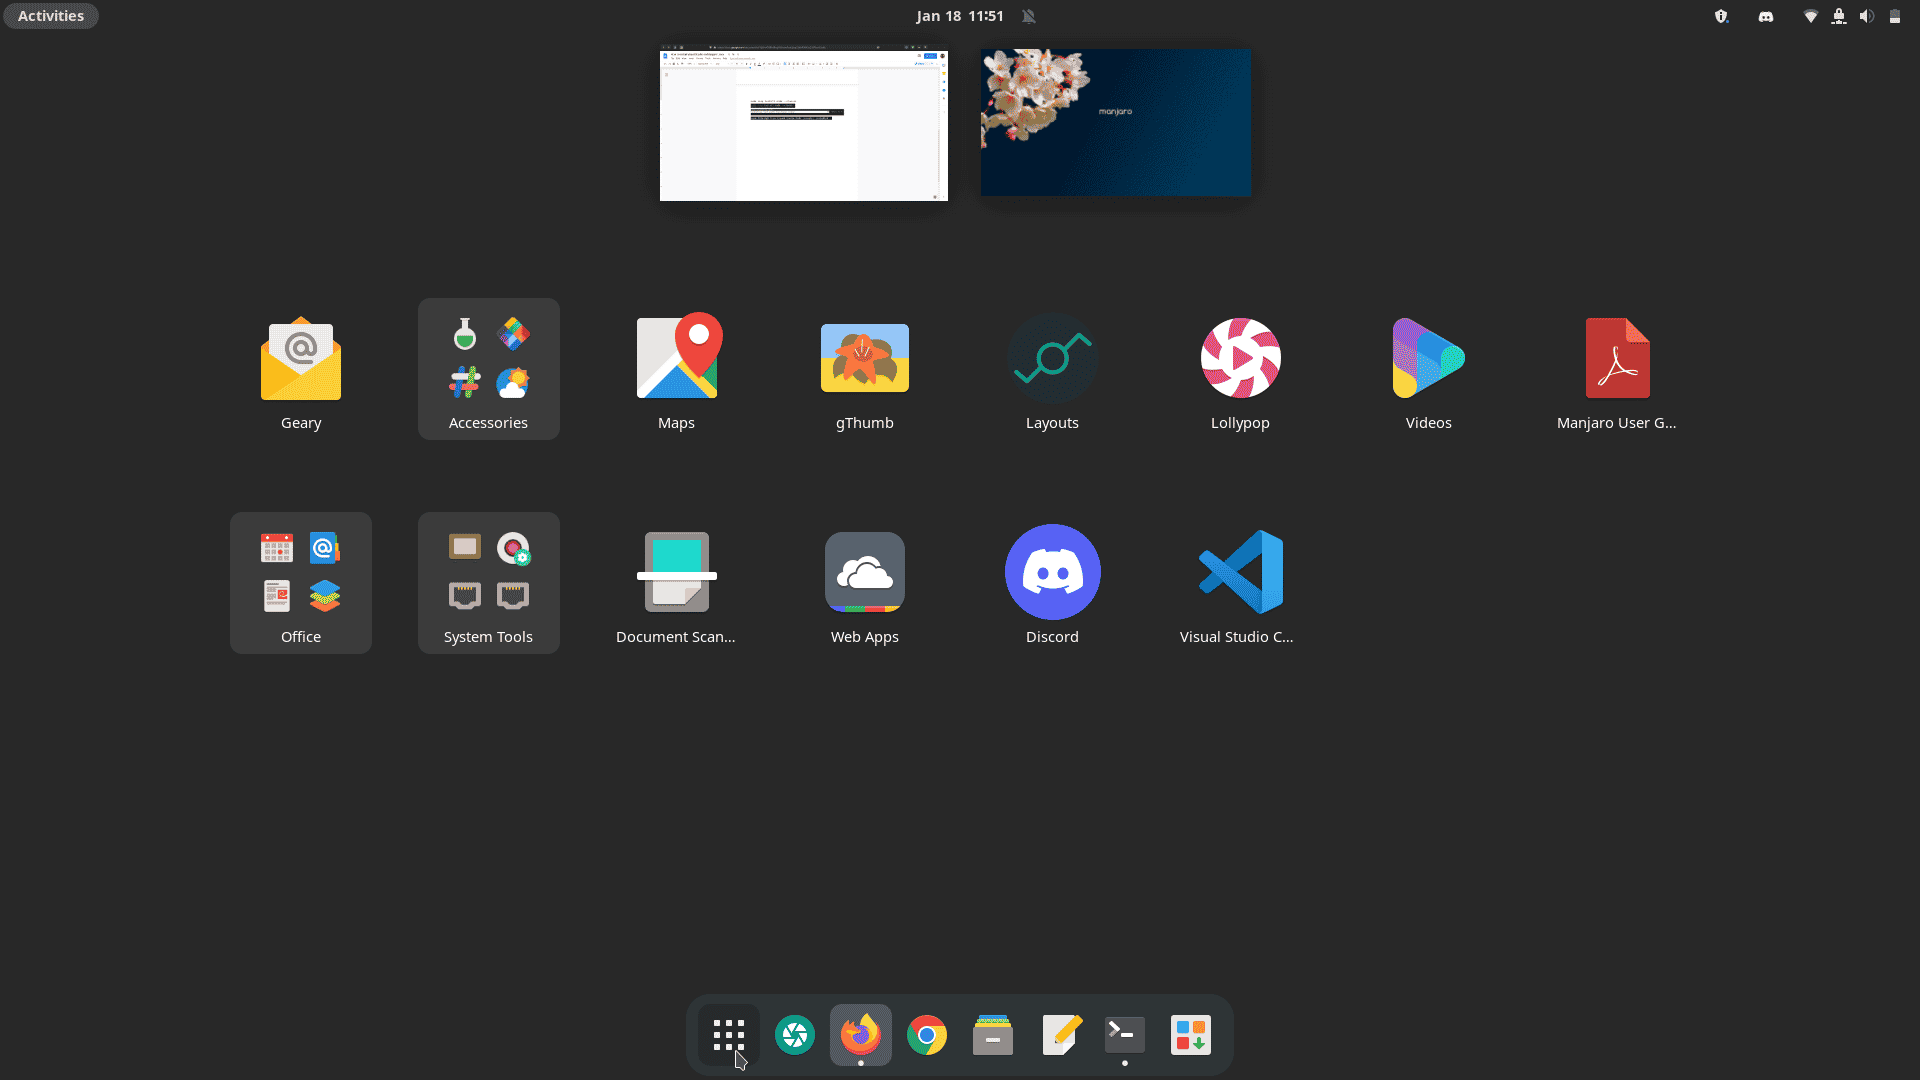
To check, go to the start menu and look for the Visual Studio Code icon. If the installation has been successful, you will see it as shown below.
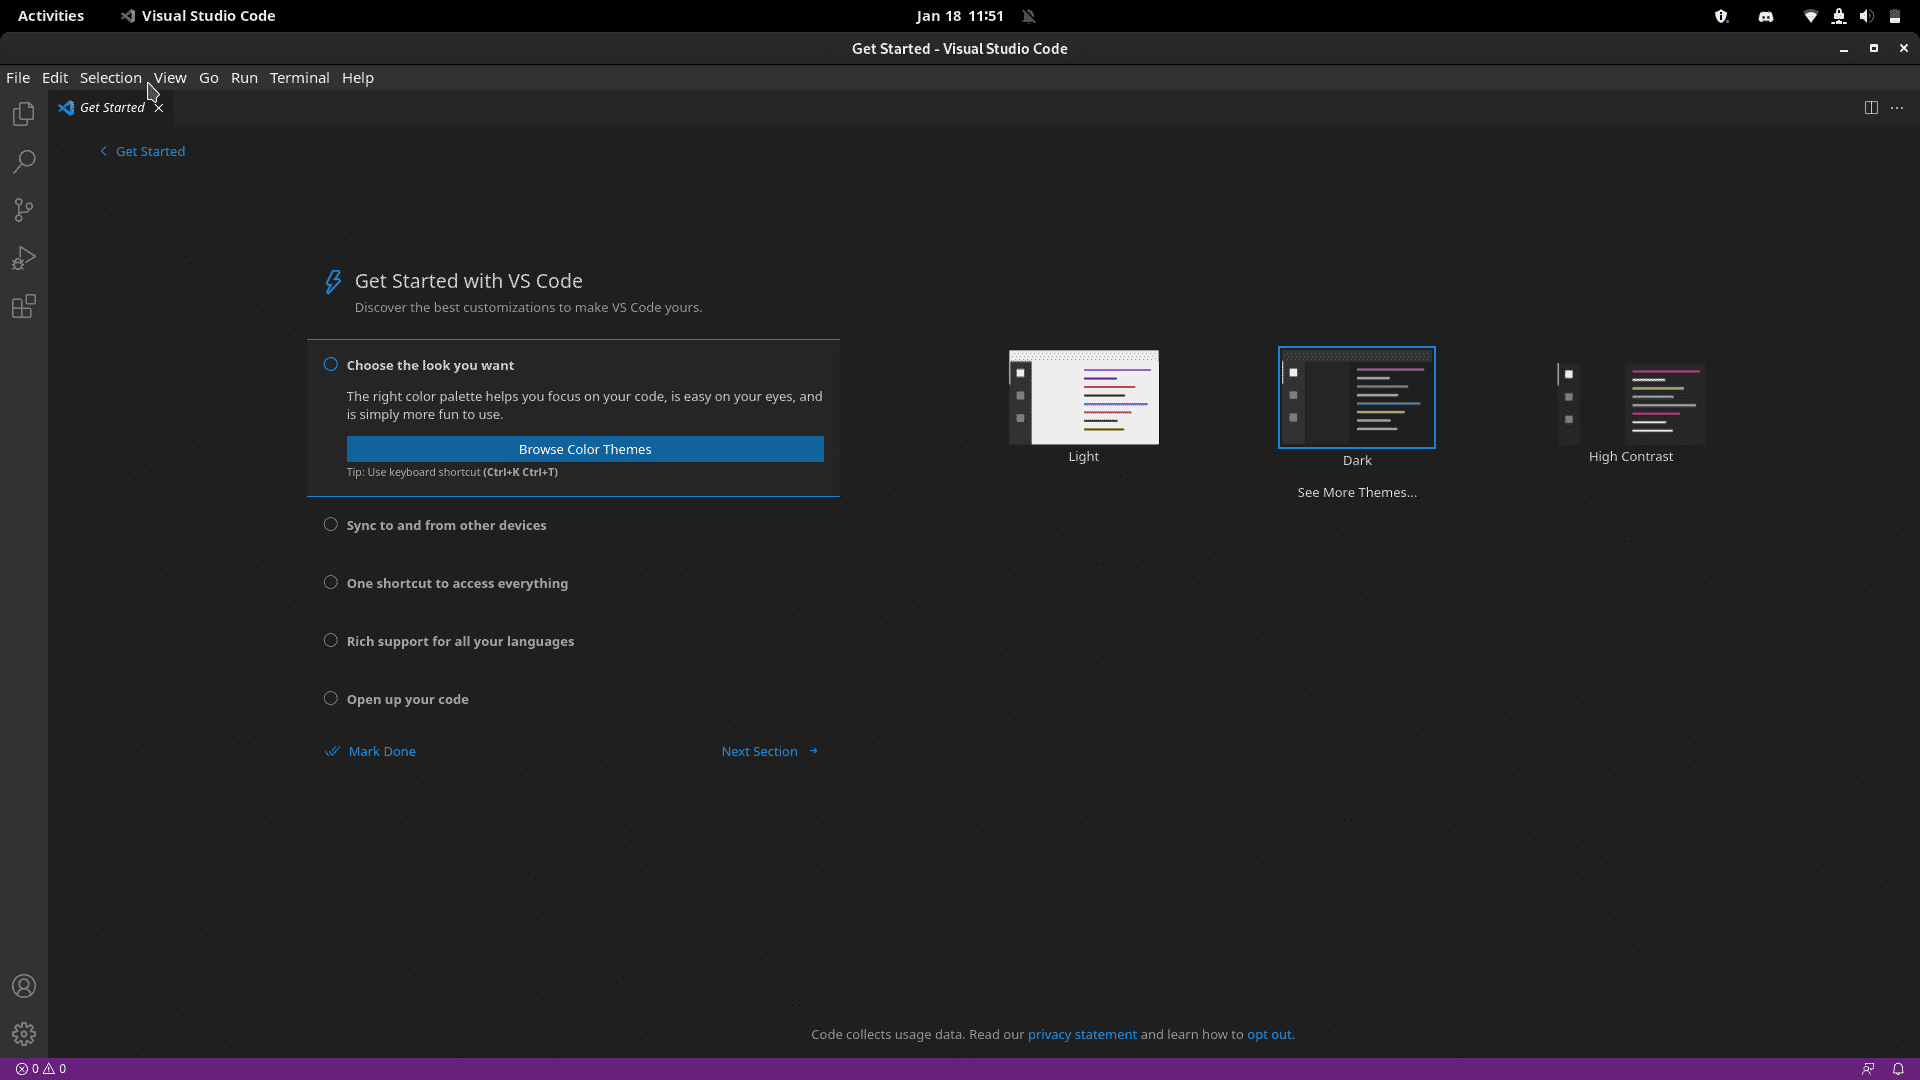
Now, you can run it and use it however you like. This is how its interface will appear when you open the application:
Happy Coding!
In this guide, we saw how to install Visual Studio on our system which is Manjaro Linux in this case. It takes only four steps to complete the installation process. The installation will take around 20 to 25 minutes, or lesser than that, depending on your system.
To see how to install Visual Studio Code on Linux Mint 20, visit:
https://linuxways.net/mint/install-visual-studio-code-on-linux-mint-20/


