Introduction
Speed tests are simple tests that gauge and measure your internet speed. Regular speed checks are recommended on your internet as they can reveal any connectivity, bandwidth bottleneck, or ISP performance issues early on.
People usually visit multiple sites that offer to measure your internet speed for you. But there are many tools in the Linux Mint 20 system that can provide the same service with less hassle.
Prerequisites
Terminal access
A user account with sudo privileges.
Check Internet Speed Using speedtest-cli
speedtest-cli is a simple, open-source, and compact tool powered by speedtest.net, which checks your internet bandwidth for you.
To install speedtest-cli, run the following command.
sudo apt install speedtest-cli

You can launch the speedtest with the following command, once the installation is done.
speedtest

You can see, the output shows the download and upload speed of your internet.
Check Internet Speed Using FAST
Fast is also a very simple and to the point CLI utility by Netflix. It only measures the download speed of your internet.
The easiest way to install and manage fast in your system is to install it through snap. But in the Linux Mint system, the snap support is disabled.

You can run the following commands to enable snap support.
sudo rm /etc/apt/preferences.d/nosnap.pref
sudo apt update

Once your snap support is enabled, you can install the snapd package with the following command.
sudo apt install snapd

Finally, install fast snap using the following command.
sudo snap install fast

Launch fast in the terminal and give it a moment.
fast

You can see your download speed in the output.
Check Internet Speed With NetSpeed GNOME Shell Extension
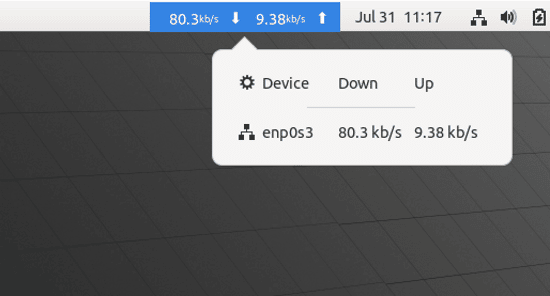
You can use the Gnome shell extension called NetSpeed if you want to check and monitor your internet connection regularly. This extension will give you a sec by sec internet speed from your system tray. This extension will provide a sec by sec internet speed from your system tray.
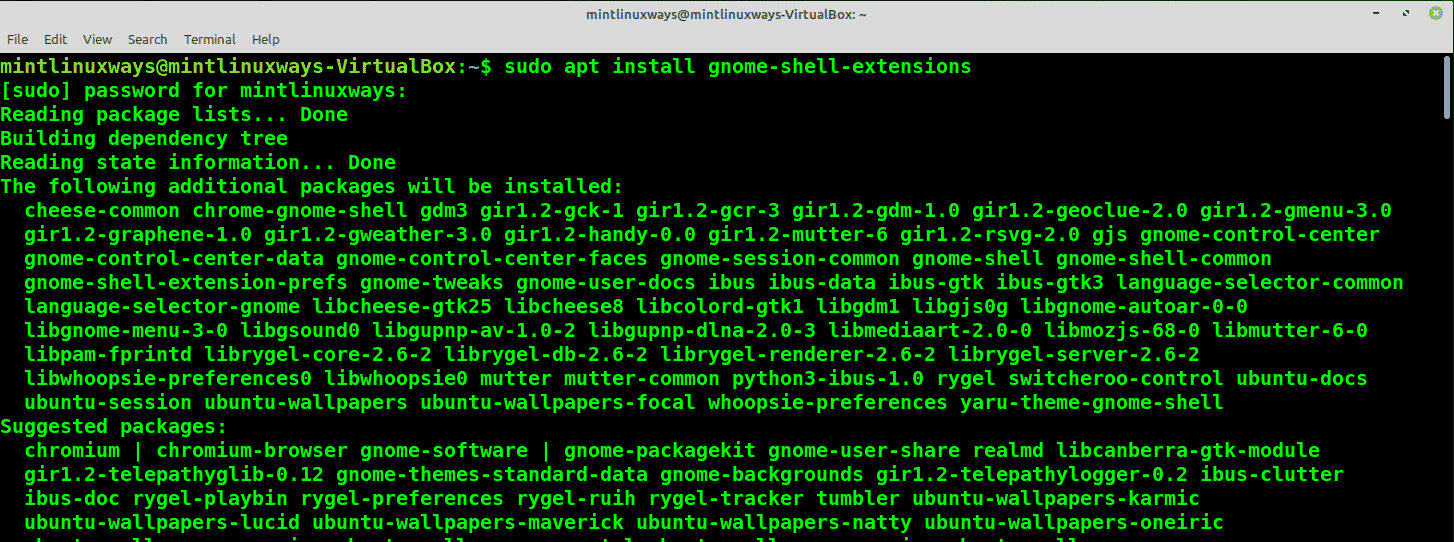
This method will only work if you are using the GNOME desktop environment. To install this extension, first, install the gnome-shell extension with the following command.
sudo apt install gnome-shell-extensions
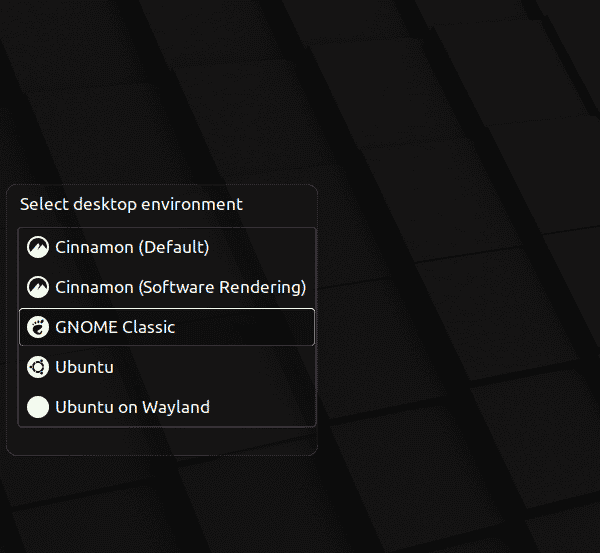
Now reboot your system and login to the GNOME Classic desktop environment.
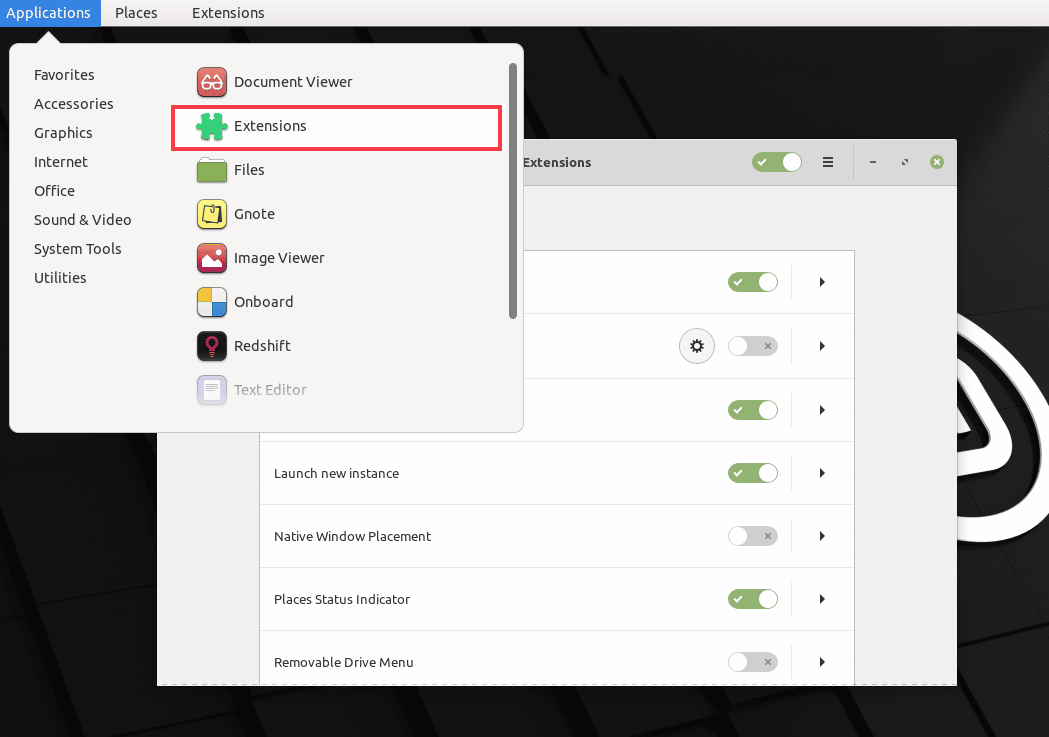
Now, you can open Extensions from the applications.
You can open the website from the description given in the bulb icon.
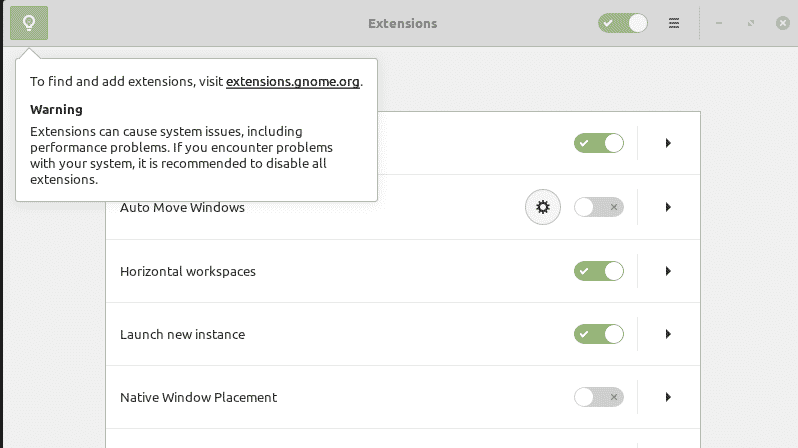
Search for NetSpeed extension. Once you find the extension, you can select the version and slide the on/off button to On.

When prompted, press Install.

After that, you can see the extension in your Extensions application.
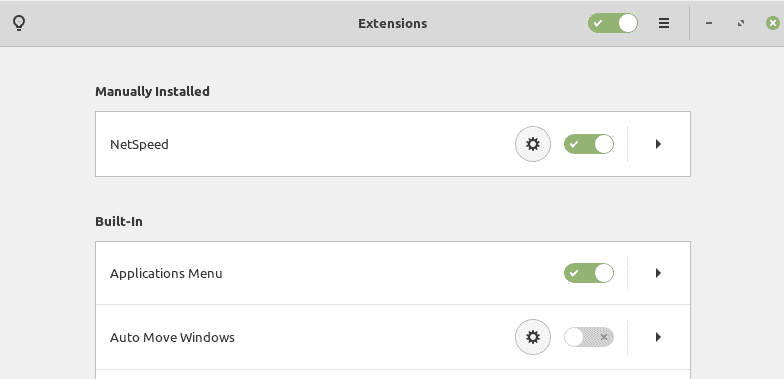
You will notice that there is speed mentioned in your system tray. You can click on it to see more information.
Check Internet Speed Using NetHogs
NetHogs is a simple command-line utility that measures your internet speed. But it has a unique feature that shows internet bandwidth according to processes which can be beneficial in monitoring processes for bandwidth consumption.
To install NetHogs, run the following command.
sudo apt install nethogs
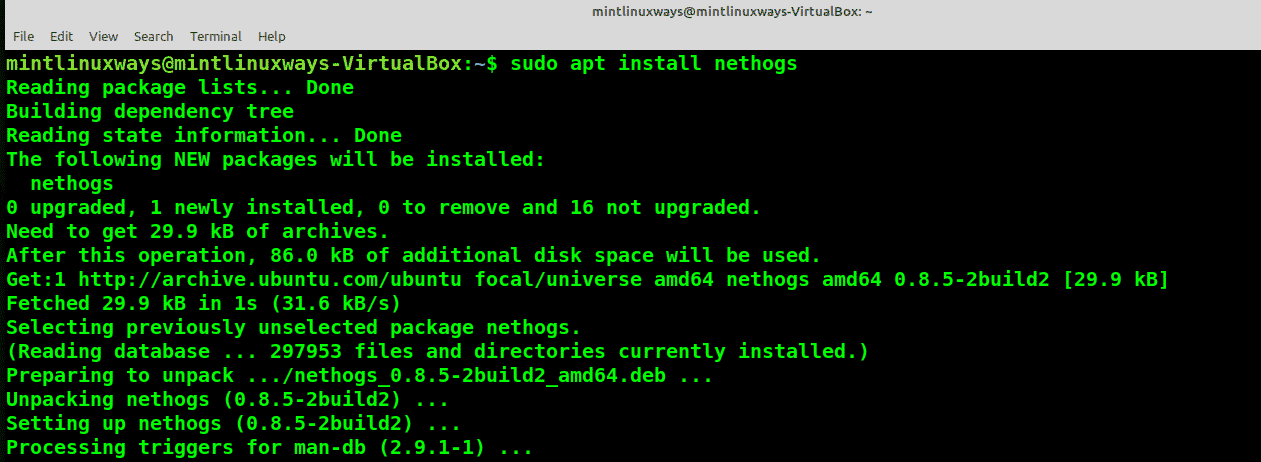
Launch NetHogs in the terminal.
sudo nethogs

You can see process-wise bandwidth breakdown in the output.
Conclusion
In this article, you have learned different ways to measure and monitor your internet bandwidth.

